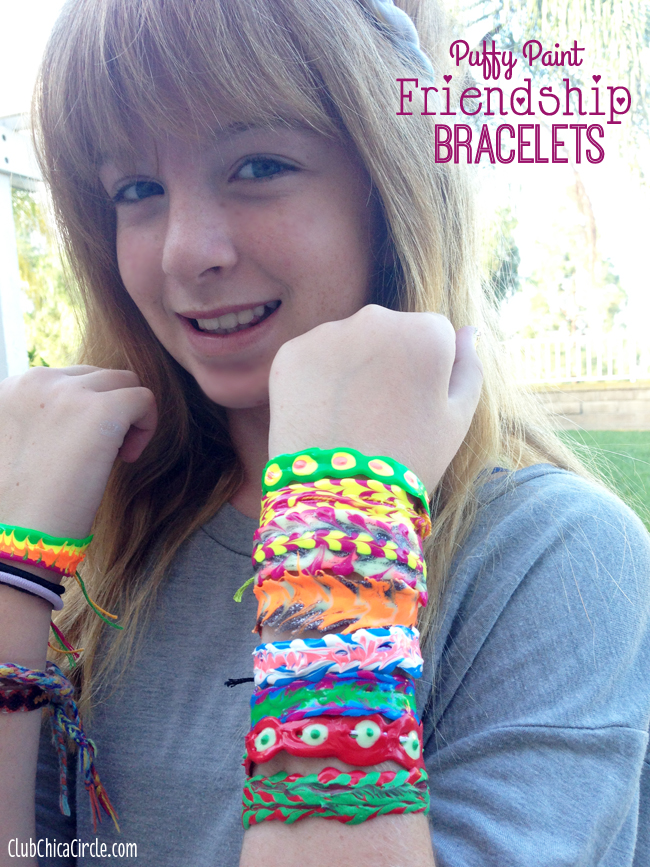
With all the camps my girl did over the summer, she has amassed quite the collection of friendship bracelets.
I knew as soon as I saw this inspiration on my Instagram feed, a lightbulb went, and I knew we could make our own version of friendship bracelets, but with puffy paint!
I have made so many crafts with puffy paint. I know these are normally for creating 3-D designs on fabric, which of course we have done our share of fancy t-shirt crafting or even boot decorating, but I’ve made cool window clings with puffy paint, and even decorated pumpkins with them.
What I love about the consistency of the puffy paint, is that when it dries it is still flexible and not hard that it would crack – perfect for bracelets!
I created a template to use to make sure that the puffy paint portion was not too big to wrap around a wrist. You can grab your own copy in the supply list below.
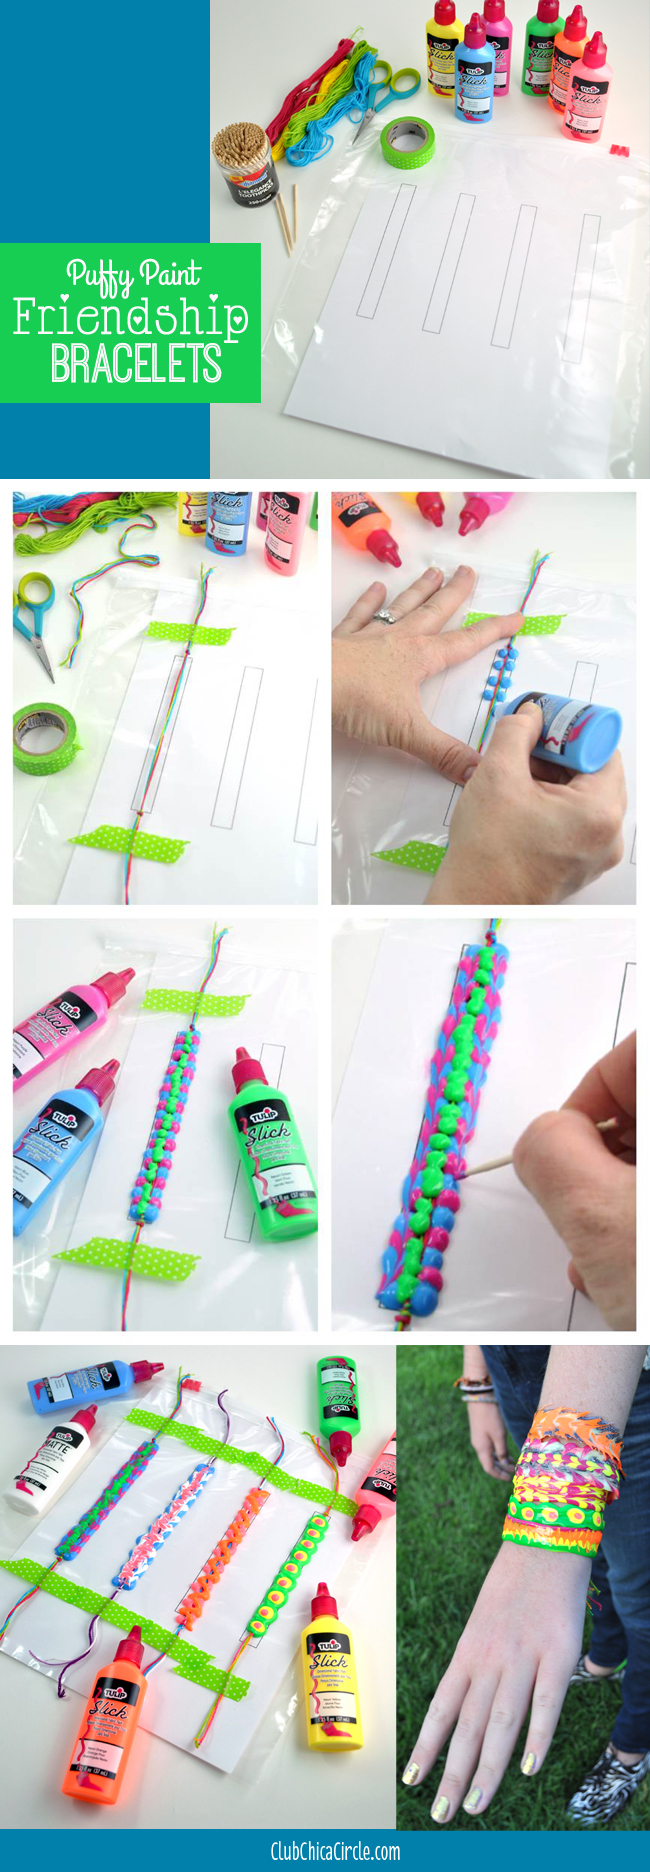
Here is what you will need to make your own puffy paint bracelets:
- puffy paint bracelet template (download and print out)
- gallon sized plastic bag
- embroidery thread
- scissors
- puffy paints
- toothpicks
- washi tape
I started by placing my bracelet template inside of my plastic storage bag. Make sure if you are using a bag with the frosted area where you can write on it is not the side that you will use to make your bracelets on.
Then I cut lengths of embroidery thread about 12” long. I used 2-3 strands together to make the base thicker and to add some more color to my bracelets.
Leaving about 4” of thread on one end, I knotted the ends marking the top area of where I would apply my puffy paint design. Then using the template as a guide, I knotted the other end, leaving about another 4” on the end.
I secured my thread down the middle of my bracelet template box with washi tape on the top and bottom of the embroidery threads.
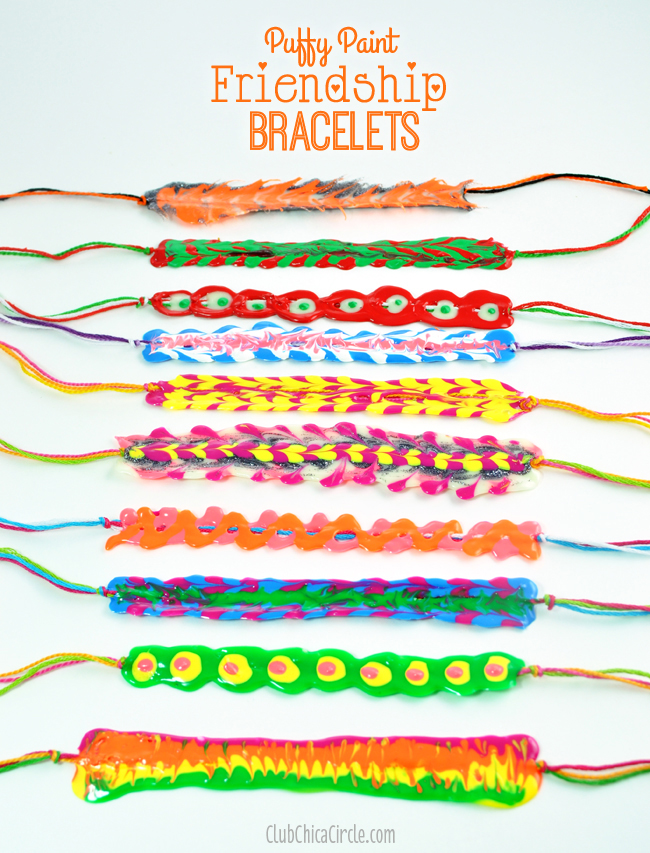
Then it is time to get to work with your design. One idea is to create a row of dots along each side of my thread. I followed up by placing another row of dots in between my first set, and then a third row of dots right down the middle of my thread. I could stop there, but I wanted to add an extra cool design by using a toothpick to blend the dots together.
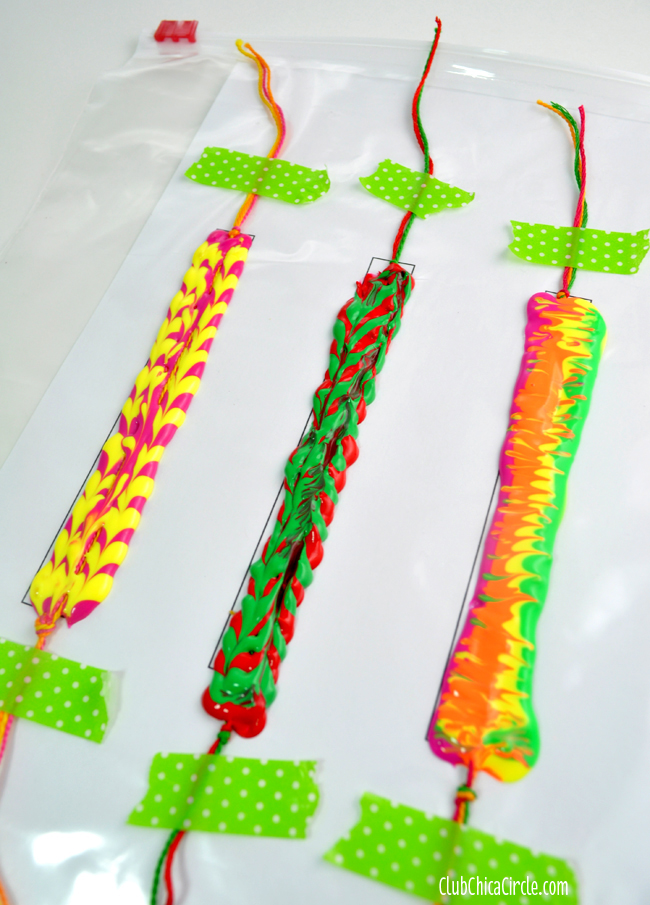
Remember when I showed you how to toothpick paint, it’s the same concept here. While the puffy paint is still wet and pliable is when you can blend and mix the colors into cool designs.
Once I made the first bracelet, I couldn’t stop. I taped down more bracelet thread and got to designing a whole slew of friendship bracelets.
The last and hardest step is to let your bracelets dry overnight without touching them. = )
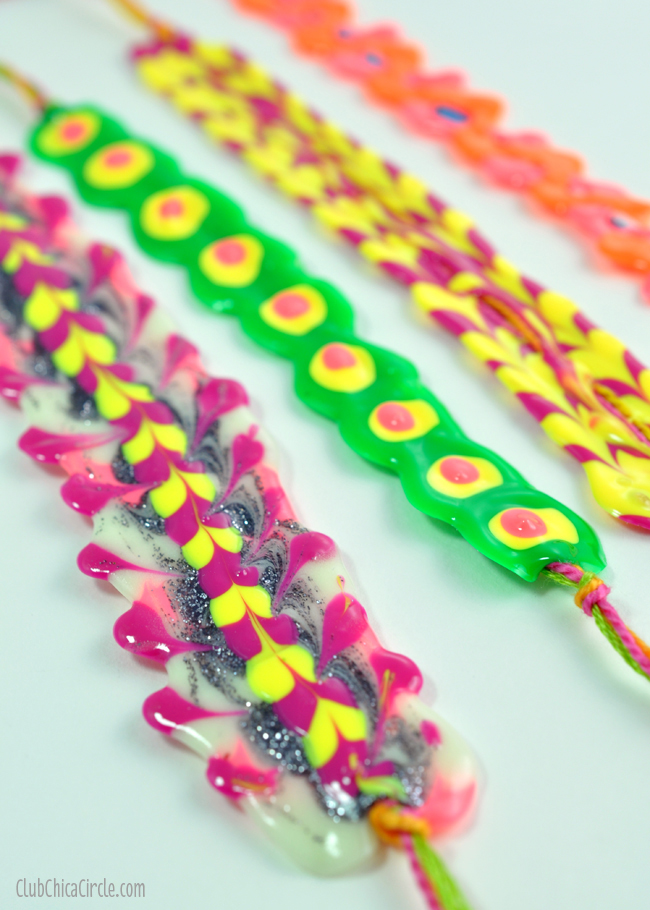
When they are dry, you can remove the tape and peel them straight off the bag by starting with one embroidery thread end.
I mean, really, look how cool these turned out!
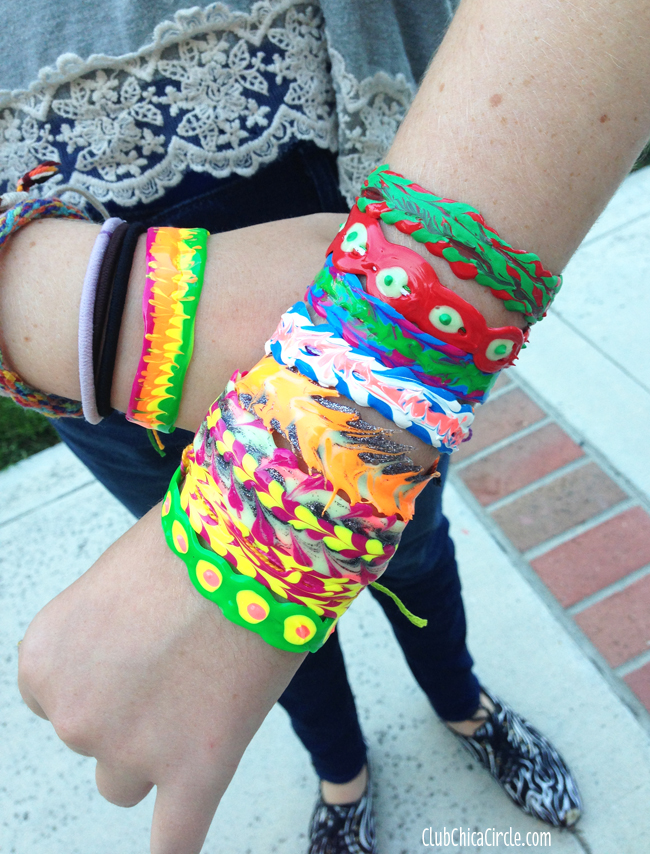
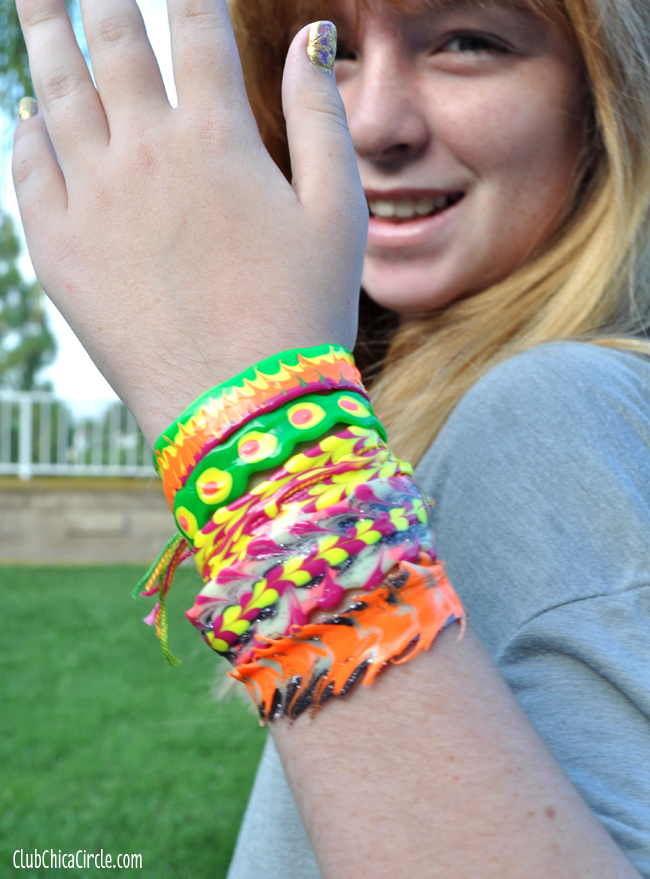
My girl couldn’t wait to share them with her friends! She went to school this week with an arm full of bracelets, and came home with just the one she wanted to keep for herself.
One note is that in warm humid weather (like we are having right now in Southern California) the puffy paint bracelets, even though they are dry, can be tacky, so the bracelets next to each other on her arm clung together a bit.
Which is why are perfect for window or mirror clings.
Honestly, these were so fun and easy to make, and just like the rest of my daughter’s friendship bracelets that adorn her wrist, she wears them all day and even showers with them.
This is a fun friendship or weekend craft idea!




9 comments for “Puffy Paint Friendship Bracelets”