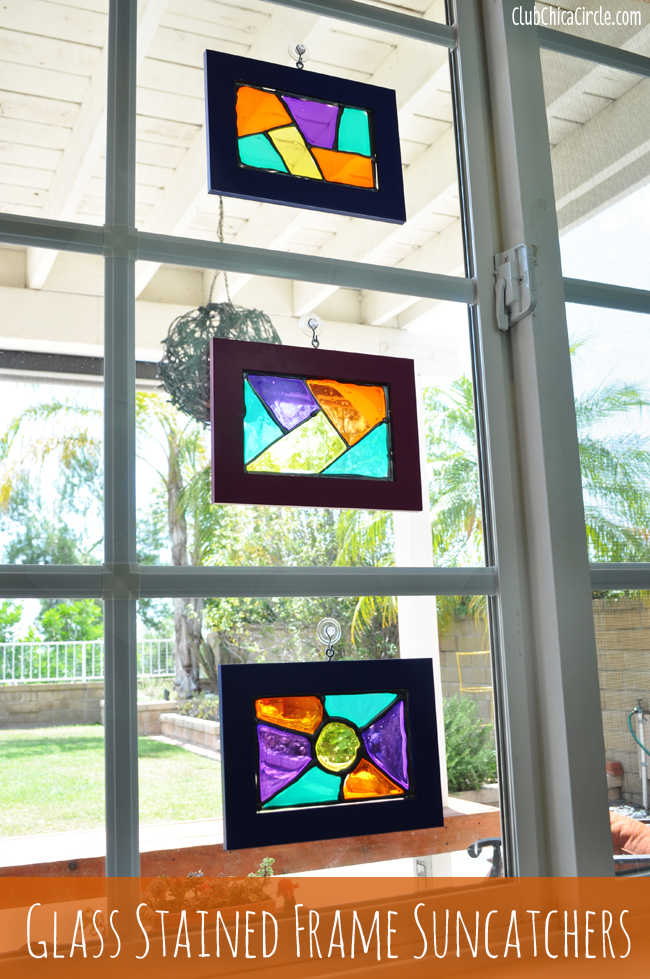
It may be back-to-school time, but the sun is still shining bright here in SoCal! I recently participated in Uncommon Designs “One Crafty Summer” series, and in case you missed it, I wanted to share this easy and colorful sun-catching craft idea with all of you!
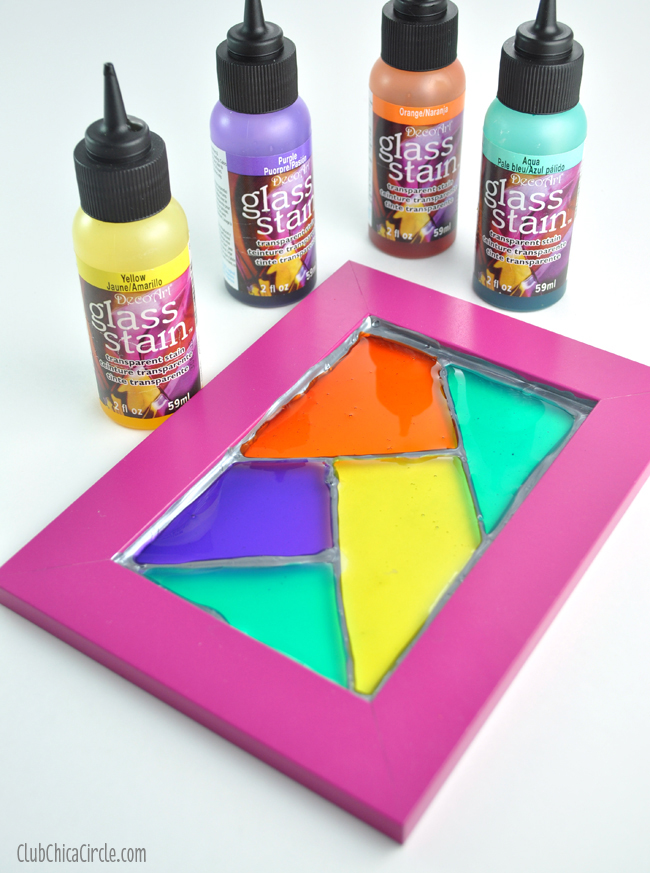
I love these Glass Stain paints, and have made a number of really pretty things with them, from garden globes, to pretty rainbow art tiles, to even glass-stained wood Easter eggs.
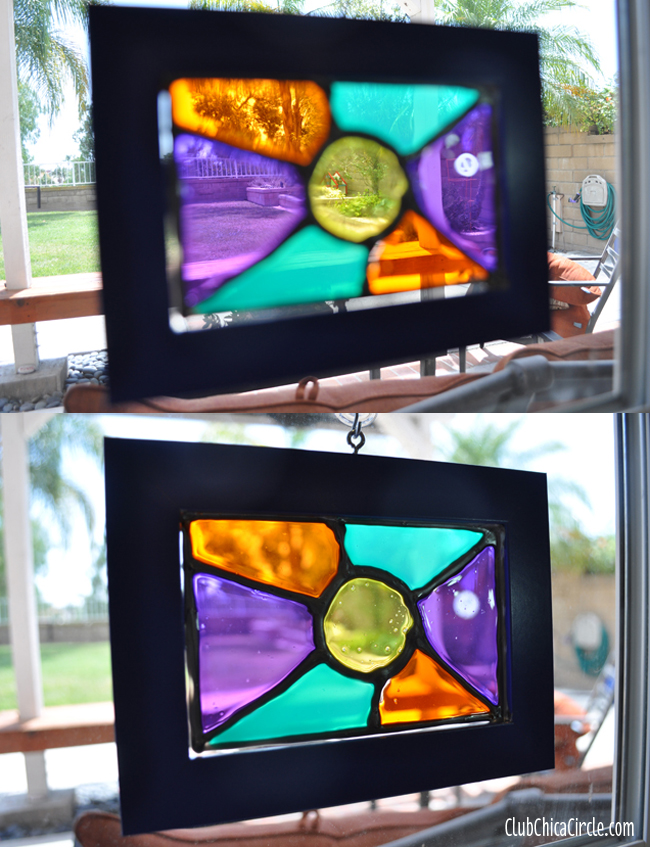
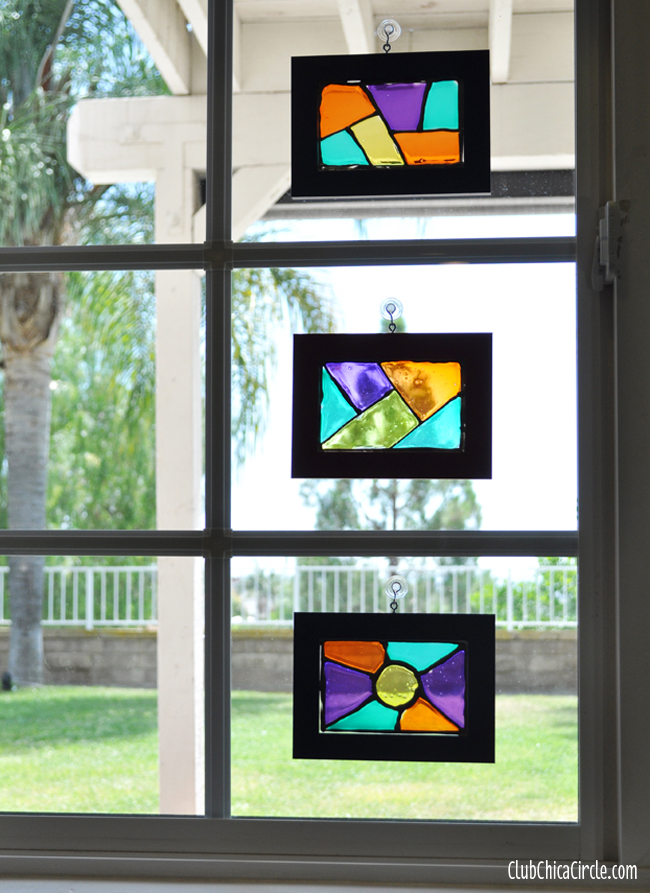
This time I wanted to create mini glass stained frames that will brighten up any window—no cutting glass or glass stain knowledge required!
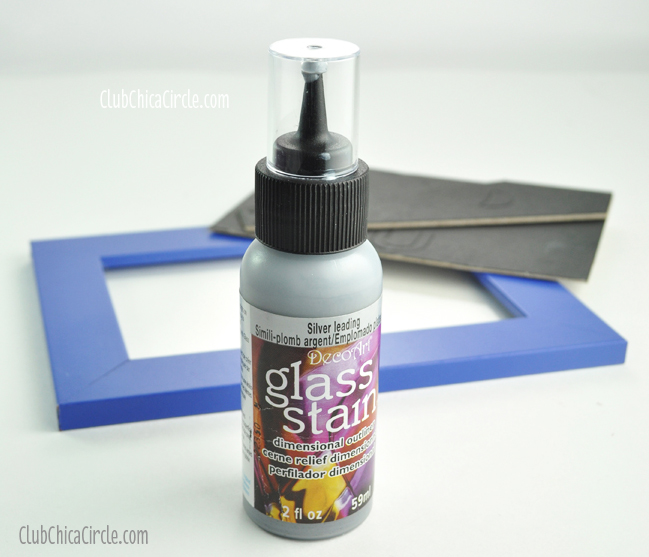
The trick is the DecoArt silver leading that both gives the illusion of true leaded glass that you would see in a stained glass piece, but it also acts as a barrier to keep your glass stain colors separated.
Here is what I used to make these pretty glass stained frame suncatchers:
- 5″ x 7″ lightweight picture frames (I found these in two-packs at IKEA.)
- DecoArt Glass Stains and Silver Leading
- Eyelet screw-on hooks
- Mini suction cup hooks
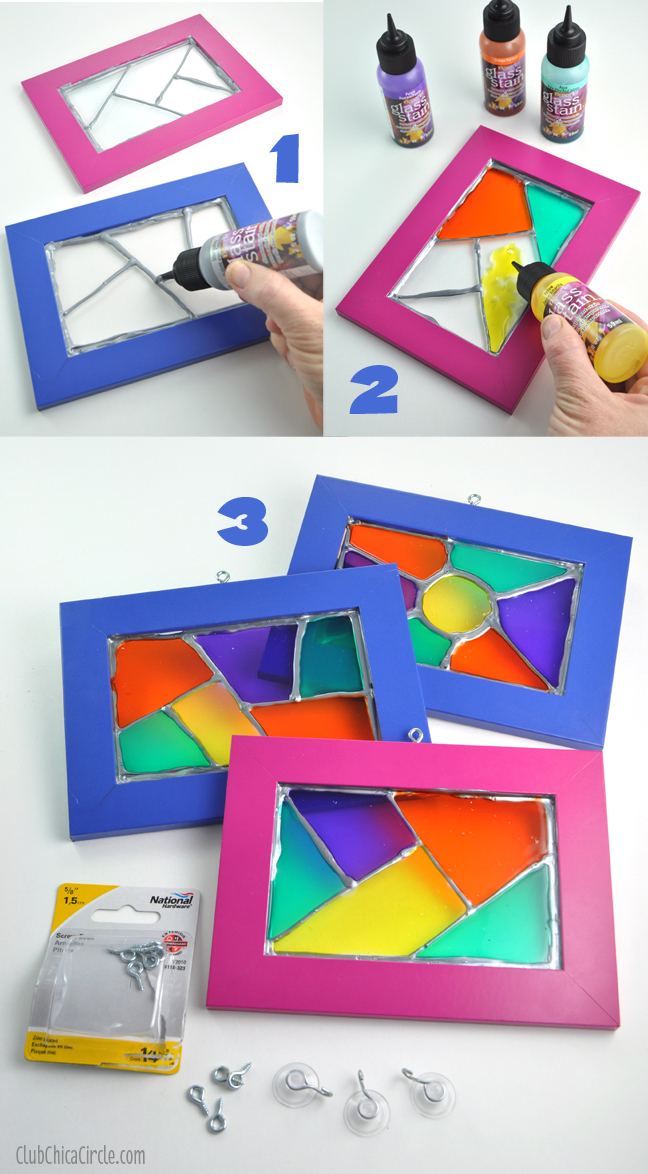
Make these really colorful suncatchers in 3 easy steps:
- First remove the back stand portion of your picture frames and
replace the glass back in each frame. Then line the outer edge of the
glass with the Leading and draw your design in the middle. I created a
random geometric pattern on each, making about 5-7 divided portions on
the front of your frame. Let dry. - Next, add color to each divided section with your glass stain
color of choice. Let dry. Make sure to watch for tiny air bubbles. You
can pop them with a toothpick within the first 10 minutes of drying
before the stain sets. - Finally, attach an eyelet hook at the top center of each
stained glass frame masterpiece and use a suction cup hook to attach to
windows.
Perfect way to keep a little summer sunshine shining all year long!
This post was previously published on Uncommon Designs on July 28, 2014 as part of the One Crafty Summer series.



2 comments for “Glass Stained Suncatchers DIY”