Disclosure: As part of the Elmer’s Crafty Parents Team, this post is sponsored in part by Elmer’s. All photographs, ideas, and opinions are completely my own.
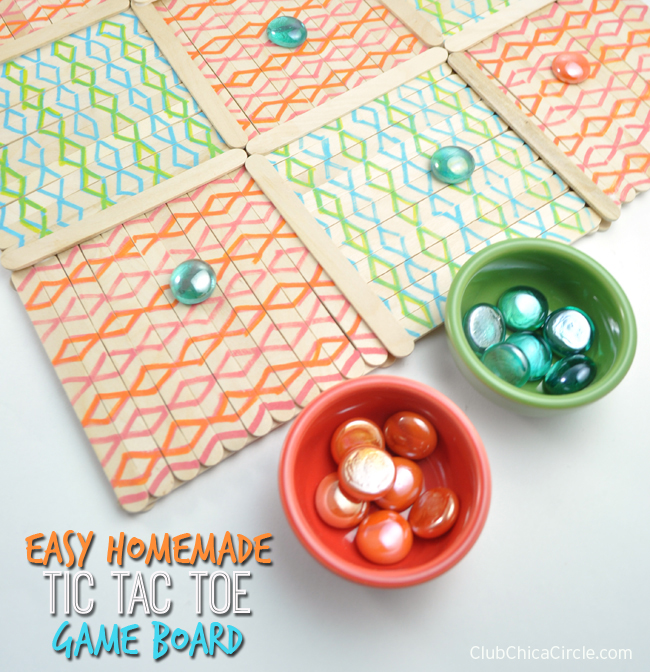
Anyone up for a little friendly game of Tic Tac Toe? How about one on a cool decorated game board that you made with your kids?
YES?
Let’s play then… but first let’s craft!
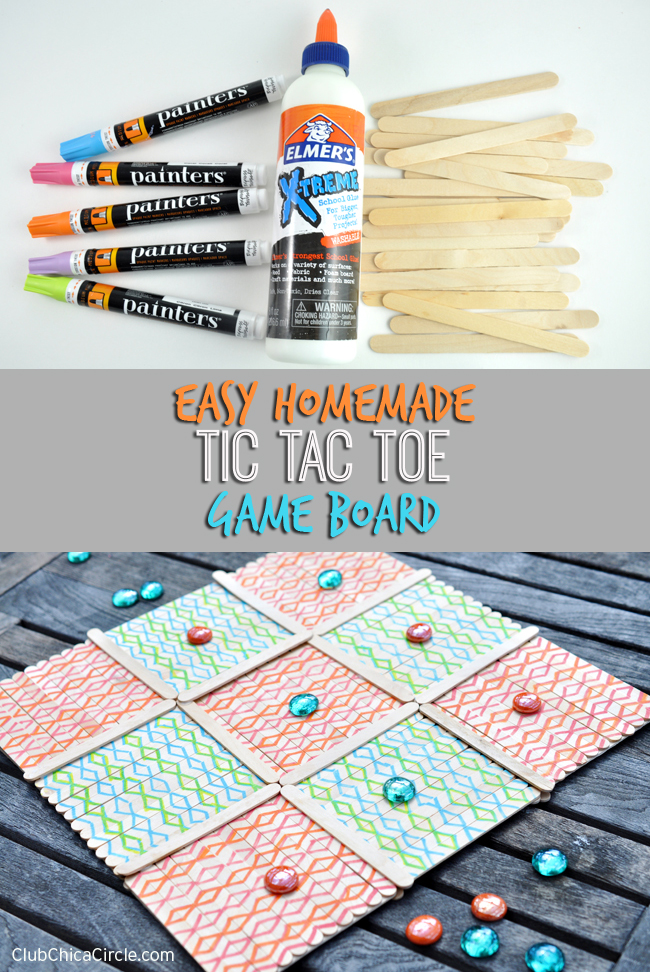
I used only three craft materials to make this cool homemade game board.
Here are the supplies I used to make this homemade game board:
- Elmer’s X-TREME School Glue
- Elmer’s Painters
- Wood craft sticks
Honestly, I think I may have found my new favorite craft glue. The NEW X-TREME School Glue™ is Elmer’s strongest school glue ever making it stronger than Elmer’s School Glue formula. X-TREME School Glue™ is ideal for your multi-purpose projects. This glue bonds most porous and semi-porous materials such as paper, fabric, leather, wood, craft sticks, ribbon, buttons, gems, glitter, foam board, poster board, cardboard, pottery and more! The formula sets and dries faster than school glue and Glue-All®, and it dries clear! Just like` any other Elmer’s school glues, the new X-TREME School Glue ™ is safe, non-toxic and washable.
Because I was testing this glue out for the first time, I did a little experimentation. I would time how fast it took for this X-TREME glue to set. I would make my Tic Tac Toe squares and set a timer to see how long it took for the glue to set. I got it down to 2-3 minutes!! That’s fast! I loved that at first it was still workable, unless when I use my glue gun, which is pretty instantaneous. And it’s perfect for crafting with all ages!
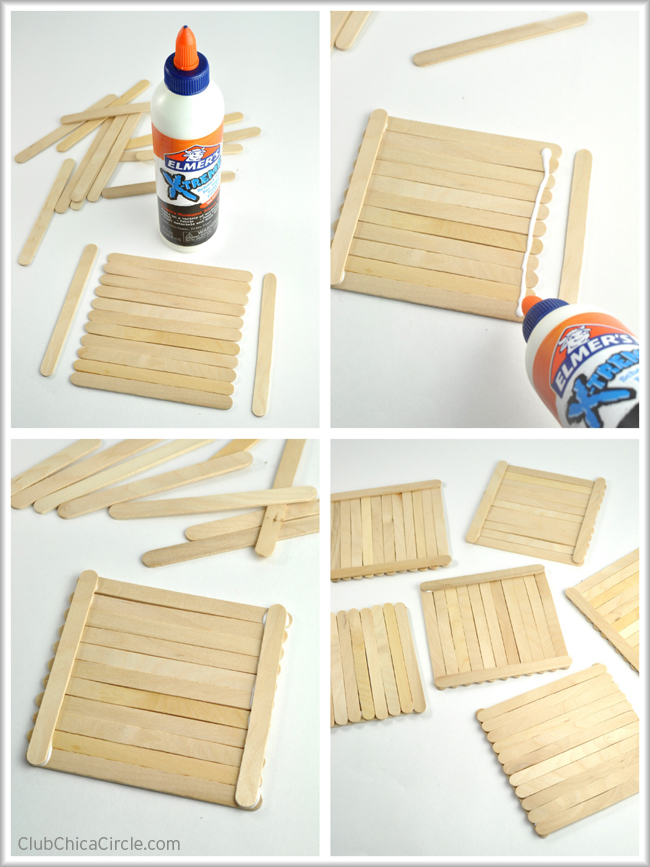
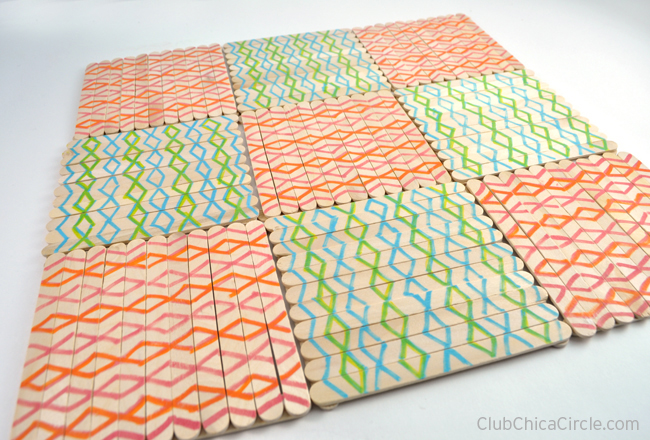
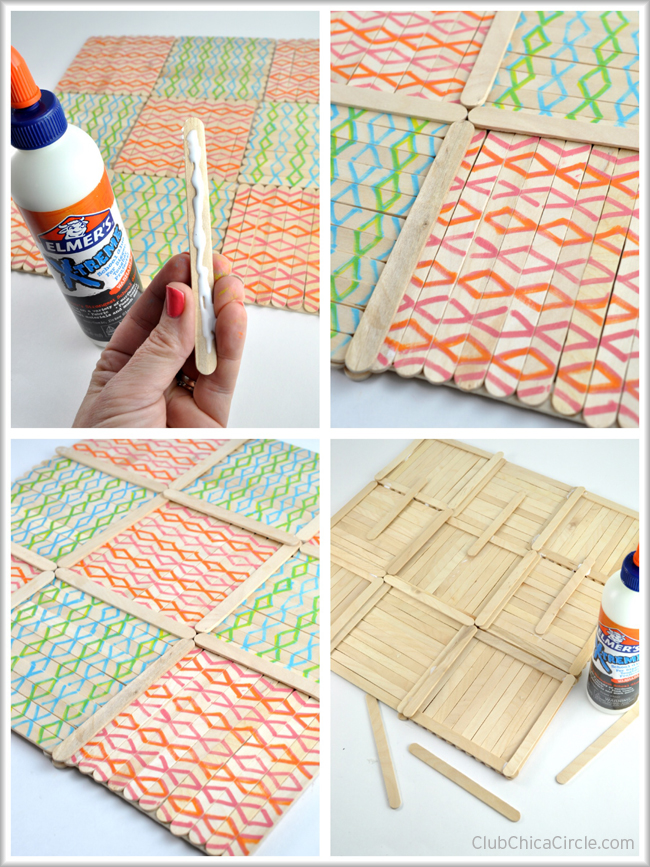
Now , let’s get to the craft DIY. First I lined up 11 craft sticks right next to each other in a row. 11 sticks was the perfect number to create a square and the length of one craft stick. Then I applied a line of glue on each edge of my “stick square” and attached a craft stick on either side.
I set it aside to dry, and made a total of 9 craft stick squares for my homemade tic tac toe board.
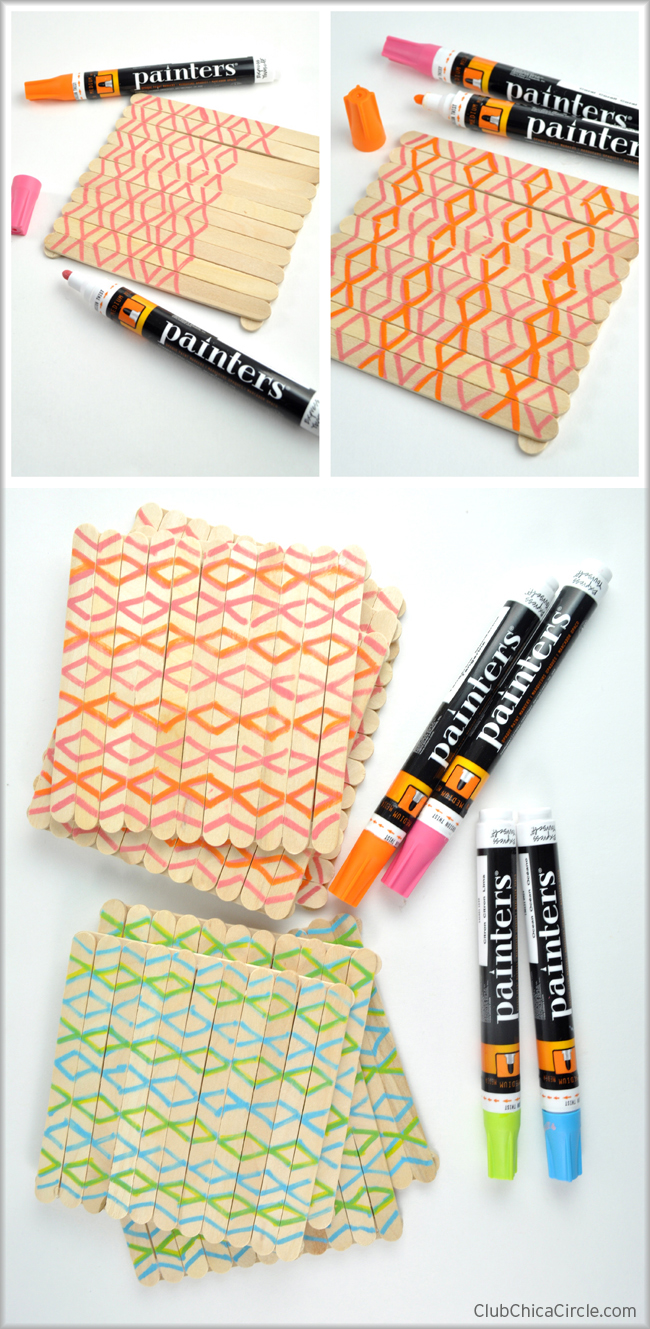
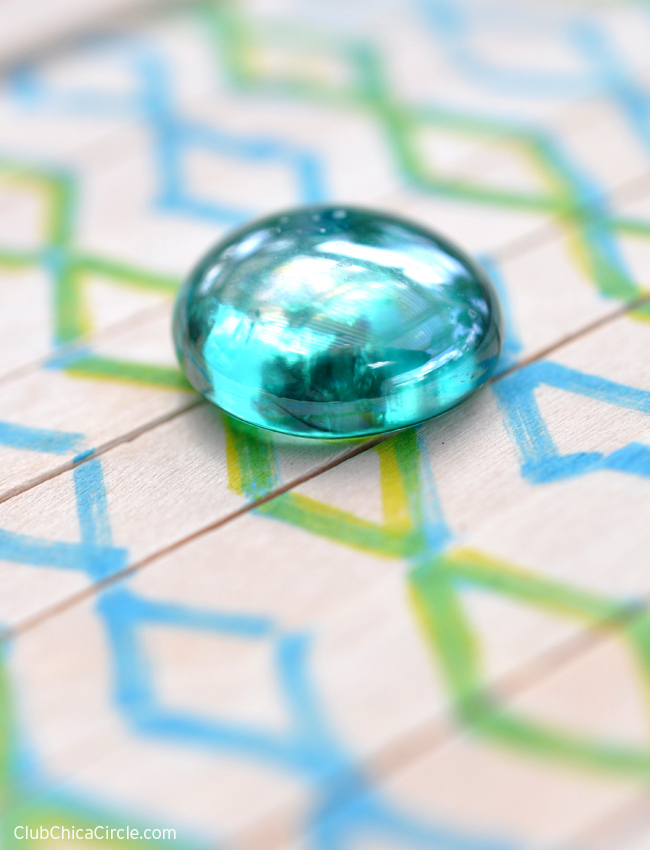
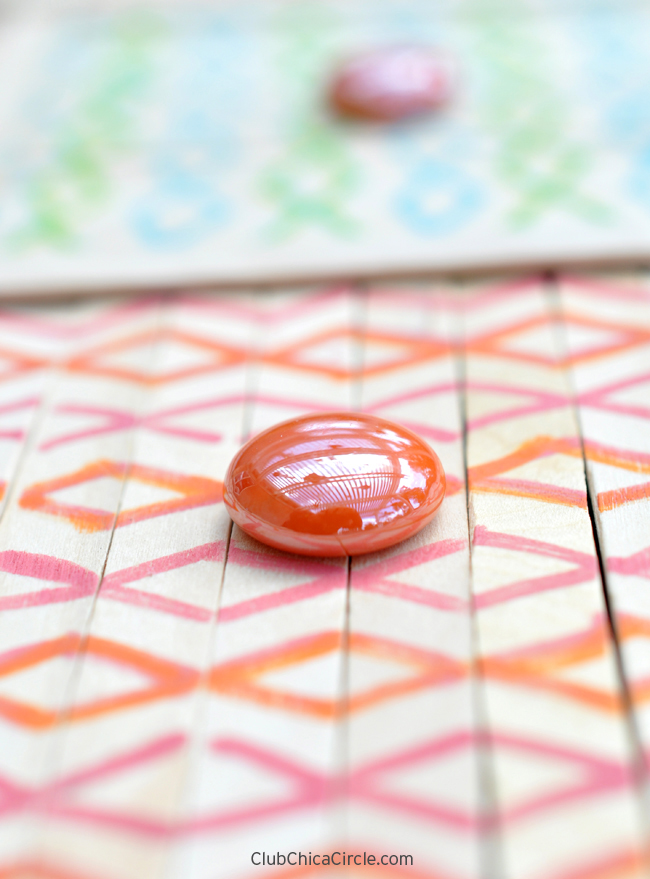
Then it was time to add some color! I used my Elmer’s Painters to draw designs on the front of each square.
I decorated 5 with a pink and orange design, and 4 with a blue and green design.
Then I arranged them together as close as possible in opposite directions to make my board.
This was the trickiest part. I applied stripes of craft sticks in the joints of each of the squares to secure together. This is where is was really great that the glue doesn’t set immediately, but it does set quickly and strongly.
I also attached more connectors and braces on the back of my board where needed, making sure that I added extra sticks around the edges where needed to keep the board level.
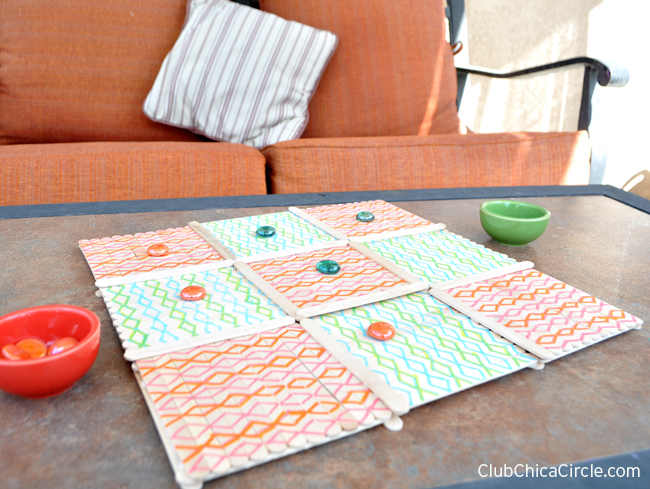
Now it was time to play!
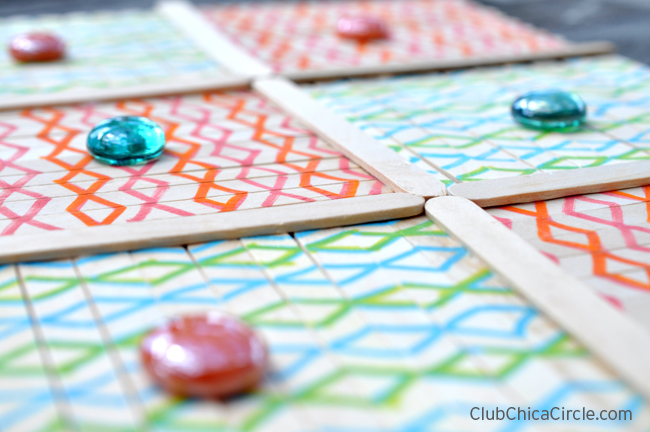
This makes a great outdoor game set. I used two different color cabochons (or small pretty rocks found in the garden/floral section of your local craft store) for play pieces.
Tic Tac Toe never goes out of style. I played with my girl, and she actually beat me two times! I need to brush up on my tic tac toe skills!
This is a fun outdoor or indoor game board.
And I love how you can personalize it to your own style and taste.
You know the rules of the game: two players can play. The object is to get 3 of your pieces in a row while taking turns. Inevitably, there is sometimes a tie, or stalemate, but every once and awhile you can three past your opponent, like my daughter did with me!
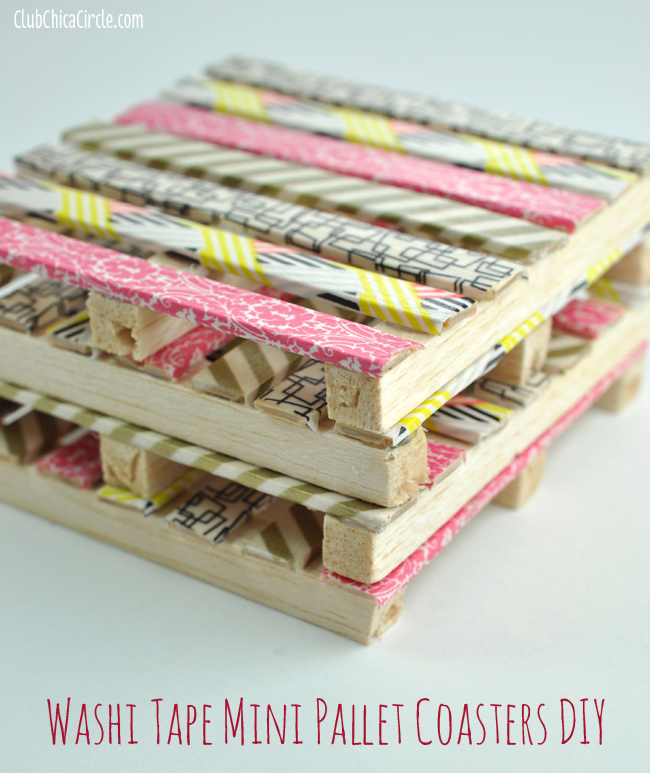
I love crafting with craft sticks. You can use a similar technique to make cool craft stick Pallet Coasters, like I did here.
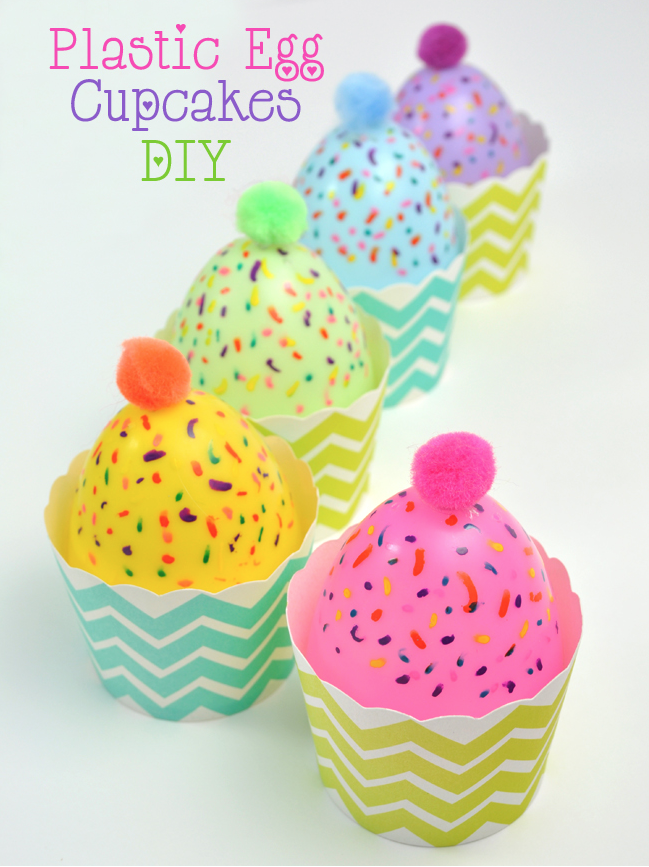
If you like this, you may love these Plastic Egg Cupcakes. I used the same Painters to create fun sprinkles on top of my “cupcakes”. As you pull the plastic egg top out from the party cup that it sits on, you can hide a treat or a small toy.
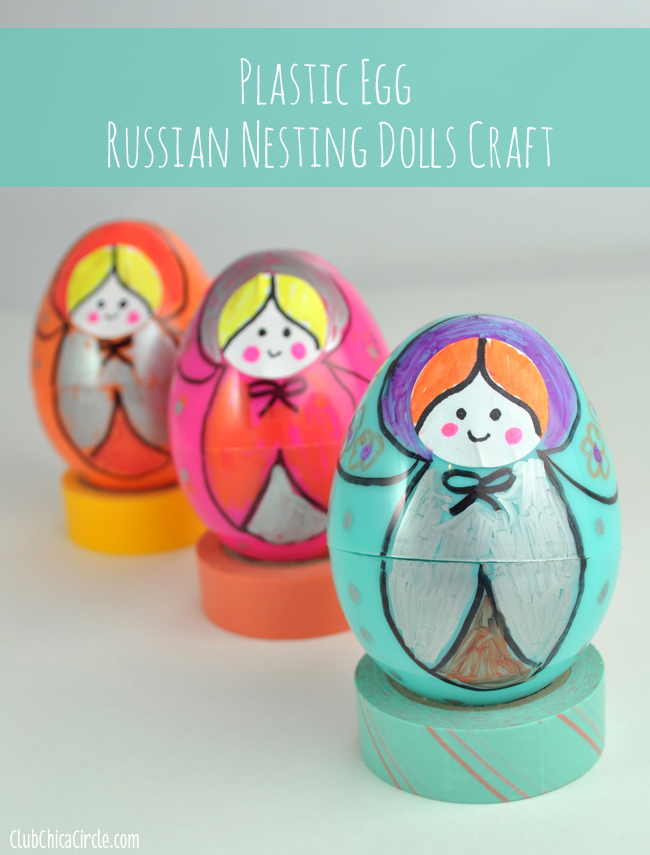
and speaking of upcycled plastic eggs… check out these Plastic Egg Russian Nesting Dolls.
Time to get crafting with the kids!
Disclosure: As part of the Elmer’s Crafty Parents Team, this post is sponsored in part by Elmer’s. All photographs, ideas, and opinions are completely my own.

