OK. You may think by now that I’ve have been doing too much shopping in “nature’s craft store”. I’m telling you, there is just something about this time of year. I can’t help it!
Whether it’s beautiful Fall leaves decoupaged on pumpkins, stamped on homemade gift wrap, or turned into beautiful note cards with dimensional designs OR wood branches cut into small slices with burned wood designs for a one-of-a-kind bracelet, or wedding guestbook idea, OR ombre painted pine cones or pine cone turkeys—I LOVE NATURE CRAFTS!
Now, that we have that established. Let’s move on to today’s craft idea. = )

You can make this beautiful nature-inspired Fall centerpiece in minutes after you have all of the supplies you need! The first thing you need is a wood branch to work with.
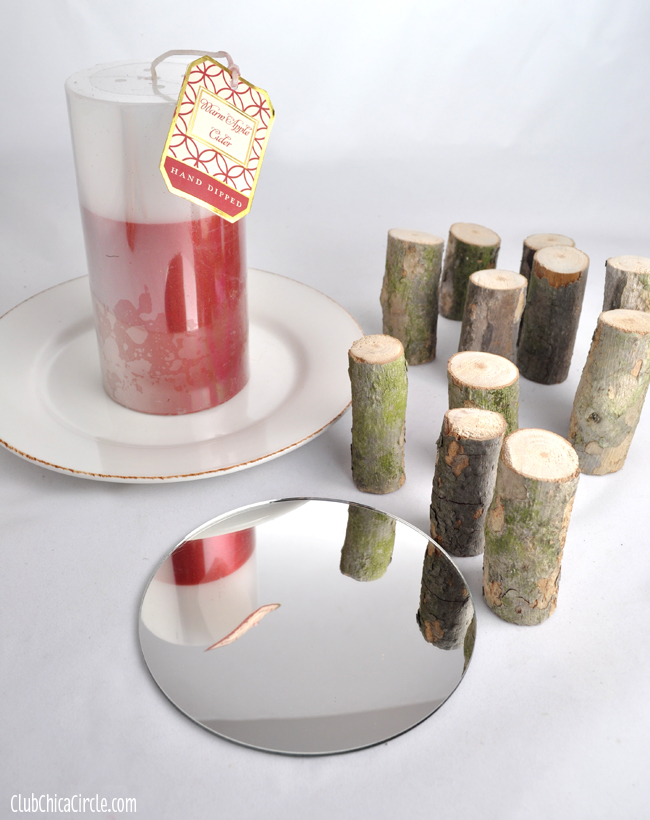
Last week, I used this same branch that I found on the trail near my house and cut it into small slices. I also cut some into longer portions, about 3-4″ high. My branch was about 1 1/2″ in diameter.
Again, the cutting of the wood with the power isn’t something I did with my tween. I made sure I was careful and wearing safety glasses. And it was pretty enjoyable. I have a feeling I may be pulling out the power tools as part of my crafty arsenal.
Once, the branch was cut into slices approximately the same height, the rest is assembly.
I used a 5″ circular mirror that I found at my local Michaels, and a tall pillar candle and small plate that I found at my local Home Goods. I have always loved the look the of wood decorated candles like this one. You could easily make this for under $10.
I have always loved the look the of wood decorated candles like this one, which was my starting inspiration. For mine, I wanted to use the thicker wood branches as the actual candle base, and I wanted to be able to switch out the candle in the middle when necessary.
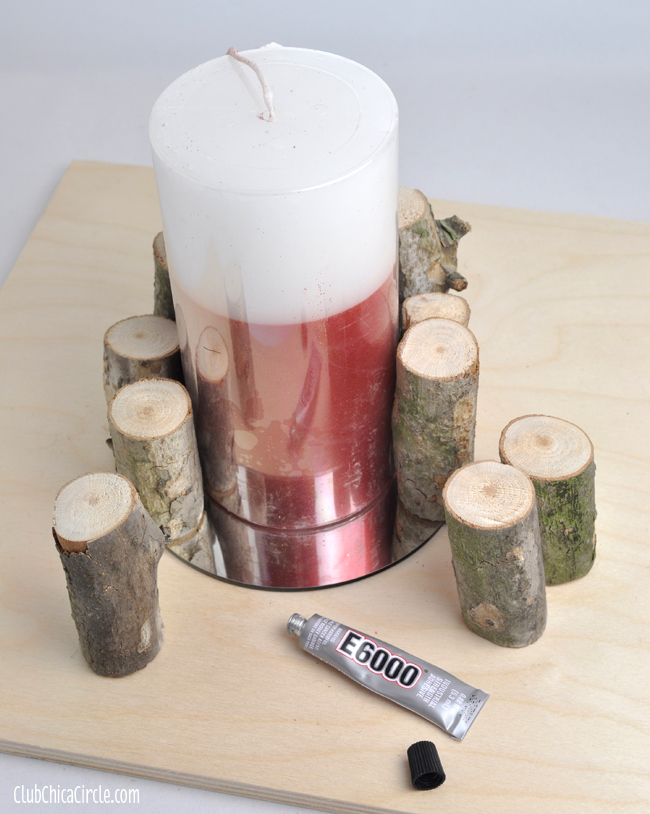
First step, I placed the candle in the middle of the mirror, and then fit my wood pieces around it like a puzzle. I made sure to cover the outer edge of the mirror forming a circle around the candle. Then, I simply used my handy E600 super glue, and glued each wood piece in place on the top of the mirror and let dry.
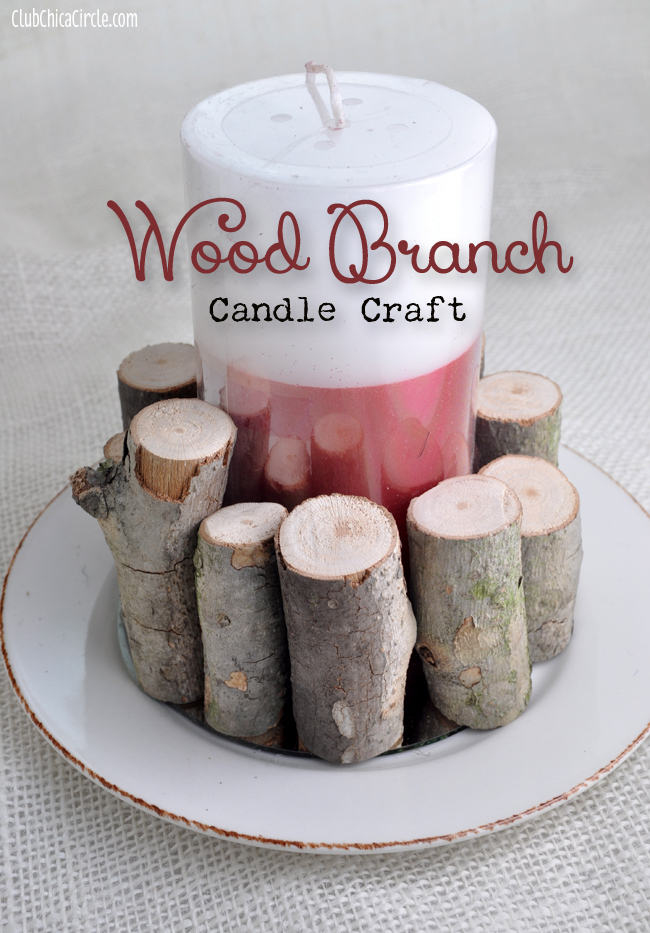
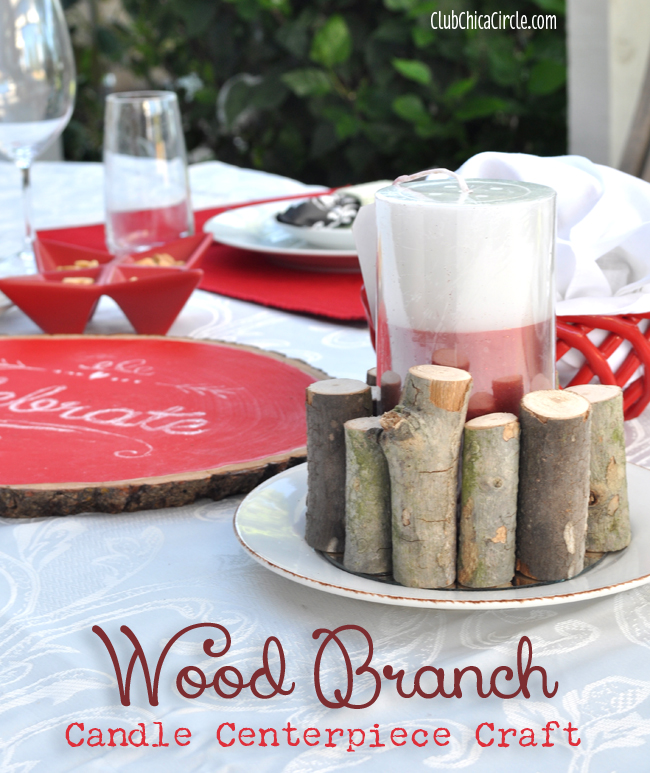
The mirror base fit perfectly in the center of the pretty side plate I found, making the perfect rustic candle centerpiece. This makes a great gift idea, or Fall table or mantel decoration!
Happy nature crafting!
If you liked this post, and want more, you can subscribe to be on our mailing list here.
Feeling social? Follow ChicaCircle on Facebook or Twitter, and follow me on Pinterest or Instagram.


2 comments for “Rustic Wood Branch Candle Craft”