Over the weekend, I hosted my Crafternoon Tea with Miss Pauline for the winners of the silent auction at my tween’s school. Let me tell you-we crafted our hearts out! More pictures of that to come, but first I had to share thoughts and review of the Bake Pop Pan I recently purchased. To prepare for the “Tea”, I made pumpkin cranberry scones, cucumber sandwiches, cheese and crackers, carrots and veggie dip, and hot apple cider. I thought cake pops would make a festive addition! A good friend of mine recently purchased one and gave it two thumbs up. She even likes it better than her actual Babycakes Cake Pop maker, which is like a plug in waffle iron, but for cake pops.
Now, Bakerella is the queen of cake pops, and I bow down to her skills as a cake pop maker. Check out her “Eye-popping Cake Pops” for Halloween-inspired cake pop creations. I think she has started a movement with her cake pop phenomenon. I have tried her true technique of mixing cake crumbles with frosting, rolling into balls, freezing, and then dipping into chocolate or candy melts and have had success. I modified this technique a little and made turkey and pumpkin “cookie pops” last Fall for Halloween and Thanksgiving. But after hearing my friend’s rave reviews on her cake pop pan, and how easy it was, I knew I had to try it. The Crafternoon Tea was the perfect venue for such a treat!
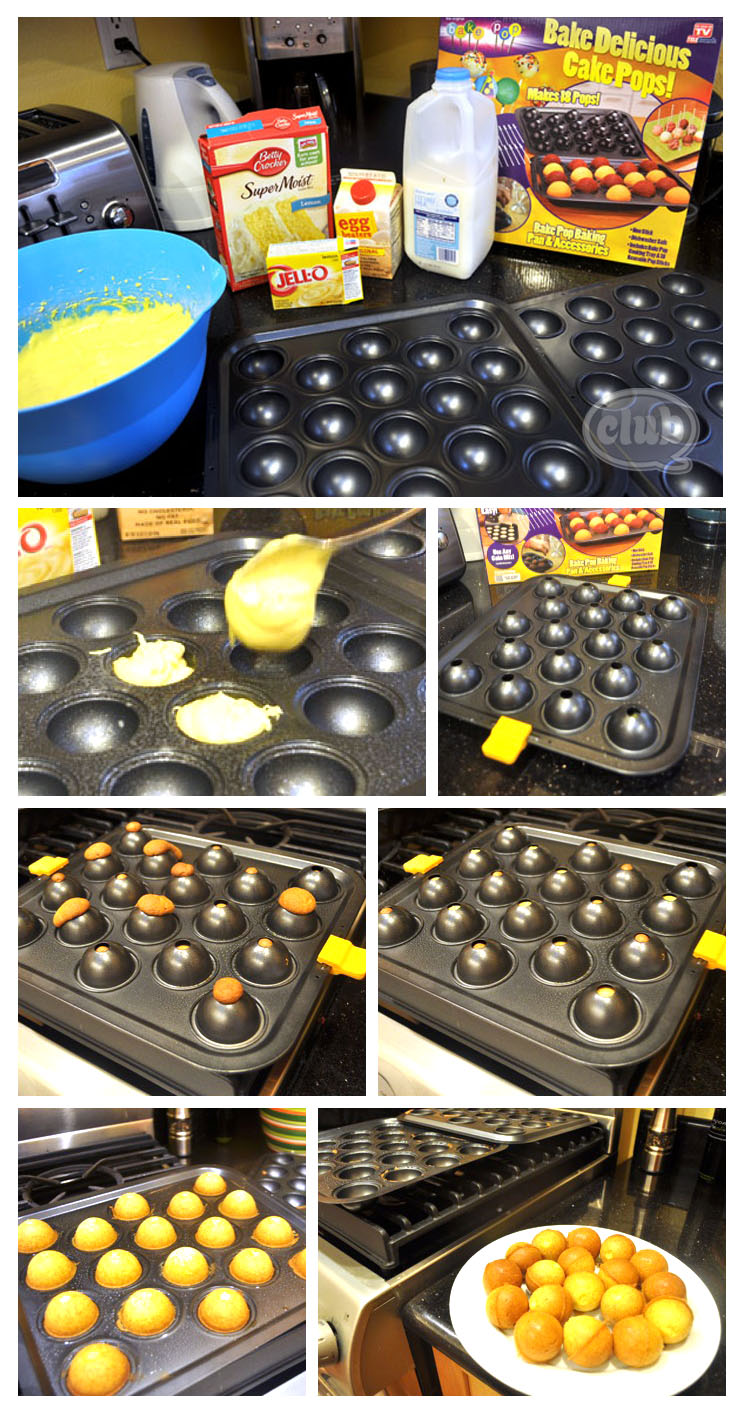
The Bake Pop Pan I purchased came with a nonstick bottom and top pan to make 18 golf ball shaped cake balls, clips to hold the top and bottom together, plastic reusable sticks and an instruction pamphlet. It touted that it was an “as seen on TV” product. I’ve never seen the infomercial for it, but I will take a friend’s recommendations over commercials any day.
Because you want your cake pop denser than a normal cupcake so that it holds its shape and can be dipped into chocolate or candy melts, the product suggests that you make a couple modifications when using a regular cake mix. It recommends that you add a pudding mix the same flavor as your cake mix, use milk instead of water and half as much, and add an extra egg. My friend who tested it out said that using egg beaters actually worked too.
I went with lemon cake mix, added lemon pudding mix, egg beaters and mix, along with the canola oil it suggested on the cake mix box. You fill each bottom cavity up to the top and then place the top pan on top securing with the silicone clips they provide. Pop it into the oven for 25 minutes at 350 degrees and take out. You can see some of the cake batter spilled over the top of the pan, but I simply pulled off those pieces. You then let it sit in the pan, without taking the top off, until it cools. You then have 18 cake pops that pop right out. Now you are ready to coat them with candy melts or chocolate. I was making Fall cake pops, so I used orange candy melts that were vanilla flavored. I also had some Fall leaf sprinkles to top them off.
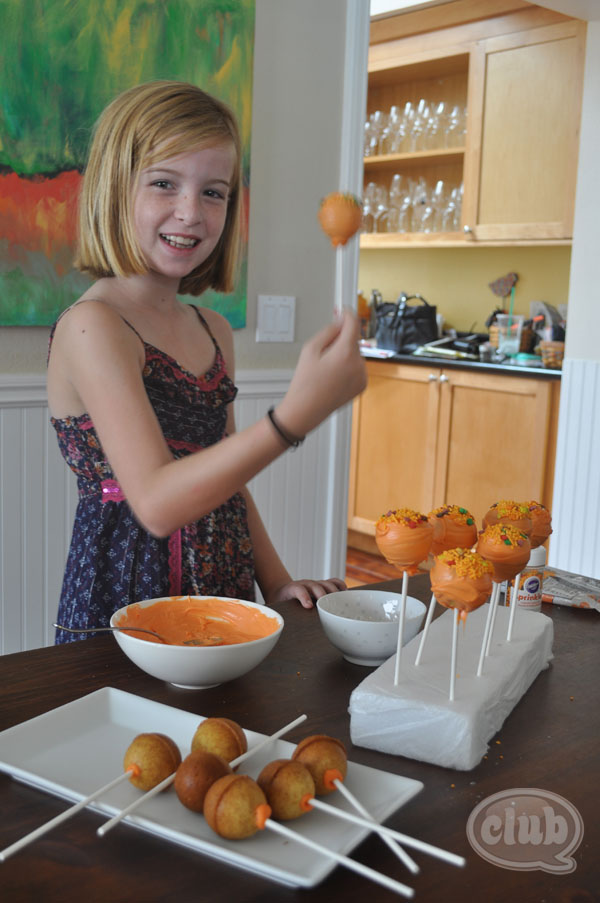
First, you need to prep the cake pops by putting the sticks on them. I prefer using the disposable popsicle sticks opposed to the ones that were provided. I wanted to make sure my guests took them home to enjoy without having to worry about getting the sticks back. To start, you need to melt a little candy melts in a bowl, dip one end of the stick into the candy melt and stick in one end of the cake pop about half way in. Then place them in a freezer or refrigerator for about 10 minutes to harden.
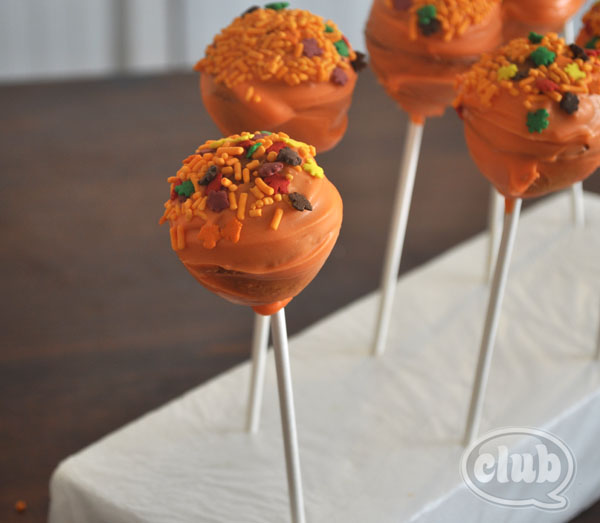
When you pull them out, have a bigger bowl of melted candy melts on hand, a smaller bowl of sprinkles if you prefer, and a styrofoam block. I found it easiest to dip the top of my cake pop into the candy melts, and then with a spoon full of melted candy melts, twirl the bottom and edges on the spoon to cover completely. Then I dipped it into the sprinkles and placed in the styrofoam block to set. I can never get it to look as smooth as Bakerella’s, but I was very satisfied with the results using this technique. The trick is to do it with a “light touch” so as not to jar the cake pop stick out of the pop. It was so easy, my tween actually finished the rest for the party.
You then put them back into the refrigerator to set.
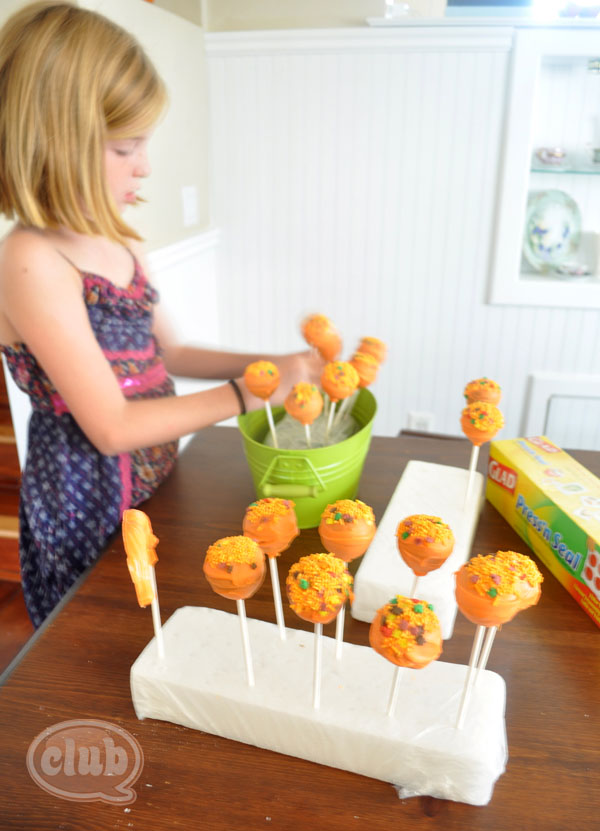
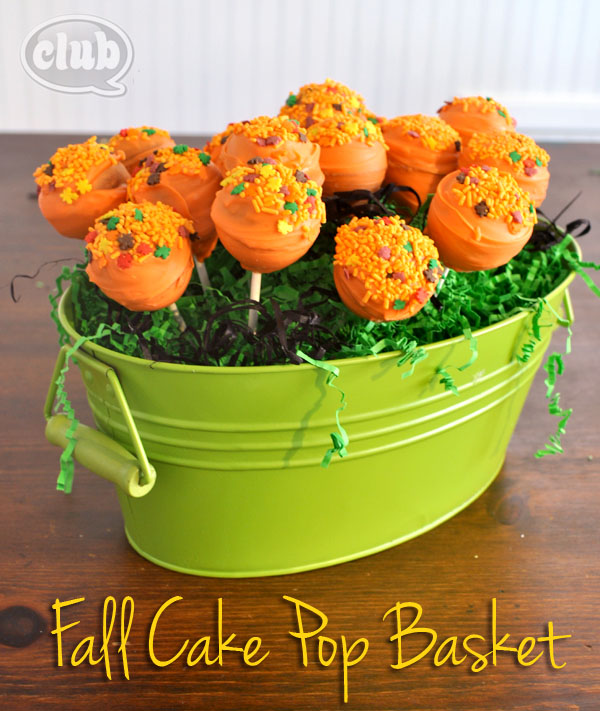
We then took them out of the refrigerator and arranged them in a basket that had a floral foam block at the bottom that I had wrapped in Press-and-Seal, but Saran Wrap would work too. We then covered the top of the foam block with shredded packing paper.
Lovely!
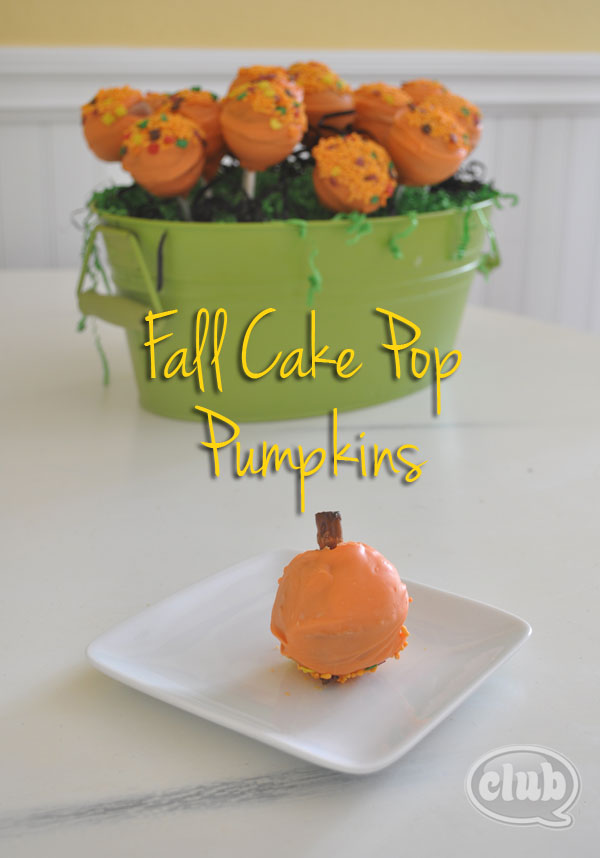
We did have a couple cake pops fall off of their sticks, but we turned them into little pumpkins by placing a pretzel rod stick on the top of them and let them sit them on a plate as is. So cute!
All and all, I was satisfied with the Cake Pop pan, and will definitely use it again to make more cake pop designs. Have you ever used a cake pop pan before? What are your thoughts?
Let me know in the comments below.
Happy crafting!
If you liked this post, and want more, you can subscribe to be on our mailing list here.




2 comments for “Cake Pop Pan Review and DIY”