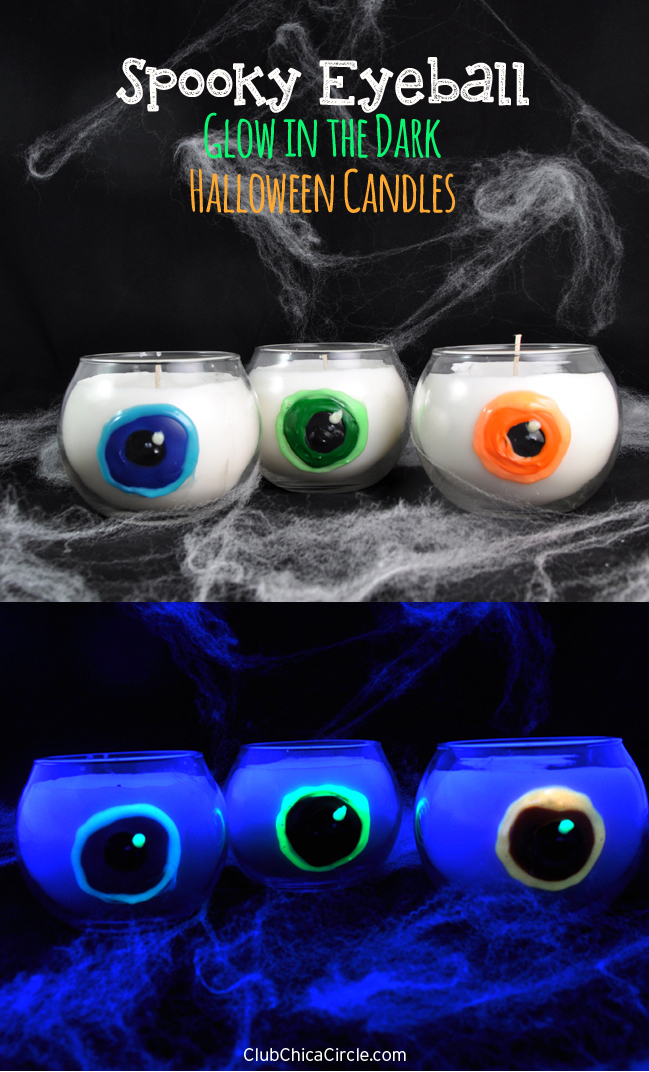
Ok, I swear, after this one, I may be done with my eyeball crafting Halloween obsession.. maybe! = )
It’s this time of year, the perfect way to be a little spooky and creepy in my crafting! There were these eyeball rings made from washers and nail polish, suncatchers made from melted beads, and homemade glittery slime in eyeball mason jars.
Today, it’s glow in the dark spooky candles. I saw these glass globes at Michaels recently and I immediately thought “eyeballs”. To be honest, this was my first crafty adventure in candle making, and I thought they turned out really cool!
I made my eyeball candles with:
- Glass globes
- Glass paints in black, white, and eye color of choice (I used Americana 3D Frost Gloss Enamels in Black, White, Orange, Blue and Green)
- White candle wax and wicks
- Glow in the Dark 3D Paint in coordinating eye colors (I used Tulip Glow Fabric Paints in Natural, Orange, Blue and Green)
These actually were pretty simple to make. I thought the glass globes were the perfect shape, and that the white candle wax would represent the white of each eye, so I just needed to create the pupil and colored iris.
I started by squirting about a nickel-sized black dot in the center on the front of each globe. Then I squirted on a larger outer colored circle about 1/2” thick all around the black dot. I also added a small white dot on the upper right hand corner of the black dot for a highlight. Then to let it dry, and so it wouldn’t drip off and lose it’s circle shape, I laid it on it’s side with something on the inside of the globe to keep it from rolling. I used a can of spray mount and a roll of bakers twine to keep mine in place.
I let it dry for at least 4 hours before moving to the next step. I followed the directions on the candle wax, and used a double boiler system on my stove to melt my wax and then pour it into my glass globe. I used a skewer along the top of the glass rim to add the wick string so that the wick stand was on the bottom. The wax melted somewhat clear, but as it cooled and solidified again, it turned the perfect eyeball white.
Then after playing with these glow in the dark paints on my BOO bunting banner, I couldn’t resist adding a little bit of extra GLOW to my craft. I used the coordinating color for each and outlined each iris with the glow in the dark paint to match, and used the natural color to emphasize the white highlight.
Perfect!
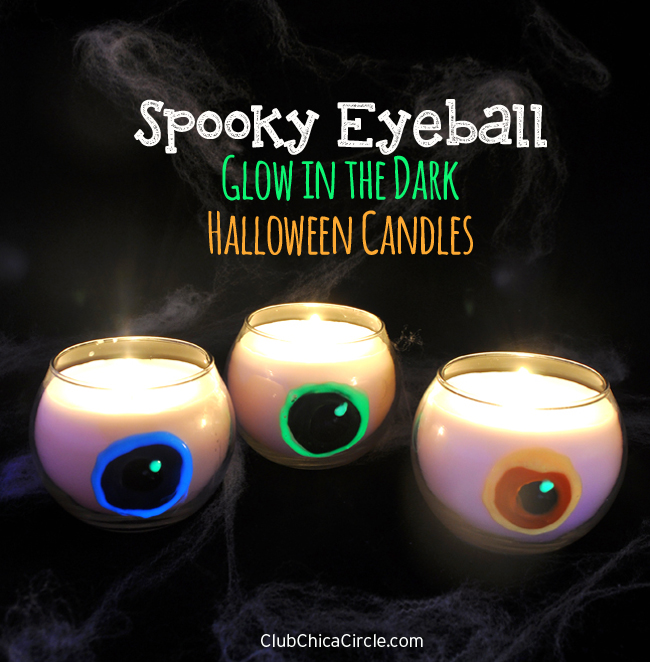
I love how these look in the light, in the dark, and under black light.
They look spooky both in the day and in the night, lit or under a black light.
So cool!


