How much Halloween candy do you have left in your house? Have you thought of creative ways to utilize all of the Halloween candy leftover from the spooky holiday? Here is a great way to give the candy as a treat (not trick) to someone long after the trick or treating is over. Also, as another idea in our Owl Obsession Series, this crafty owl will make a great homemade teacher’s gift, a gift idea for grandparents, neighbors, or anyone you just want to say thanks or “You are Hoot-tastic” to this fall season.
To get started, gather up the following supplies:
- recycled jar or canning jar
- Mod Podge (note: Mod Podge comes in many different finishes – gloss, matte, satin – any will work, it is just your preference)
- small fabric square of choice
- sponge brush
- foam (yellow or brown for eyes, orange for beak)
- felt (color of choice to compliment fabric and candy choice)
- scissors
- large googly eyes
- glue gun
- ribbon or pipe cleaners
- hole punch
(note: if you want to use a canning jar instead, simply cut a piece of fabric to fit on the top, and screw on the outer ring of the lid to secure. No Mod Podge necessary)
- Fill a cleaned out recycled jar with candy of choice. Pick a piece of fabric that compliments the candy wrappers in the jar so as to cover up any lettering that might be on the lid. Cut the fabric into a small square large enough to cover the whole lid along with the sides.
- To adhere fabric to the lid, use Mod Podge and a small sponge brush. This is a two step process. First, apply Mod Podge directly on top of the lid (only on the top area). Then place fabric square in the middle of the lid. Apply a second coat on top of the fabric on the top part of the lid again, and let dry completely.
- When top of lid is dry, cut excess fabric off the edge of fabric to create a circle just long enough to cover the sides of the jar lid. Begin again by applying Mod Podge directly onto the side of the lid. Then while adhering the sides down, apply another coat on top of fabric making sure all the fabric has been coated with Mod Podge. Don’t worry Mod Podge will dry clear, and it will leave the fabric hardened and adhered to the lid nicely.
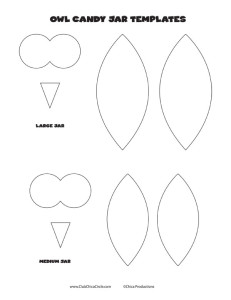
- Now, using the Owl Candy Jar Templates, cut out one piece of foam (shaped like the number 8 ) for the eyes and an orange triangular shaped piece for the beak. Also, cut out two eye-shaped pieces out of felt. You can choose a color that complements both the fabric and candy you chose earlier.

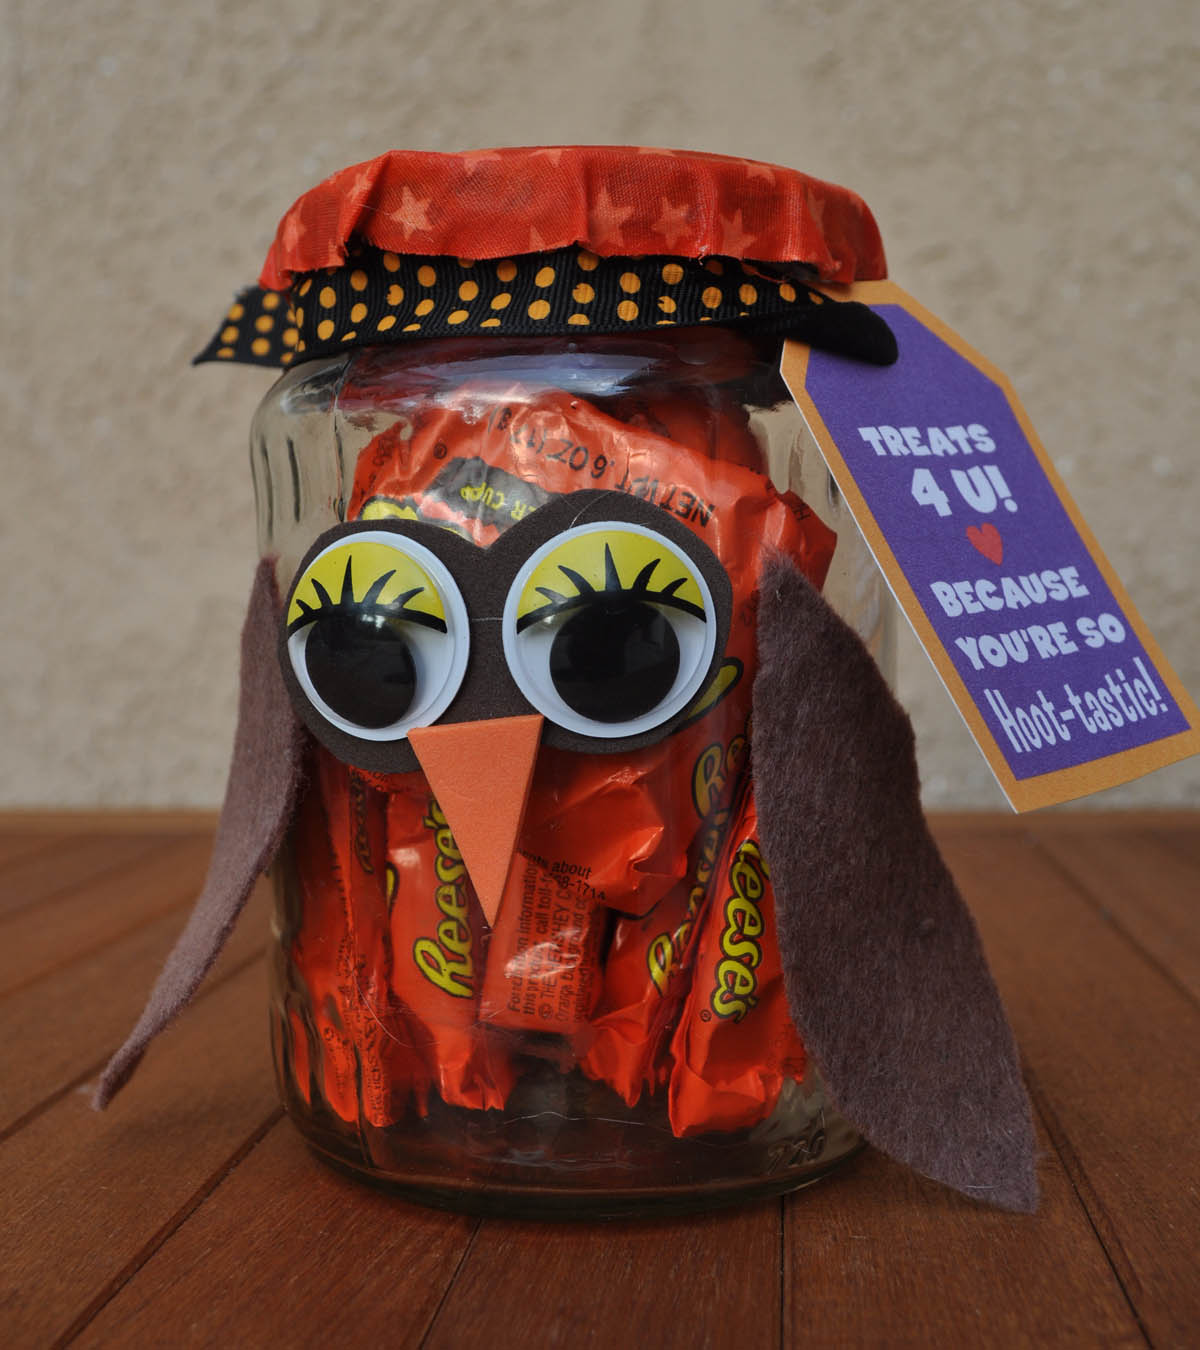
- Now it is time to assemble your owl. With a glue gun, glue two large 1″ googly eyes onto the foam eye piece. Glue the beak, then the eye piece onto the front of the jar. Along the sides of the jar, glue the felt pieces for the wings.
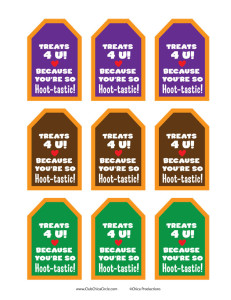
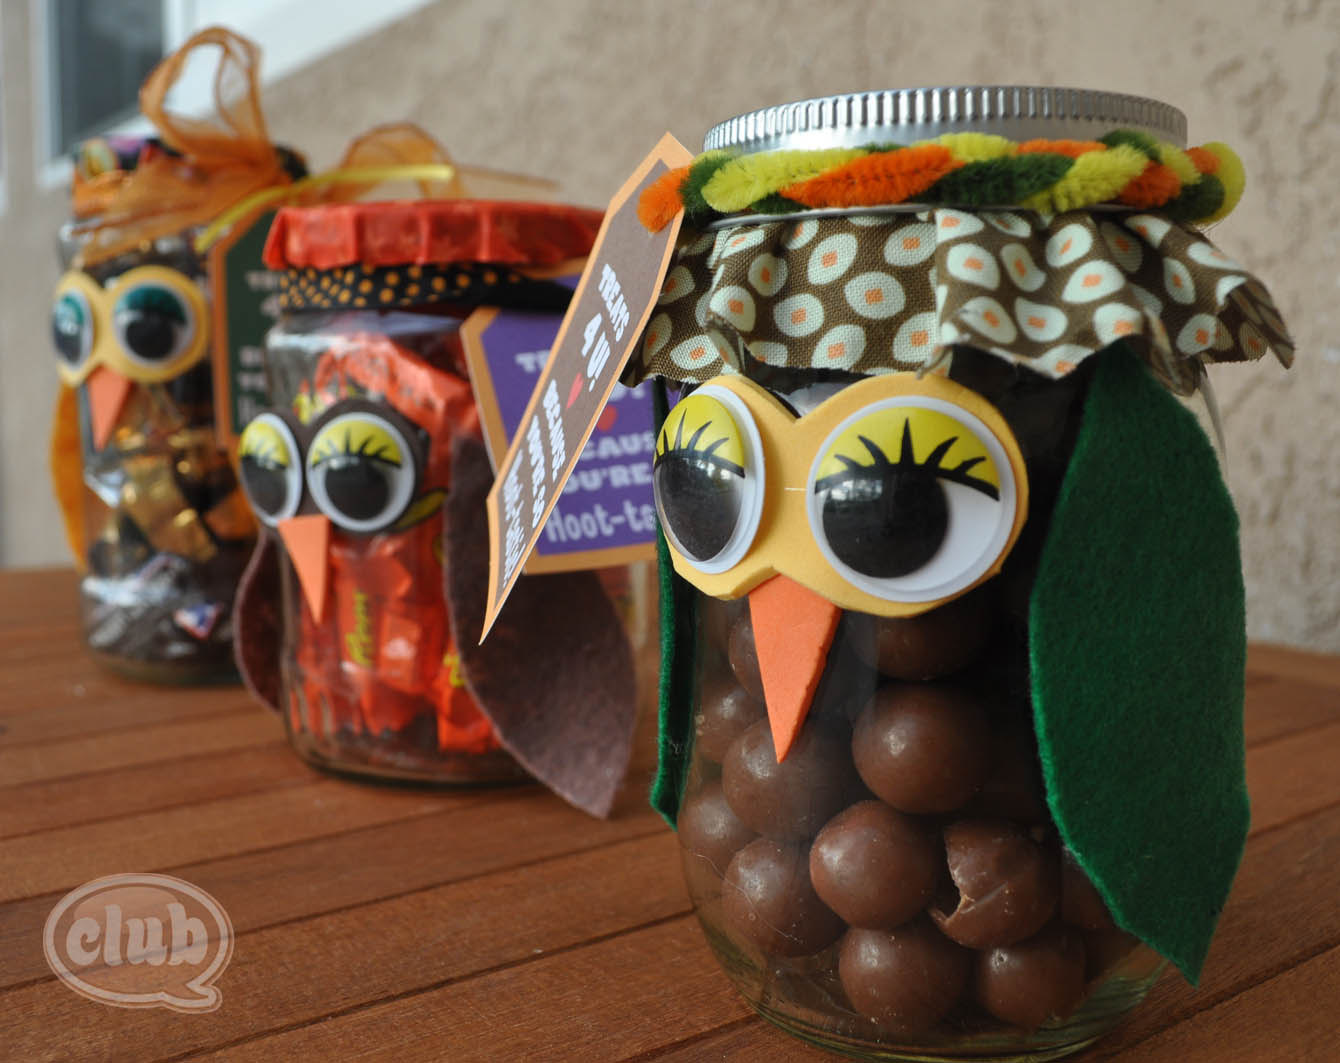
- Finally, personally and wrap up your gift. You can use the HOOT-TASTIC TAGS FREE printable. Print them out onto card stock paper, cut out and, using a hole-punch, punch a hole at the top. Attach gift tag with ribbon of choice, or you can braid 3 different colored pipe-cleaners together (halfway through attaching tag) and wrap around top of jar.
Give this Hoot-tastic homemade gift in a jar to someone special today!
Check out our Favorite Gift in a Jar Roundup for other great homemade gifts in a jar ideas.
What other creative ideas have you found to make all of the leftover Halloween disappear?


3 comments for “Owl Candy Jars DIY using Recycled Jars & Leftover Halloween Candy”