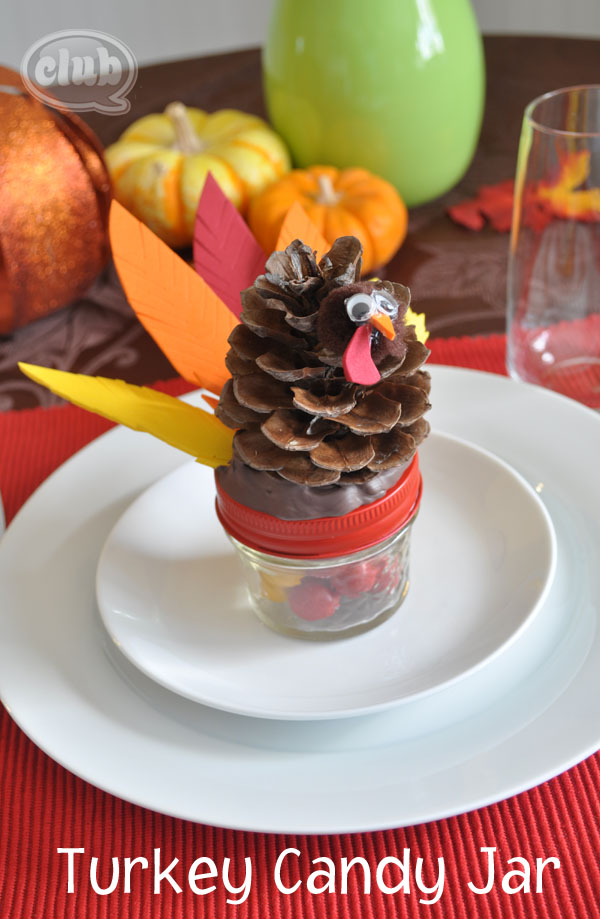
In case you missed it, one of new favorite craft materials I found at my local hardware store. It’s caulk, my crafty friends! I recently used white caulk to make these super cute cupcake candy jars. At Halloween, I used it to make a fun Halloween wreath. With turkey day right around the corner, I couldn’t resist trying to make a turkey candy jar.
I have been collecting pine cones in my neighborhood on my morning walks to craft with, and I knew it would make the perfect turkey body for my candy jar craft. For the cupcake candy jar, I used white caulk, but I found the perfect color of brown caulk that matched my pine cones. It could also be the perfect shade of chocolate. Sounds like I need to make a chocolate cupcake jar soon. = )
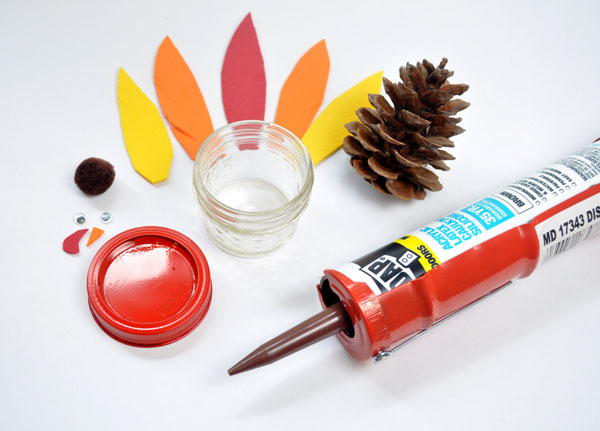
Anyway, back to talking turkey. Here is what I used to make this crafty homemade turkey candy jar:
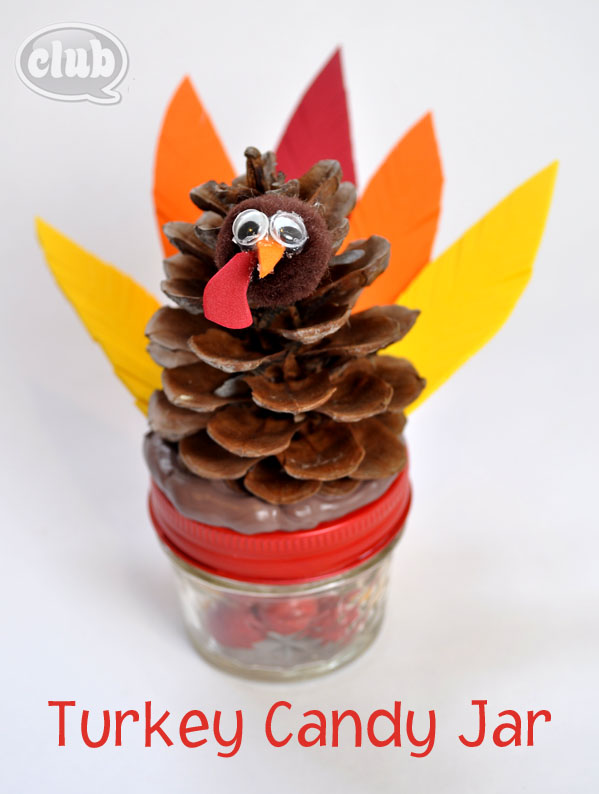
- red, orange, and yellow 2mm foam sheets (I cut 5 feather shapes that were about 4″ tall and 1.5″ wide. I also cut a small orange triangle beak and a small red waddle shape.)
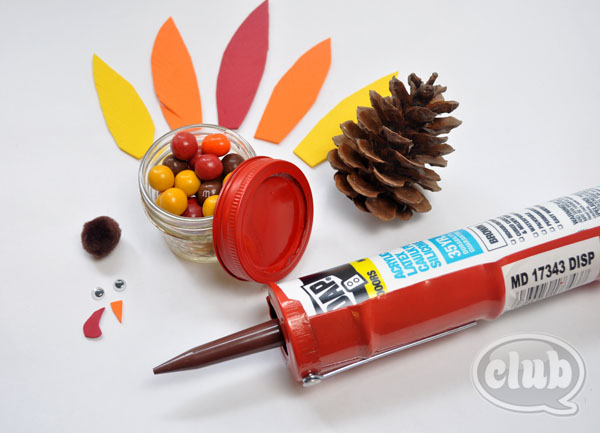
- mini 4 oz mason jar (I prepped the lid by hot gluing the seal to the rim to make one solid lid piece. Then I spray painted the whole thing red.)
- brown caulk
- 2 small googly eyes
- brown craft pom pom (I used one that was about 1″ wide)
- 1 medium sized pine cone
- Glue gun or craft glue
I filled the candy jar with some Fall colored pretzel M&Ms and closed the lid up. Now, the fun part! My tween loves to help with the caulk gun.
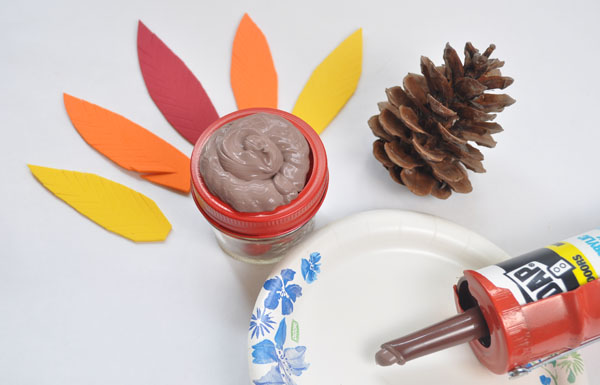
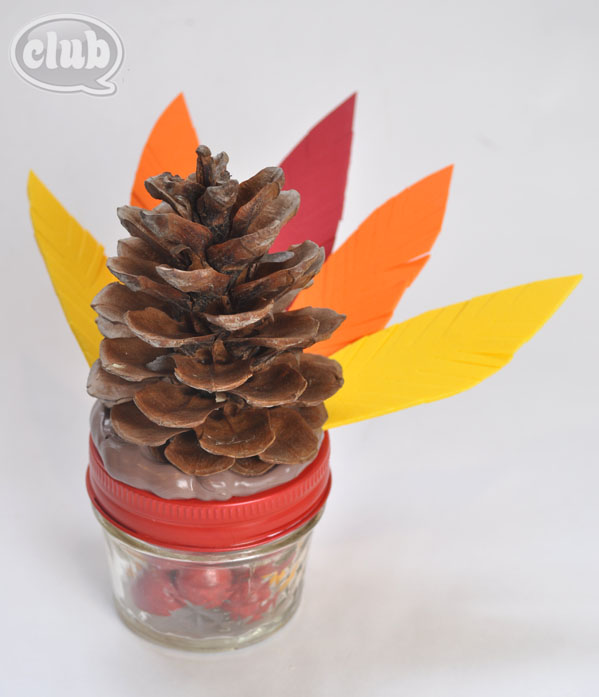
I squirted a large circular stream of brown caulk on top of the closed lid of the mini mason jar. I cut the tip of the caulk gun along the widest part of the tip to make the thickest stream of caulk.
Then I placed the pinecone right on the top of the caulk, along with the foam feathers along the back side. The caulk acts like a glue. It will take a couple days to harden fully, but it has enough “stickiness” to hold the attached items.
Next, I glued the eyes, beak, and waddle onto the brown pom pom with a glue gun. You can also use craft glue. It will take longer to set, but it can also be a little less messy than hot glue. The final step, was gluing the finished turkey head onto the front of the pine cone. That’s it!
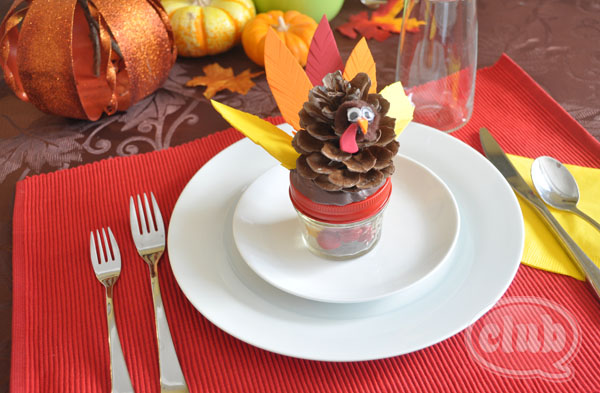
This would make a great homemade teacher gift, neighbor gift, or a great table setting idea for your Thanksgiving celebration.
We hope all of you are enjoying the holiday week. My tween is off of school for the whole week, so we are definitely going to be enjoying some family time this week. Hope you enjoyed this quick tutorial for making your own turkey candy jar.
Happy crafting!
If you liked this post, and want more, you can subscribe to be on our mailing list here.
*a little note about crafting with caulk: certain precautions should be taken when crafting with caulk. It can be quite harmful if ingested, or may cause skin irritations. Always remember to use in a very well ventilated area, use rubber gloves for extra safety, and take special care when crafting with children. Although, many of the crafts I have created look good enough to eat – they aren’t! Caulk can be very harmful if swallowed. If you make homemade gifts containing food items in them using caulk, please make sure caulk has completely dried in a well-ventilated area first and does not touch candy or food before introducing food item. For more information see here.



3 comments for “Let’s Talk Turkey – with a Pinecone and Caulk!”