Disclaimer: this post is sponsored by DecoArt. All opinions, ideas, and images are completely my own.
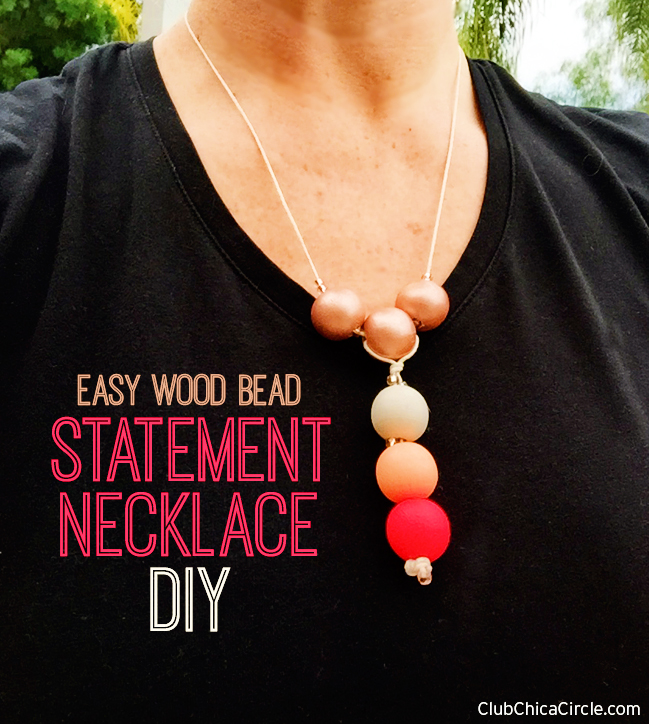
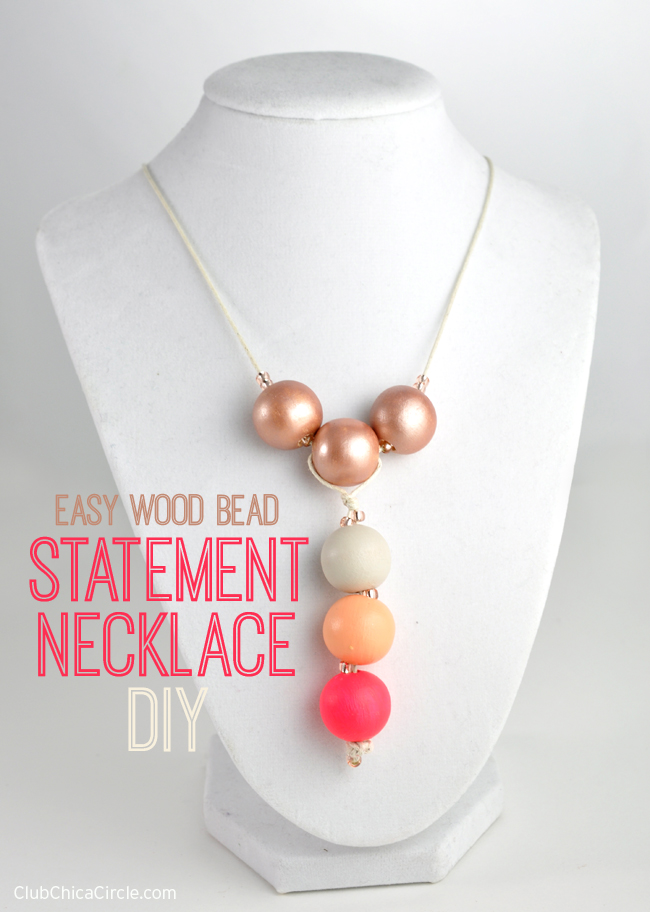
This is my new favorite necklace! It’s one-of-a-kind. It’s a mix between shiny with a pop of some of my favorite colors. It makes a statement and I love wearing it!
I didn’t find it in any store. The truth is, I made it with wood beads, craft paint, and the newest color in the DecoArt® Metallic Lustre™ line.
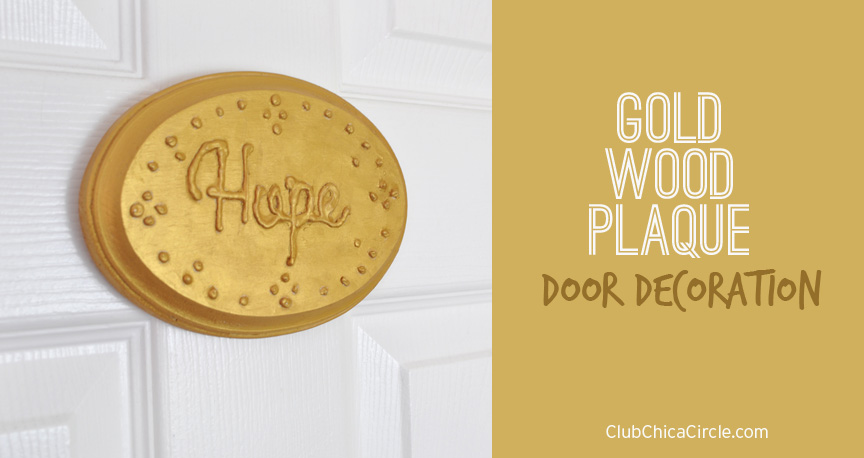
I have used Metallic Lustre in a number of other craft projects, like this HOPE wood door sign:
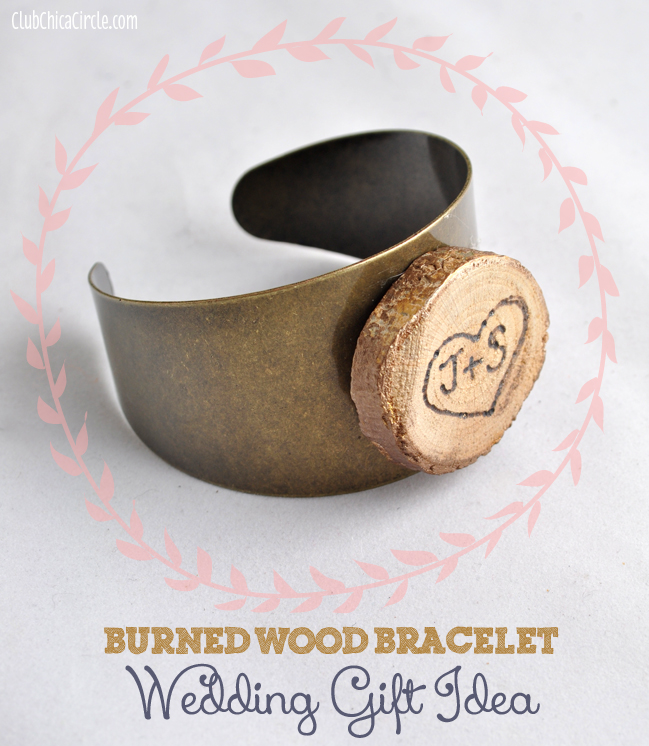
or to give a little rustic glam to this bracelet that I made as a wedding present for a dear friend:
But I have to say, I really LOVE the new Rose Gold Metallic Lustre color. So gorgeous!
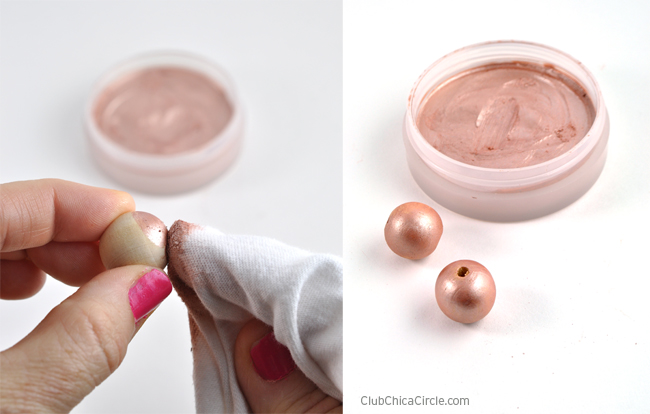
And honestly, it couldn’t be easier to apply to an unfinished wood surface. I simply used a soft cloth (I like to cut up old t-shirts to use as craft rags) to apply the Metallic Lustre right onto my surface. I continue to buff and rub until I’m satisfied with the coverage, the shine, and making sure there isn’t any excess. It isn’t like paint where you have to wait for it to dry. And a little goes a long way.
Here is the full supply list that I used to make my fun wood bead statement necklace:
- unfinished wood beads about 5/8″ in diameter ( I used six total)
- DecoArt Metallic Lustre in Rose Gold
- Americana® Multi-surface Satin in Neon Pink, Mushroom, and French Silk colors
- Soft cloth
- Paintbrushes
- Cream colored cording
- Seed beads in coordinating color
Above I showed you how easy it is to apply the Metallic Lustre to wood. I applied to three wooden beads.
Then, I wanted to make three different colored big beads with coordinating colors and one that would have some “Pop”. I painted one neutral, one a pretty peach color, and the third a neon pink color.
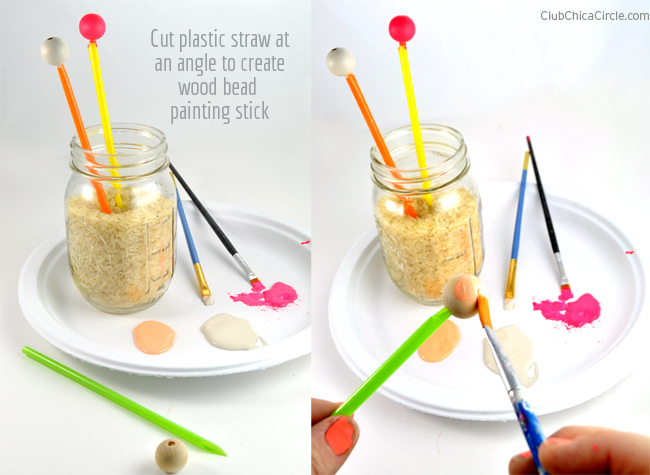
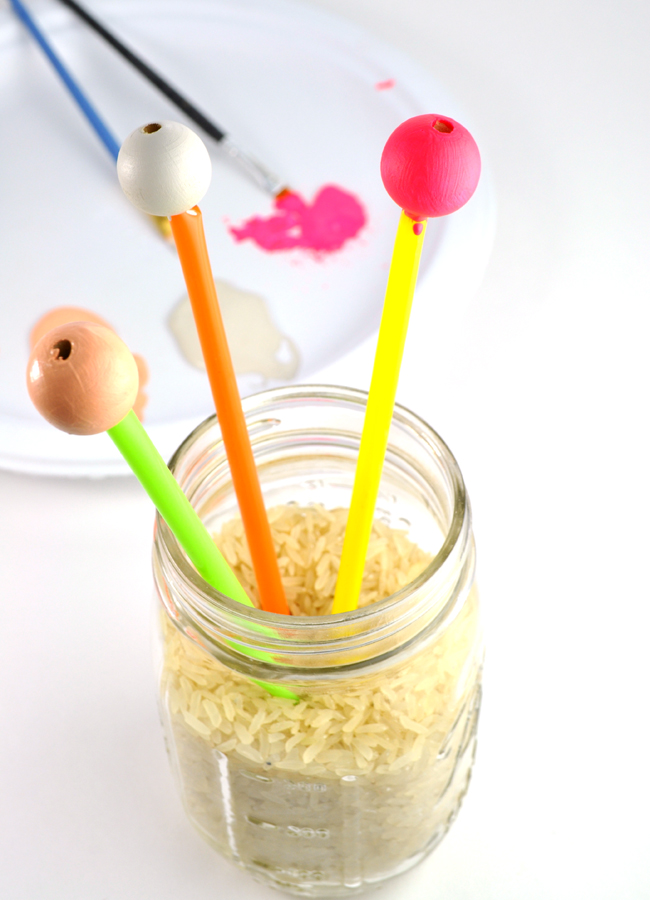
My little try to painting wood beads without getting your fingers all messy is to cut a plastic straw at an angle to create a tip that can easily be put into the hole of your beads.
Then simply hold your new “paint stick” and apply paint with a paintbrush. Then, another trick to avoid ruining your new paint job is to place the end of your straw in a cup of rice to hold upright until the paint is dry.
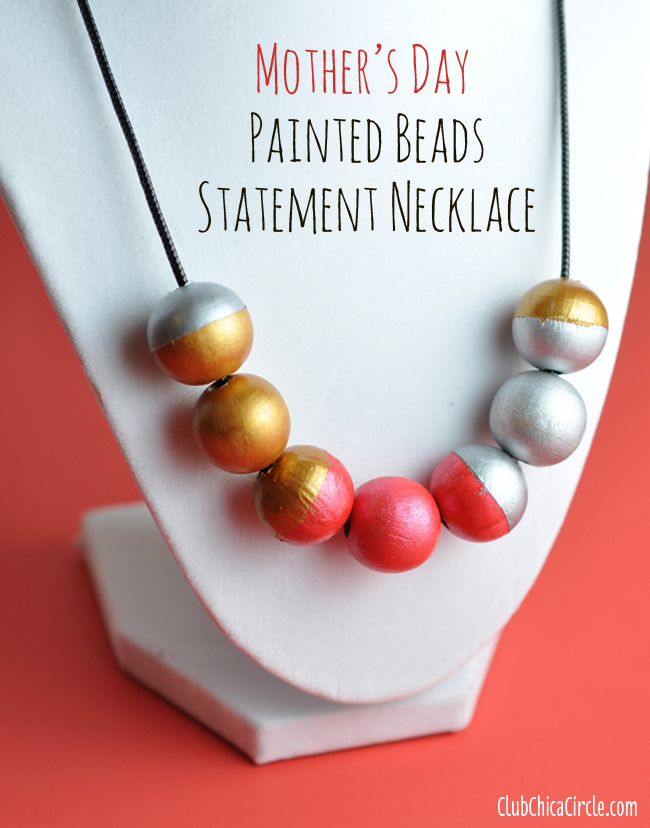
I used this same technique here with metallic painted wood bead necklace:
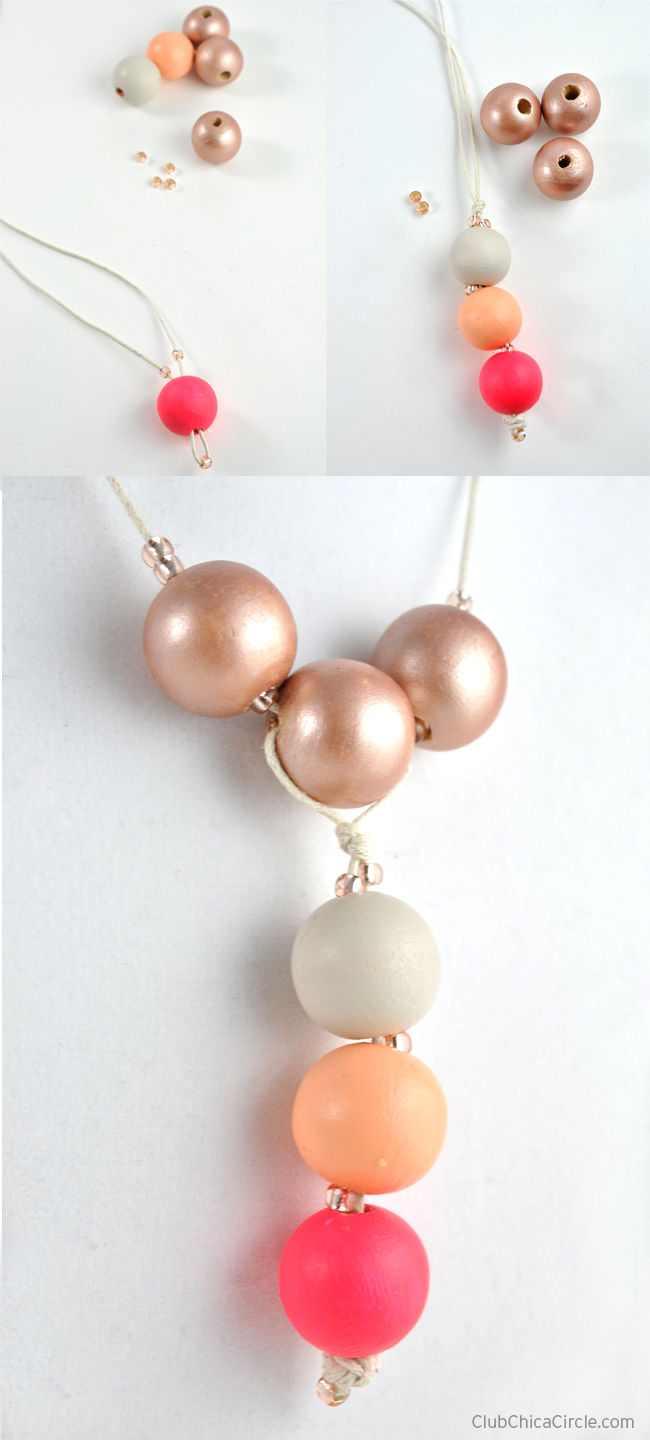
For today’s statement necklace DIY, I first cut a length of jewelry cotton cord about 30″ long.
I strung a seed bead on the cord and folded it in half and strung it through my first colored wood bead. Then I knotted the cord a couple of times so that it would not go through the hole in the bead. I used the bead and the knots as a “stopper” for the bead.
Then I strung more seed beads on each side of my cording and strung through the next painted bead. Repeating until I had all three colored beads strung on my cord in a line. I finished off with another knot at the top.
Then I took each end of the two cords and strung them through one of the Rose Gold beads, followed by more seed beads and the last two beads on either side of the center gold bead.
Lovely!
I truly love the way my new necklace turned out. What project would you try with Metallic Lustre Rose Gold? I’m telling ya, you are going to love the results!
Enjoy!




2 comments for “Easy Wood Bead Statement Necklace DIY”