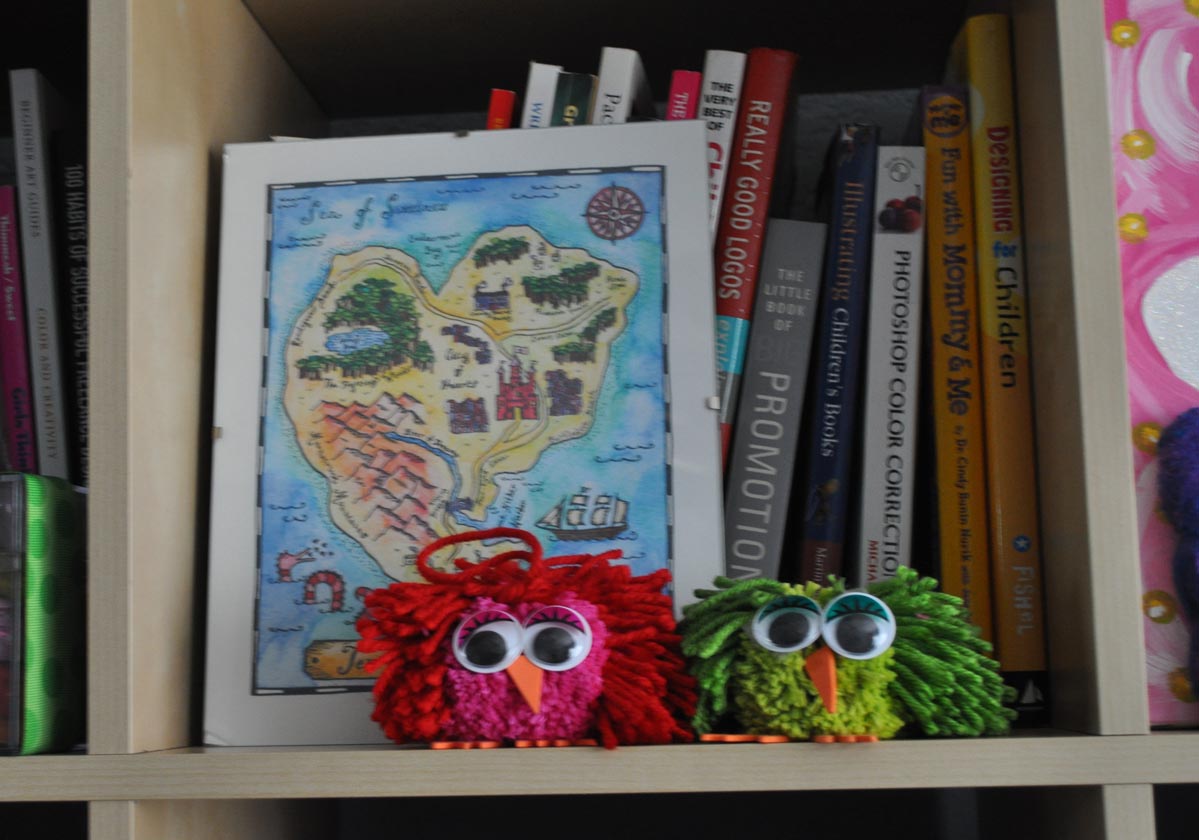
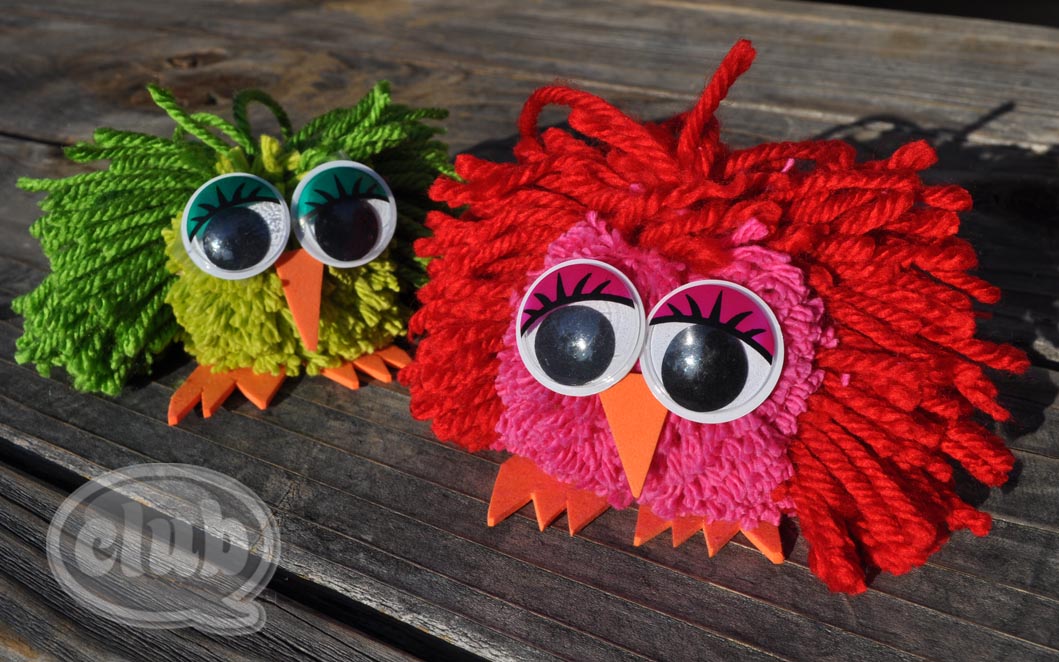
Turkey Day has passed and there are still a few days to celebrate my Owl Obsessed Month! I modified my DIY pumpkin pom pom tutorial and created these super cute owl yarn creations. They are hanging out now on my bookshelf, but these could make cute homemade gifts to fellow owl lovers. You can attach them to a gift box instead of a bow, or hang them on your holiday tree as a cute Christmas ornament idea.
Here is what you will need:
- 1/2″ diameter clear plastic tubing (found in hardware stores)
- 2 different colors of yarns
- sharp scissors
- self-adhesive sheet of orange foam
- large googly eyes
- craft glue
This technique is different than the multi-colored pom pom DIY in that instead of wrapping multiple colors of yarn around the plastic tubing pom pom maker, you wrap two different yarns on top of each other.
How to make your Owl Pom Pom:
- First cut a 5″ piece of plastic tubing with a sharp scissors. Then along one side of the tubing, cut a slit all the way down the side.
- Cut a piece of yarn at least 12″. Fold in half and place in center of tube with an end hanging out from each side. This will create the loop that you can hang your owl with.
- Holding the end of the tube in one hand, start wrapping the first color of yarn around the length of the tube – not too tight and not too loose. Keep wrapping in a uniform manner until you have about a 1/2″ – 3/4″ thickness of yarn around the tube. The more yarn you use, the thicker the pom pom will be. Cut the end of the yarn when you are satisfied with the thickness on the tube.
- Now start wrapping the second color of yarn on top of the first color. Keep wrapping in a uniform manner until you have an additional 1/2″ – 3/4″ thickness of yarn around the tube. Cut the end of the yarn when you are satisfied with the thickness on the tube.
- Now pull the yarn that is in the center of the tube, bring together tight making a “U” shape with the tube, and tying off one time.
- Making sure that you hold on tight to the tied off string from the middle (it will start coming through the cut slit in the tube you made in step 1, start cutting the yarn all along the outside. Keep pulling and holding the center string tight and continue to cut until you have cut through all the outside layers and have exposed the entire tube. Pull off the tube and set aside.
- Pull the center string tight one last time, and now double knot for security.
- Now it is time to give your pom pom a haircut and create an owl. I only cut the inside color to create the body and left the outside color as is to represent the wings. Hold the center string in one hand while cutting so that you don’t cut the loop for hanging.
- Cut out beak and feet pieces from a sheet of orange self-adhesive foam, and place on owl. You can print out the template here. Owl Pom Pom template
- Finish off by gluing on large googly eyes to front of your owl pom pom creation. Hoot-Hoot!
Have fun making your own owl pom-pom characters! Where will you hang them?
If you liked this post, and want more, you can subscribe to be on our mailing list here.


2 comments for “Owl Pom Poms DIY”