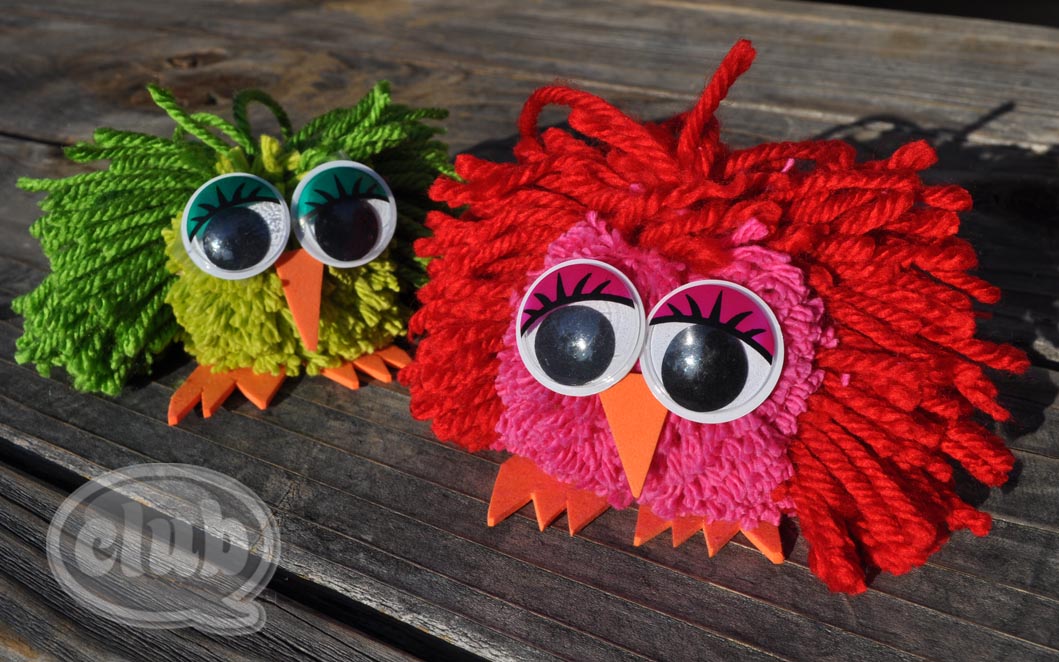
Hoot-hoot! Remember these guys?
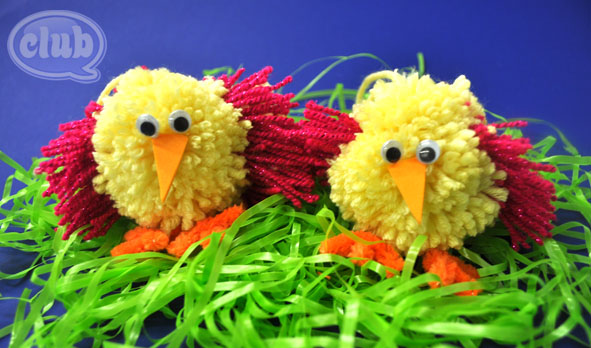
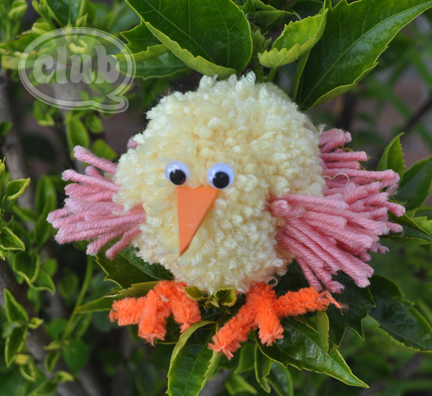
I couldn’t resist making some little chick versions for Spring using the same technique here.
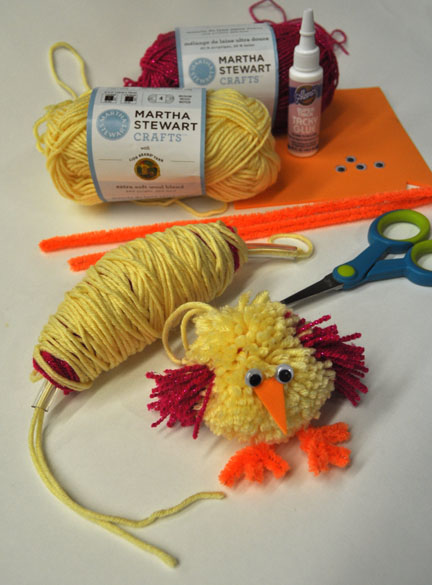
I used my homemade pom pom maker, cut from plastic tubing found at a hardware store, and wrap 2 different color yarns around the tubing. The trick is how I wrapped them. The first color I used was a soft pale yellow, which will be one half of the chick body, then I wrapped a bright pink sparkly contrasting yarn for the wings, and finished off with another layer of yellow for the rest of the body. Try and make the yarn body layers using about the same amount of yarn so that they are even. I used less yarn for the wing layer.
The other supplies I used were orange foam for the beak, 2 small googly eyes, Aleene’s Super Tacky glue, and orange pipe cleaners for the feet. And of course a scissors to trim the homemade yarn pom pom.
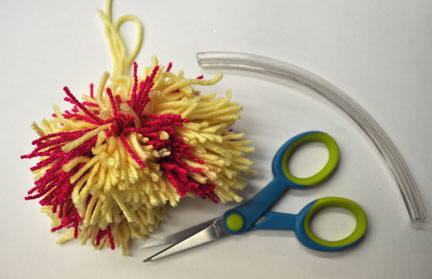
This is what my pom pom looked like just as I cut it off my homemade pom pom maker. The fun part is giving it a haircut. The trick is to trim the yellow body yarn so that it forms a nice tight ball, and leave the accent yarn for the wings. Once you have trimmed the pom pom to your liking, I pushed the wing layer to the side to create the front of the chick face.
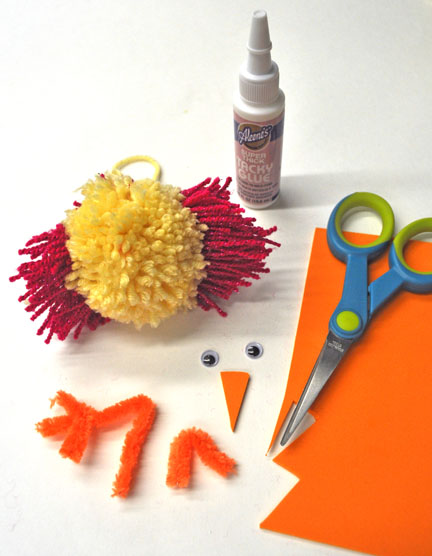
Finish up by cutting out a small triangle for the beak, and gluing it along 2 googly eyes for the chick face. Then make three V shapes with a pipe cleaner – one big, and two small. Twist the two smaller ones on the end of the bigger one to create the feet, and glue on the bottom of the pom pom. And you are done!
The way I made them with my homemade pom pom maker, it leaves a little loop at the top. I like to use it hang on things, maybe attach to a treat or a gift. This would make a super cute addition to an Easter basket, or just a fun Spring activity for you and your tween. Cheep-cheep! = )
If you liked this post, and want more, you can subscribe to be on our mailing list here.



1 comment for “Homemade Pom Pom Chick DIY”