Hello! It’s Alli here from Made with HAPPY sharing another fun craft for you and your kids this Fall season.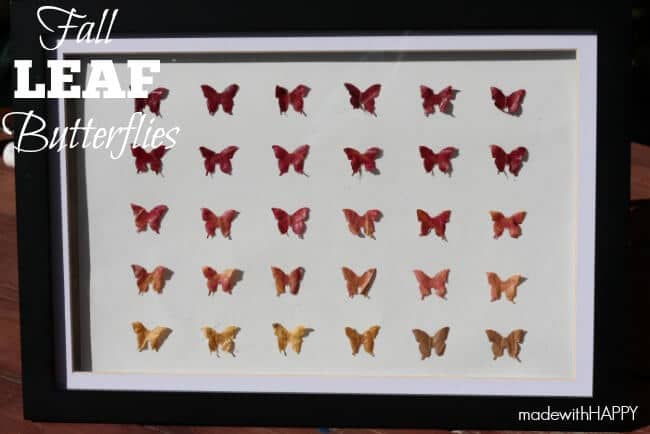 This fun display of Fall leaves cut into butterflies is not only beautiful to look at, it is so much fun to make with the kids!
Here’s how we made it.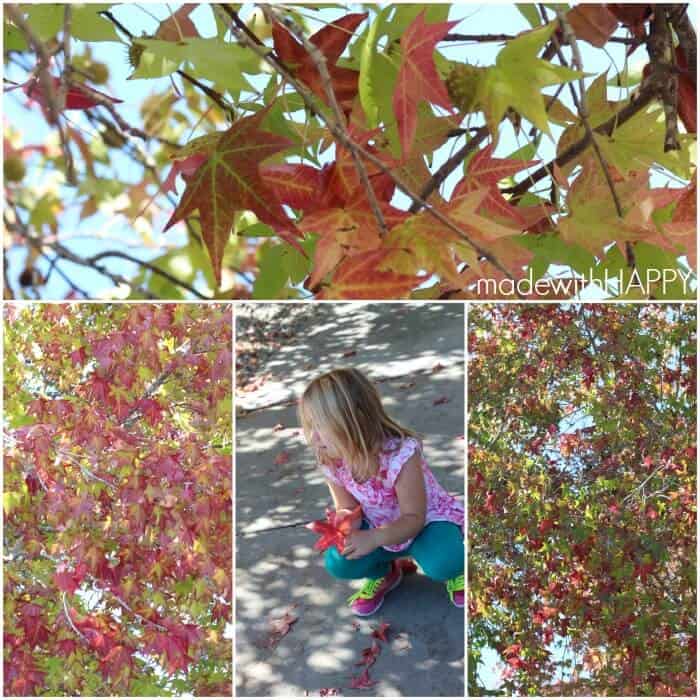 We went out for a walk and found a few great trees in our neighborhood that were full of color and had begun to drop their leaves. You’re going to want to grab leaves that have some elasticity and life still in them. The dry brittle ones don’t work that well for this project.
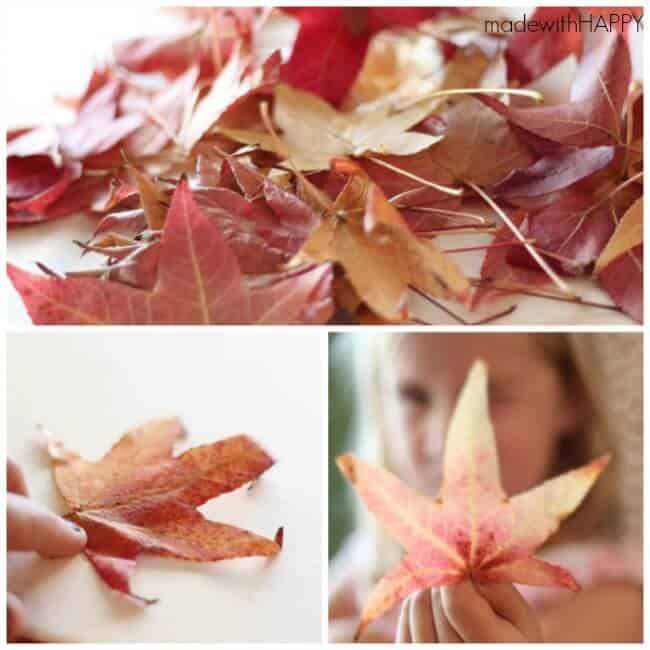 Once you get them home, we began to cut off the stems. We found the leave was easier to feed into the butterfly punch.
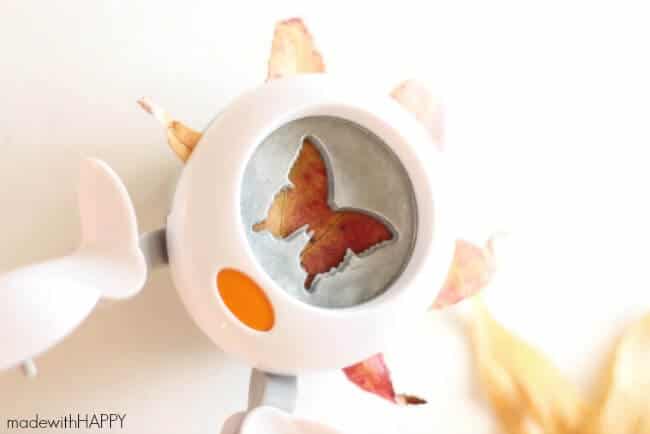
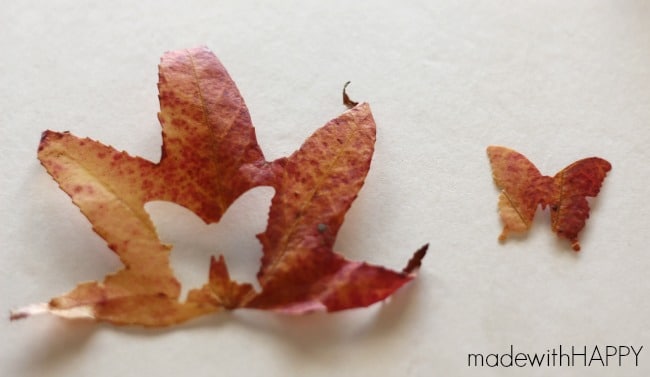 Punch out as many butterflies as you can get from your pile.
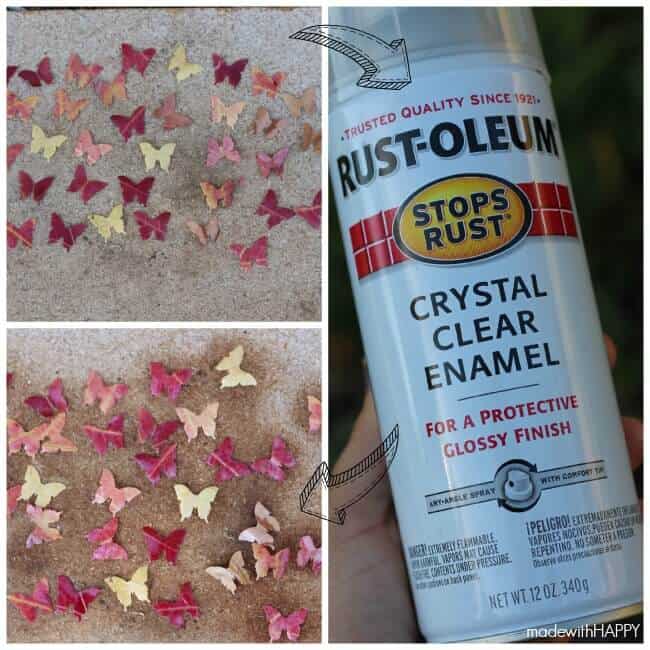 From there, we moved them all outside to a paintable surface and we very lightly sprayed all the leaves covering each leaf in clear enamel. Let dry.
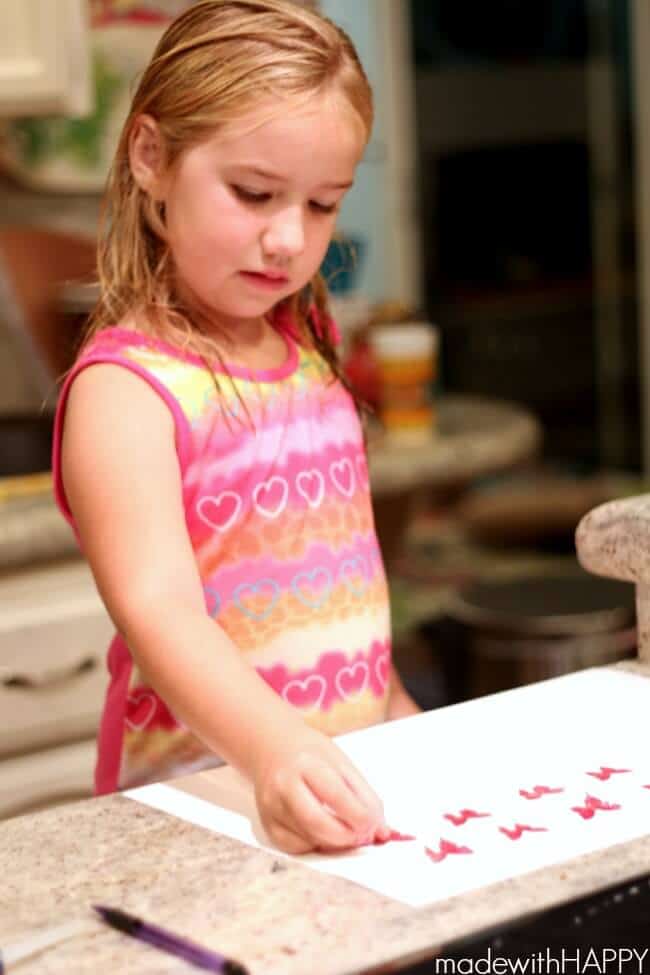 Once they are dry, you will need a large white piece of cardstock or poster board and some white glue.
 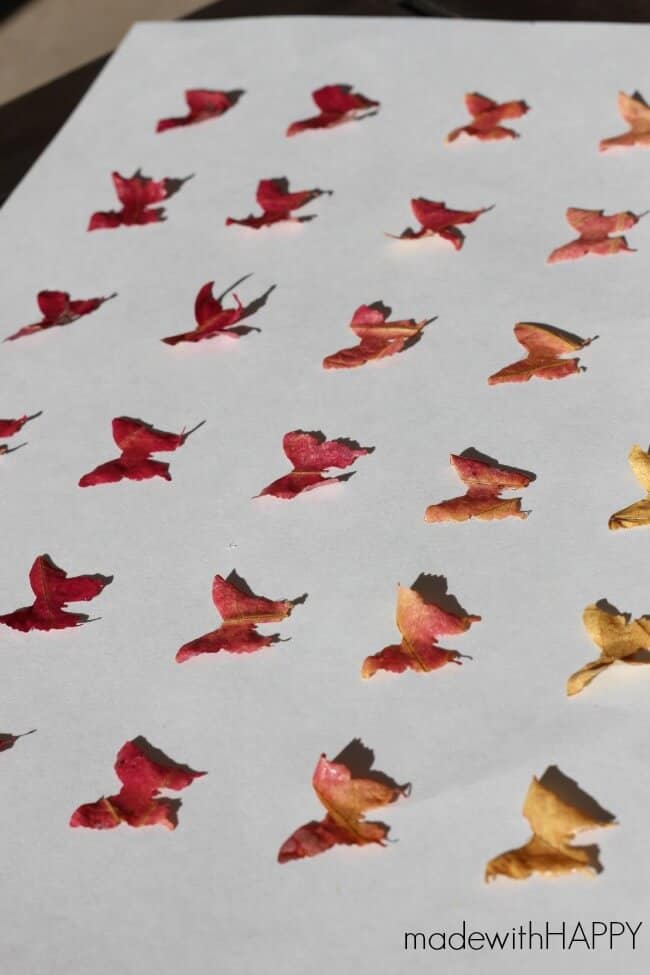 We thought it would be fun to make it more of a ombre look starting with the darkest red butterfly in the top left corner and making our way down to the lightest yellow in the bottom right corner, but you can certainly create your master piece in whatever layout makes you HAPPY.
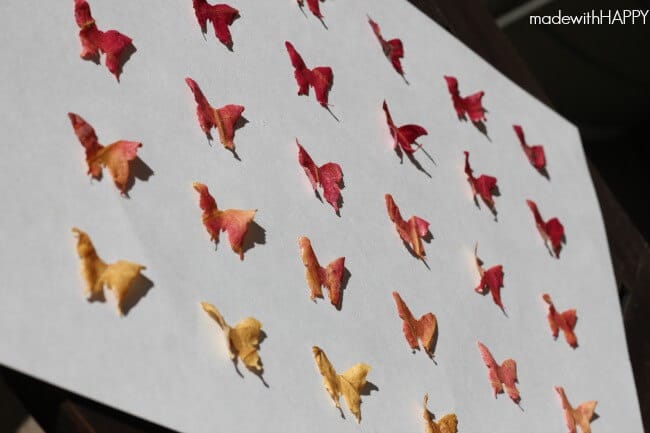 If you are looking for uniformity in the spacing, use a ruler and make a small pencil dot on the paper evenly spaced. This is where you will want the place a dot of glue and then gently add the butterfly.
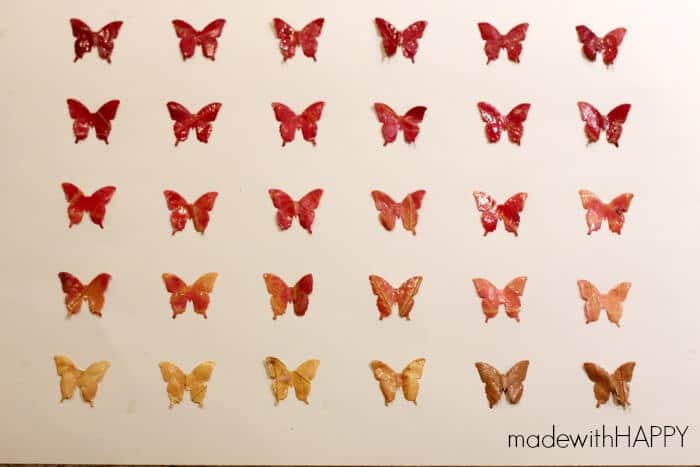 Viola, you have yourself a great center piece for your Fall mantle or for your seasonal frame. Plus its a great conversation starter for your guest who will initially look at it as if it were real butterflies. I hope you enjoy this as much as we did at the Made with HAPPY house.
Happy Crafting!
Here are a few other FALL favorites from Made with HAPPY


2 comments for “Fall Leaf Butterflies Craft and Wall Display”