Summer, summer, it’s almost summer!
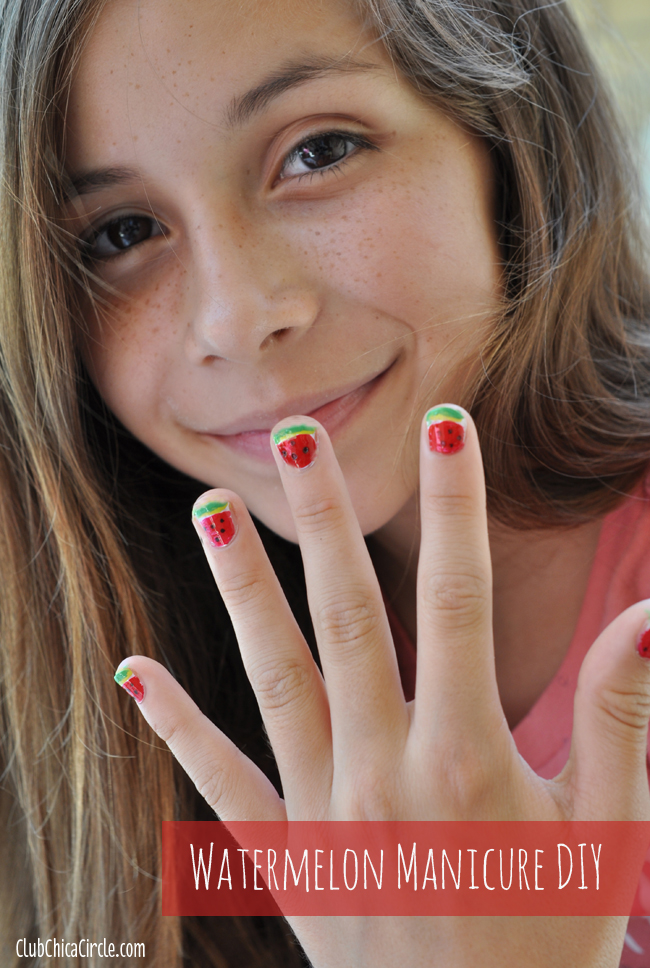
Many of you might have started your summer already, but my girl still has a week of school left. We are doing everything we can to make it come faster—including painting our nails in cute watermelon designs!
Last week, I shared 5 Fab Watermelon Treats, and today it’s all about the nails!
I’m no nail expert, but I am crafty, and this tutorial is easy enough to do yourself, and is perfect for tweens!
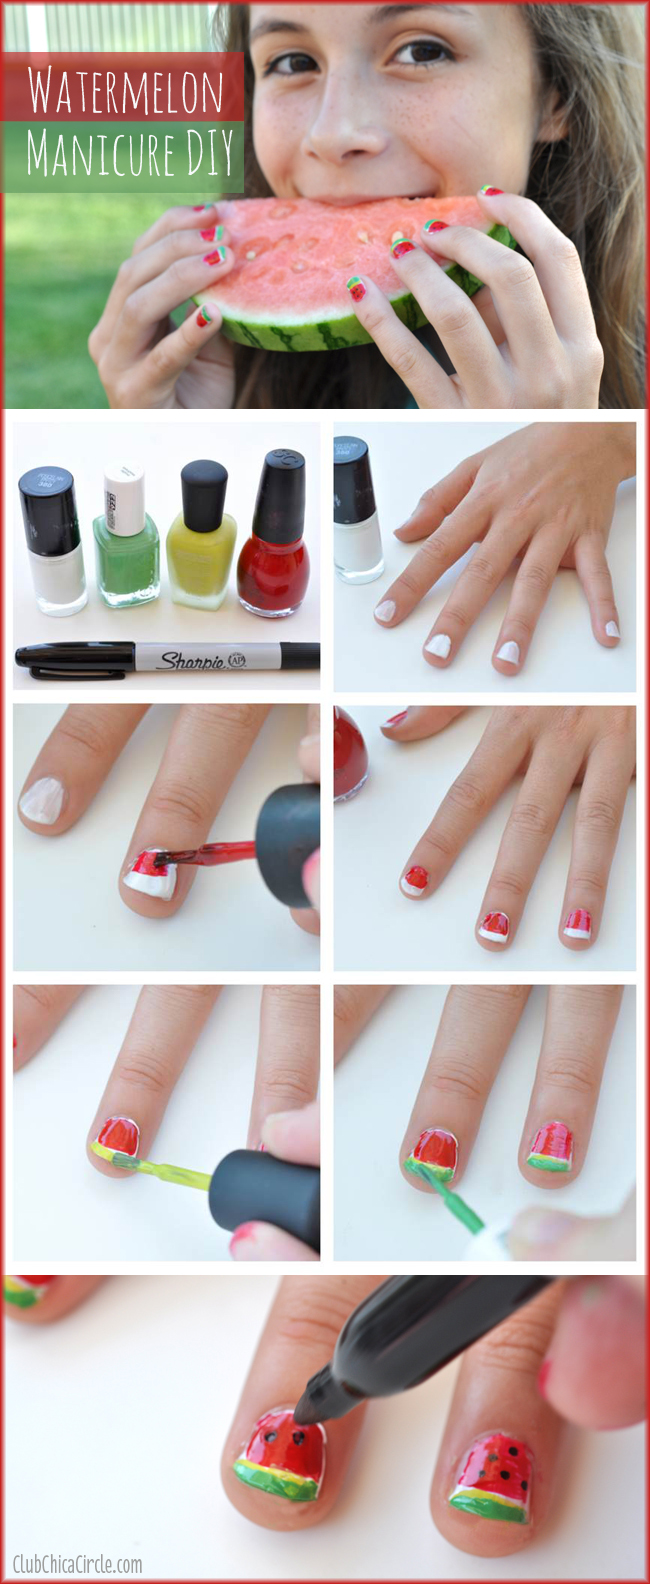
I used white, red, bright green, and green nail polish colors, plus a black Sharpie to make this cute nail design.
First step, paint your nails all white. This will make all of the other colors nice and bright, and it looks great with a little white peeking out in the end.
Next, paint a stripe of red nail color on the bottom two-thirds of your nails. I found it easier to hold the brush sideways and apply nail color across the nail.
Using this same technique, then apply the bright green color along the top of your nail, letting some of the white peek through.
Then, apply the darker color green just at the tip of each nail and let dry completely.
TIP: use a cotton swab with a little nail polish remover to clean up any nail polish that might get on the skin outside of the nails.
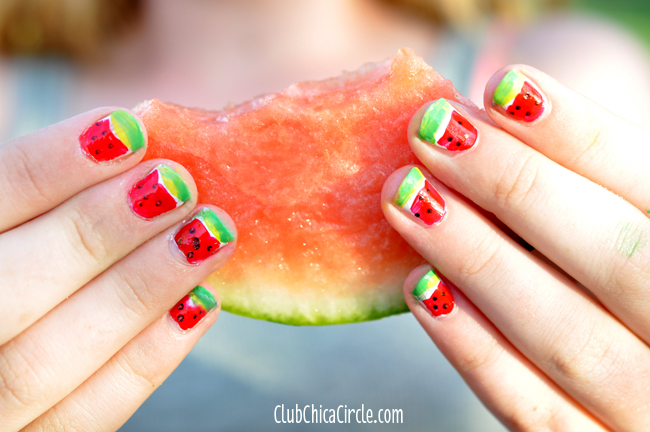
After your nails are dry, add the final details by using a Sharpie or black permanent market to put dots on the red portion to look like watermelon seeds.
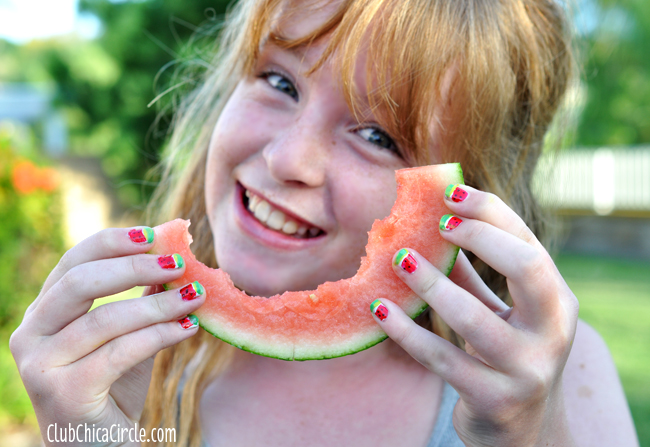
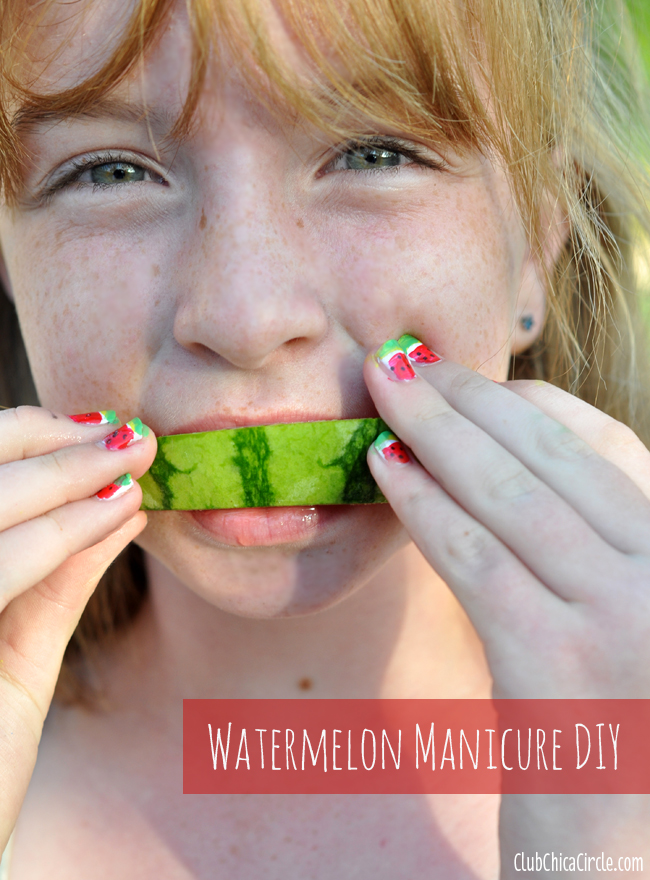
Then, smile… and enjoy your cute watermelon manicure!
Our nails made the girls so hungry for the real thing. I just couldn’t take the pictures fast enough before they ate the watermelon. = )
Happy crafting!
If you liked this post, and want more, you can subscribe to be on our mailing list here, and make sure to get your free Cupcake Toppers Printables for Every Occasion.
Feeling social? Follow ChicaCircle on Facebook or Twitter, and follow me on Pinterest or Instagram.

