Disclosure: this post is sponsored by Michaels Recollections™. All craft ideas, opinions, and images are completely my own.
I LOVE, LOVE, LOVE, holiday crafting, whether it’s for homemade gift ideas or for holiday decorations. This time of year, I am usually making regular trips to Michaels for more craft supplies. Michaels has great basics and kits in stock just in time for the holidays.
And, there is just something about glitter and the holidays that are perfect pair together. Last year, I made these super cute mini glitter present ornaments with decoupage and Michaels Recollections glitter. This year, I found the best Recollections holiday products located in the paper crafting section on the endcaps of the aisles. I came home with a variety of products to keep me busy, including wrapping paper, glittery snowflakes, pretty bows, and shaped wood embellishments, to name a few.
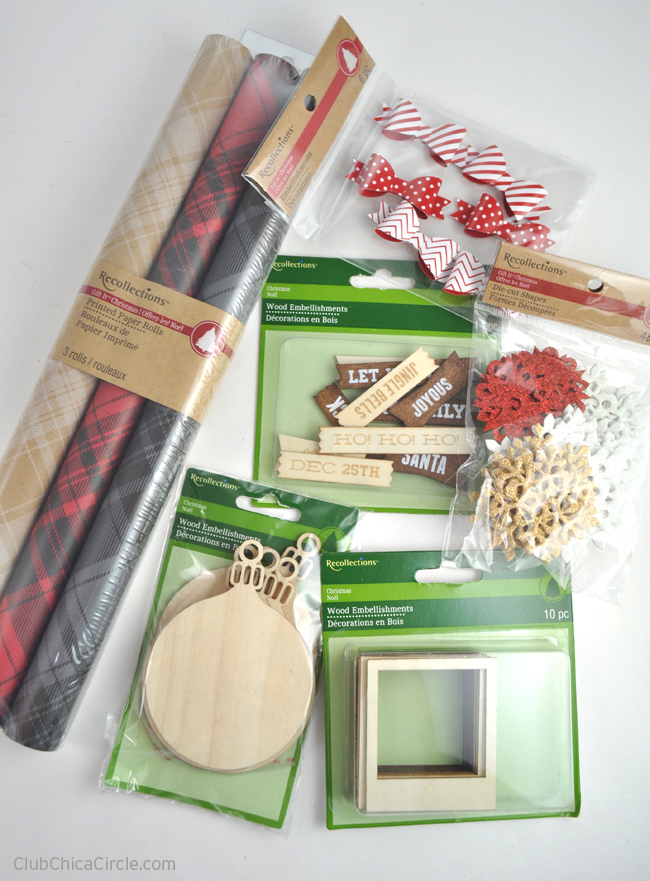
For today’s craft tutorial, I decided to focus on the wood embellishments. Stay tuned for future craft ideas using some of these other goodies!

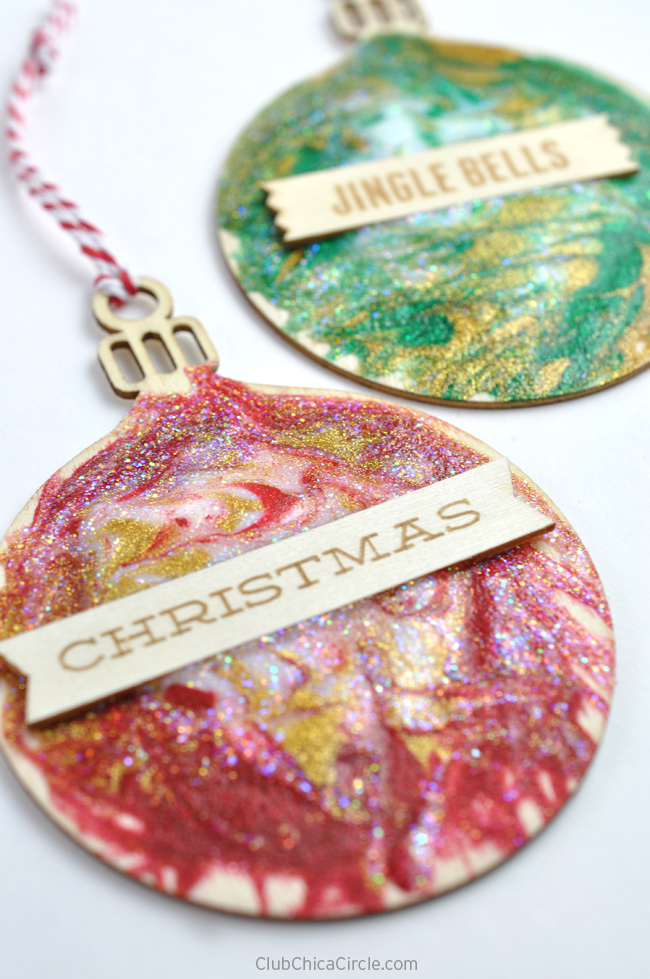
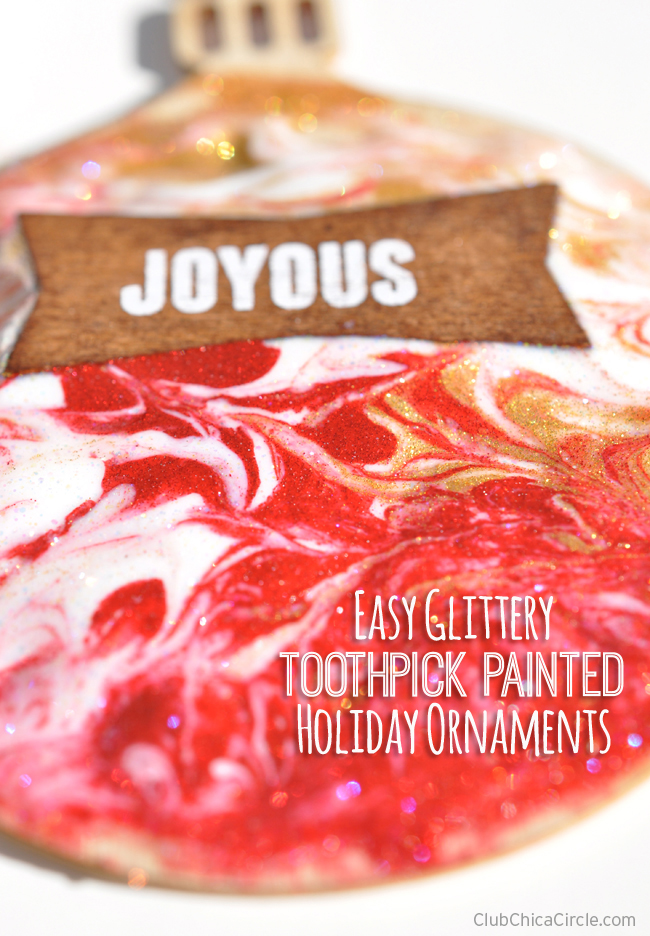
I wanted to turn these wood shaped ornaments into glittery works of art, and super festive ornaments. This craft idea is so easy, it makes a great kids craft project, or even a holiday classroom idea.
To make these super cute glittery, I used the same toothpick painting technique that I did here.
After, I picked up the wood ornaments and the holiday word wood pack, I went down the paint and glue aisles for:
- Sizzling Red, Gold Glitz, and Emerald DecoArt Glamour Dust Ultra-Fine Glitter Paint
- Extreme Glitter Mod Podge
The only other supply I used was toothpicks.
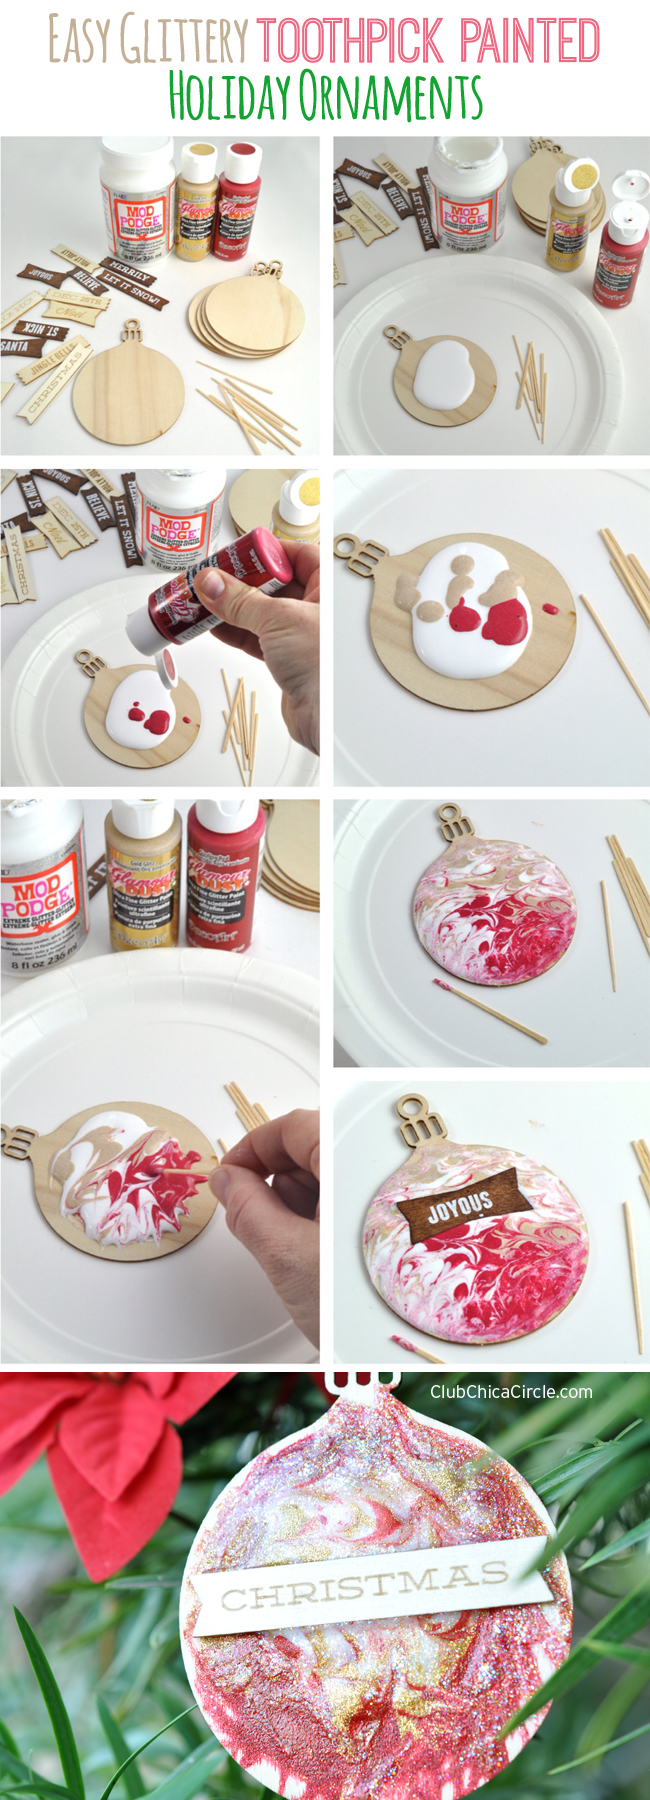
First, I poured about a tablespoon of the glitter Mod Podge on top of each wood ornament shape.
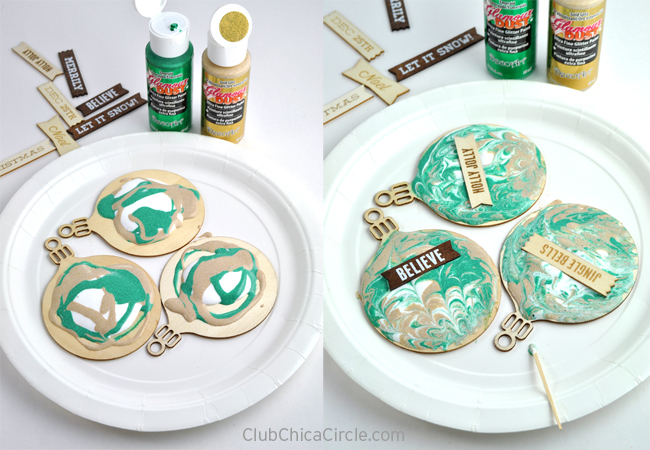
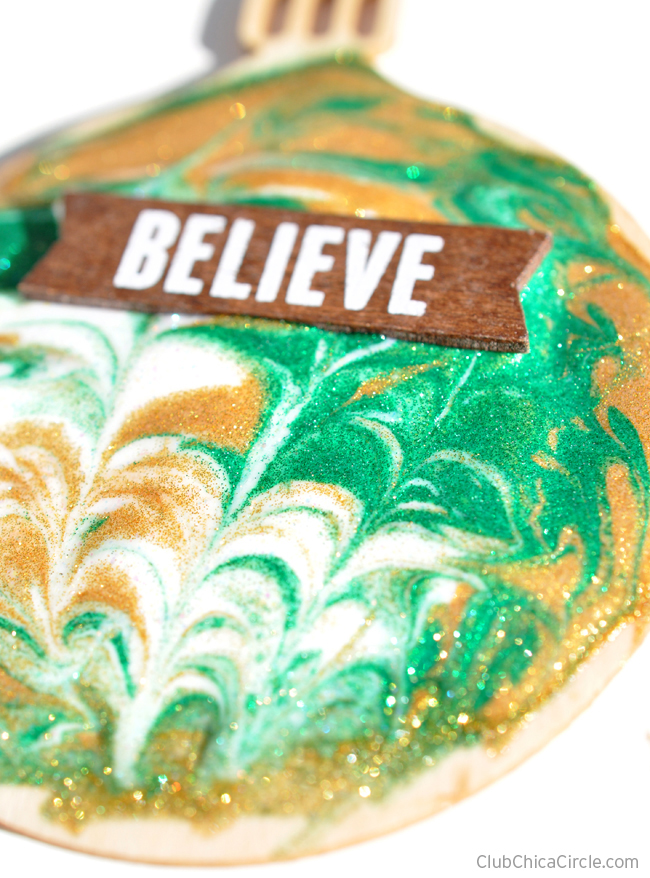
Then I randomly squirted my glitter paint right on top. I combined either the red and gold glitter paints, or the green and gold glitter paints.
Then to make the “magic” happen, I used a toothpick to swirl the paints together with the Mod Podge. While the glue and paints were still wet, I placed one of the decorative wood holiday words on the top, and let them dry completely.
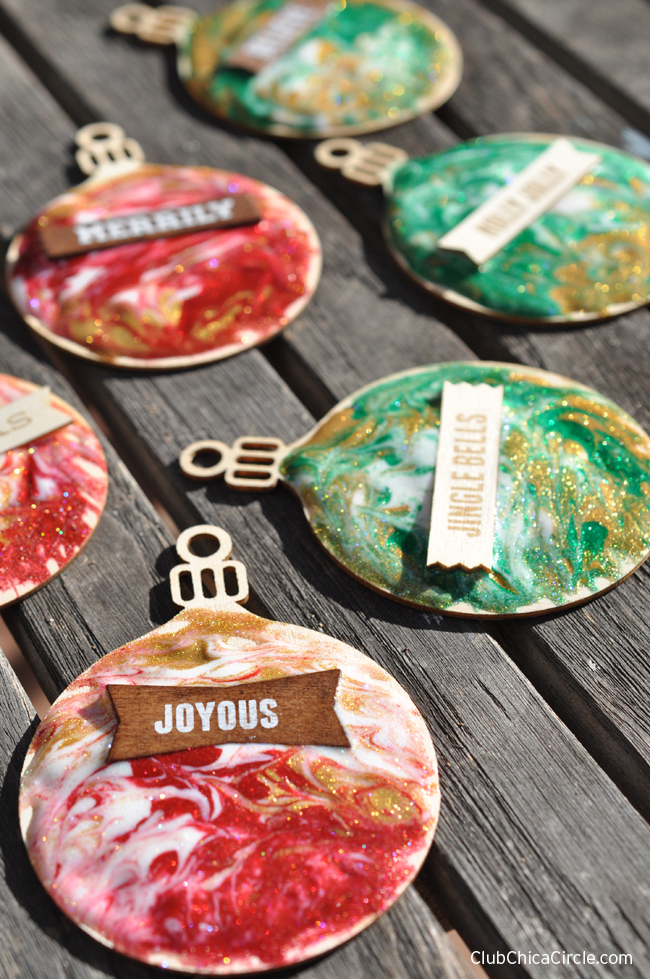
I let them dry outside in the sun, but I realize that it depends where you live if you have access to sunshine outside.
I love how they glistened in the sun as they dried.
So glittery and fun!
I let them dry overnight, and then I attached baker’s twine or string on the top for hanging on the tree.
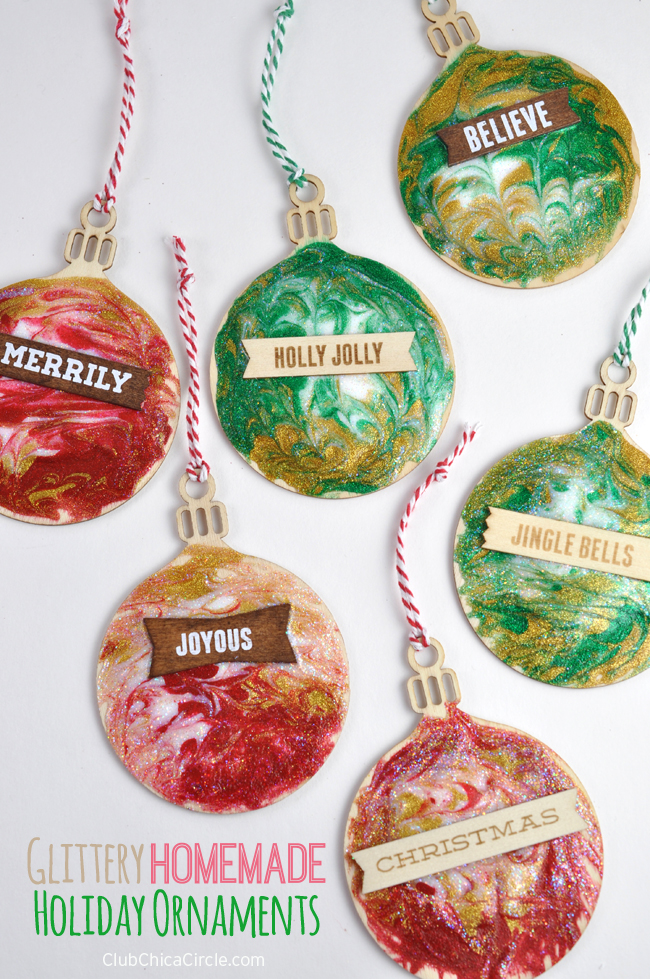
These would also look great on top of a package as a pretty decoration. Whether you’re looking to embellish a package or a quick kit to help polish off your holiday decor, the Recollections brand items are a great affordable option this holiday season!
Enjoy!

Disclosure: this post is sponsored by Michaels Recollections™. All craft ideas, opinions, and images are completely my own.


