Disclaimer: this post is sponsored by DecoArt. All opinions, ideas, and images are completely my own.
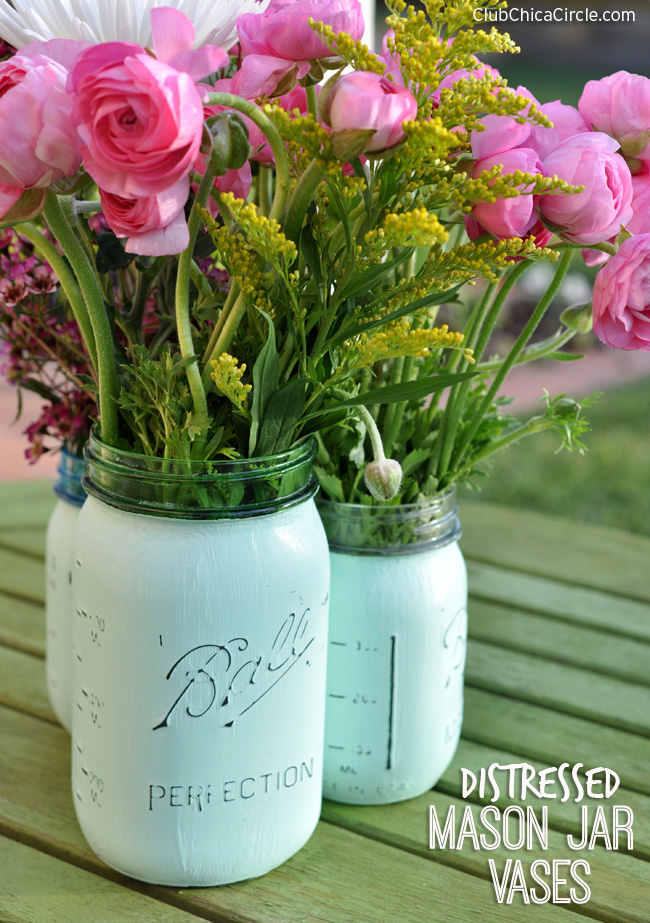
I don’t think I will ever get tired of crafting with mason jars… or the many uses for Americana® DECOR Chalky Finish paint! I’ve used chalky finish paint on wood and fabric, but I have never tried it on glass before.
Just like all of the other applications, there is no special primer needed. I gathered a collection of pretty mason jars in various colors to test out the results. And if I do say so myself, this is one of favorite mason jar craft ideas to date.
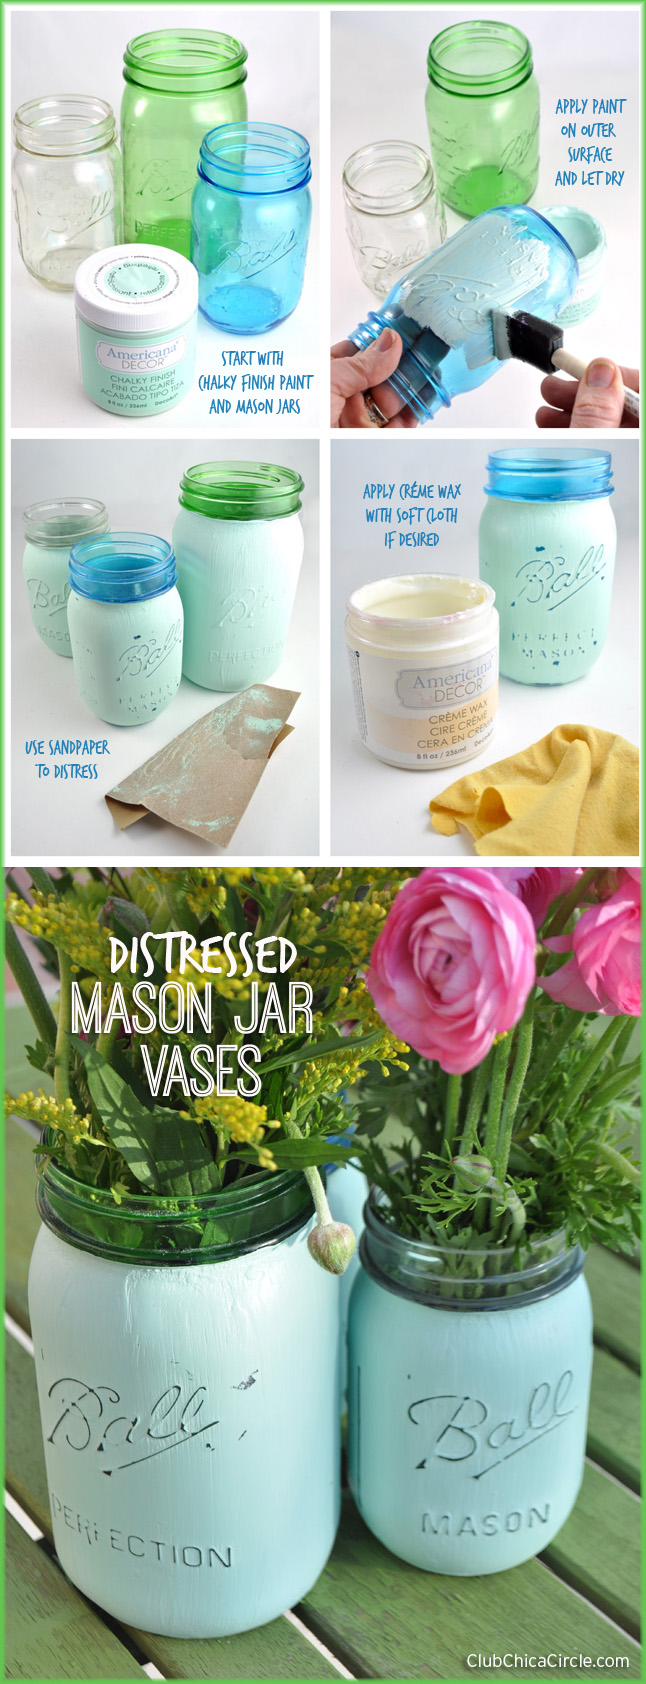
Here is what I used to make these pretty distressed mason jar vases:
- Americana® DECOR™ Chalky Finish paint in Refreshing mint color
- Mason jars – I used clear and limited edition green and blue jars
- Sponge brush
- Fine sandpaper
- Americana® DECOR™ Chalky Finish Créme Wax
- Soft cloth
Honestly, this DIY was as easy as 1-2-3!
I applied the chalky finish paint right onto the front of each mason jar, stopping at the lip of each jar. I let it dry completely and applied a second coat.
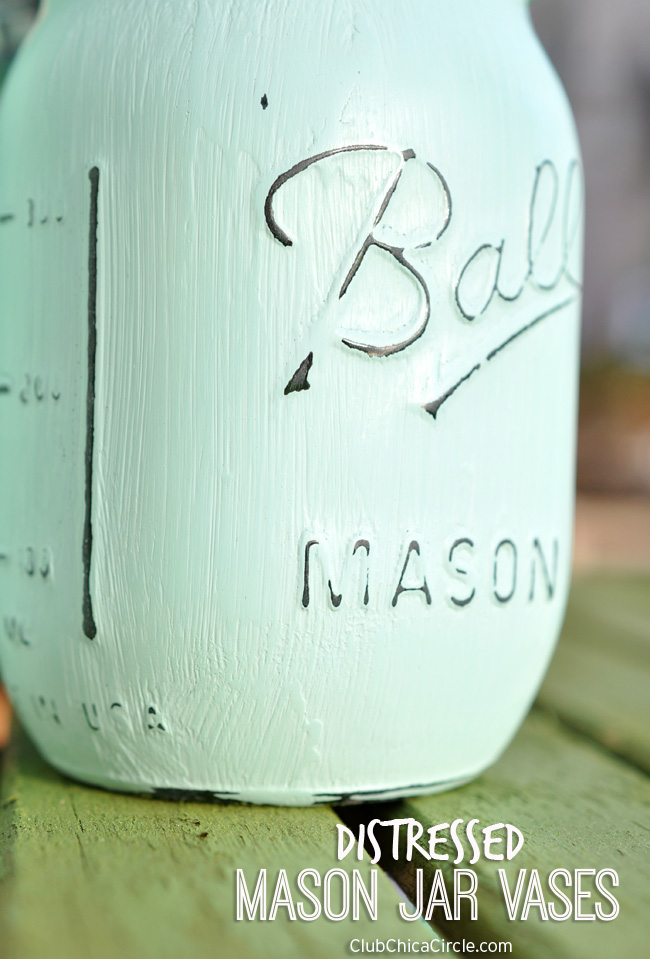
Once the paint was dry, I used my sandpaper to smooth out the brush strokes and distress the design. The beauty of the mason jars is that the raised glass design allowed for the sandpaper to reveal it in a beautifully distressed way.
After I was happy with the “distressed” results, I wanted to give the surface a little bit of a sheen. With a soft cloth, I rubbed and buffed on a layer of the créme wax.
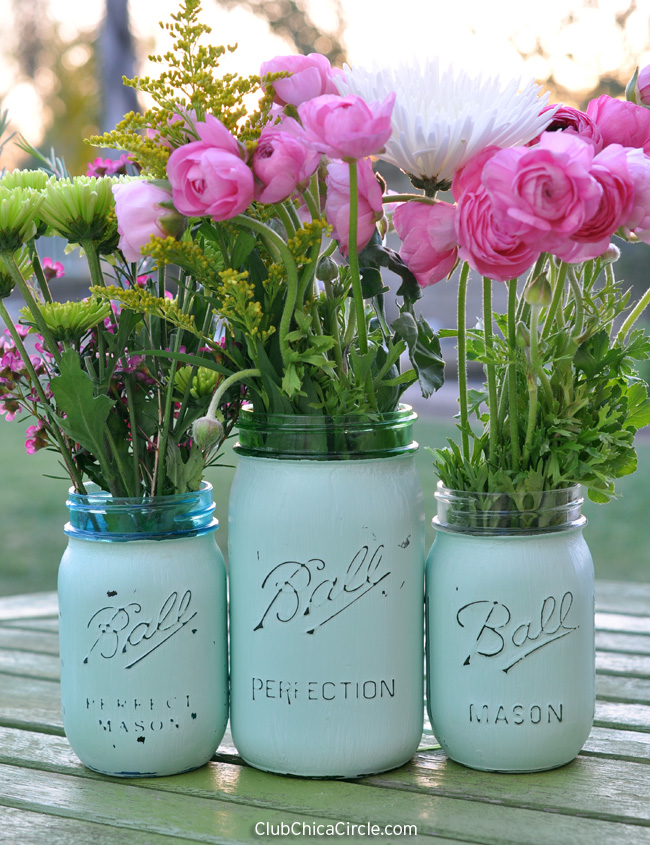
All that was left was to find some pretty Spring flowers to put into my new favorite vases.
I absolutely love how these turned out. I love how the pale blue/green minty color accents each of the glass colors.
So pretty!
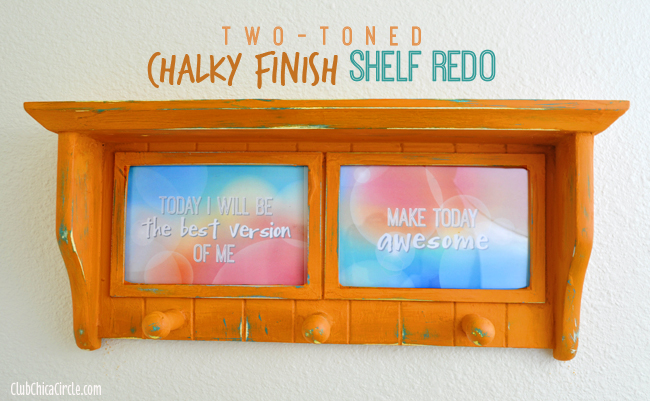
If you are looking for more chalky finish paint projects, check out this two-toned effect I got on an old wood shelf that I refinished.
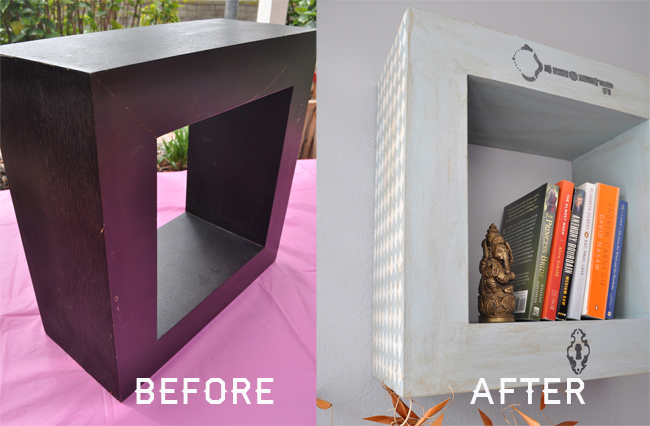
Or, you might this cool shelf that I refinished and distressed using stencils and colored créme wax.
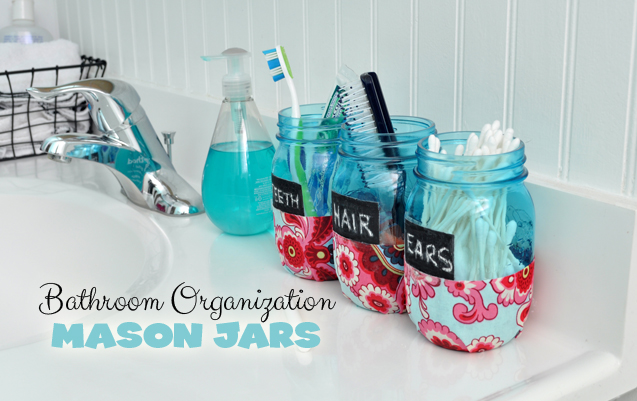
Or if you are looking for another fun mason jar DIY idea, check out these mason jar bathroom organizer jars.
Thanks for stopping by!
Disclaimer: this post is sponsored by DecoArt. All opinions, ideas, and images are completely my own.

