I know Rainbow Loom bracelets are super hot right now. I know my tween is obsessed for sure!
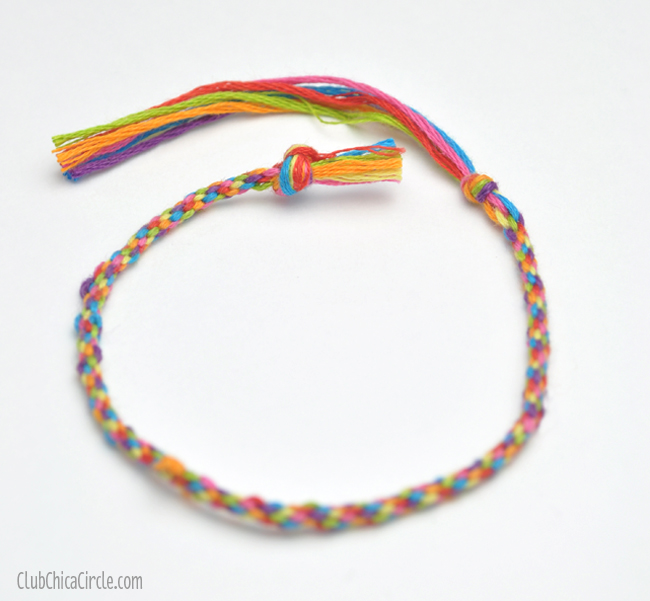
Today’s post is all about some good old-fashion old school friendship bracelet fun!
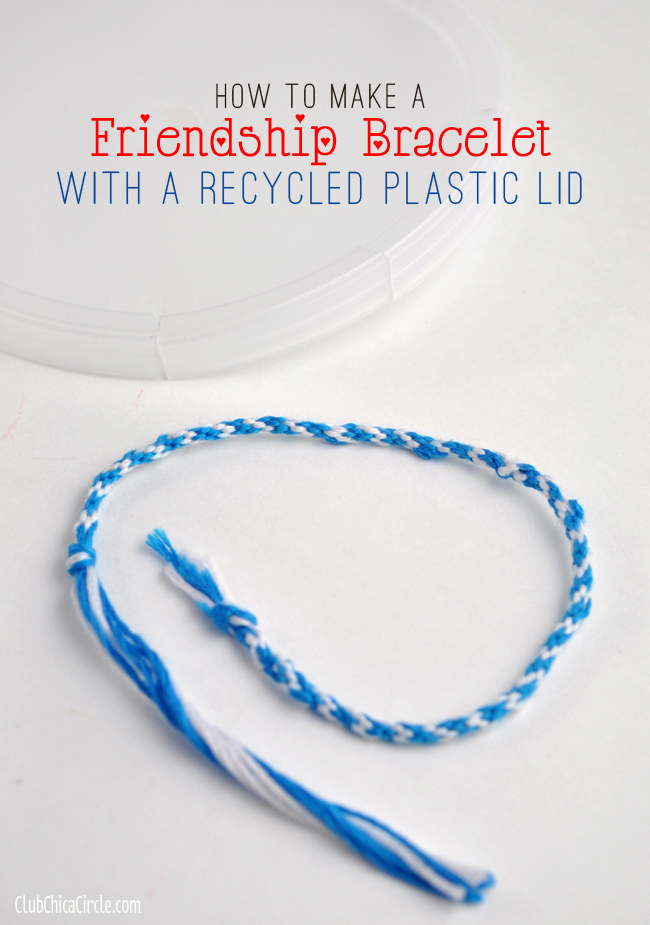
It’s super simple to make a pretty friendship with the use of a recycled plastic lid.
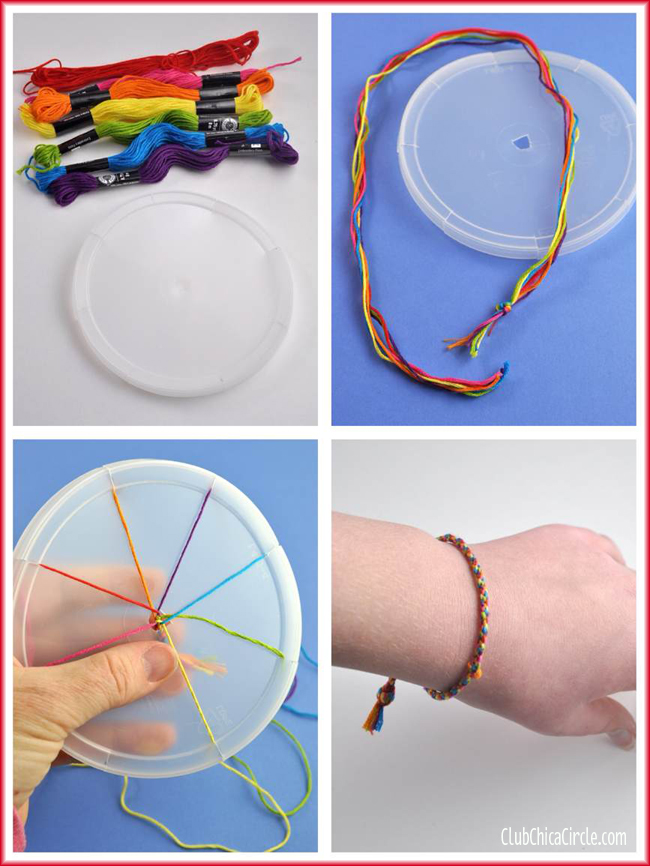
All you need to make your own friendship bracelet:
- 7 strands of embroidery thread (colors of choice) – I cut mine to 18″ long each
- Recycled plastic lid – I used an oatmeal container lid
- Scissors to turn your lid into a homemade weaving wheel
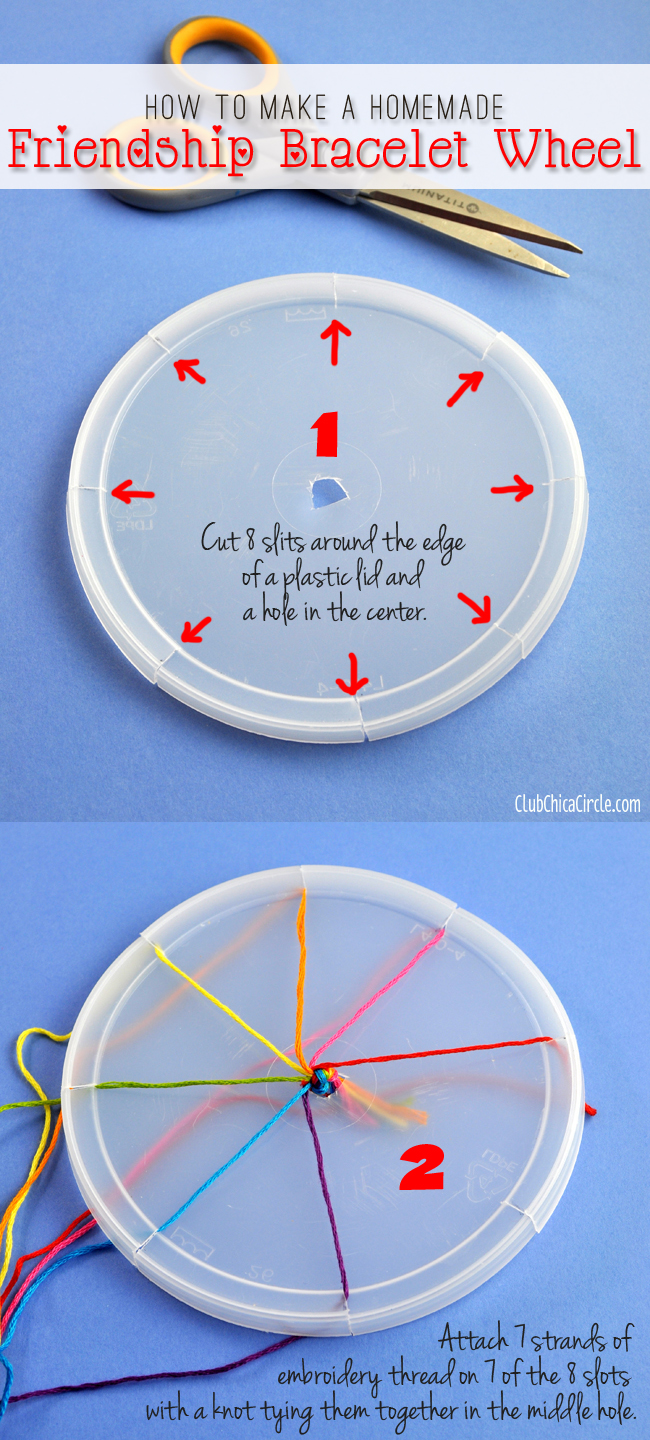
Here is how to make the wheel:
First cut 8 notches around your plastic lid with a sharp scissors. I measured it like a clock face starting with 12 and 6, and then 3 and 9, finishing up with notches in-between those four.
Then I cut a small hole in the center of the lid. That’s it! Now your wheel is ready.
With your 7 strands of embroidery thread, tie them together on one end with a basic knot.
Holding the knot in the middle, string the 7 strings into 7 of the 8 slits you made on your wheel. Now you are ready to start weaving.
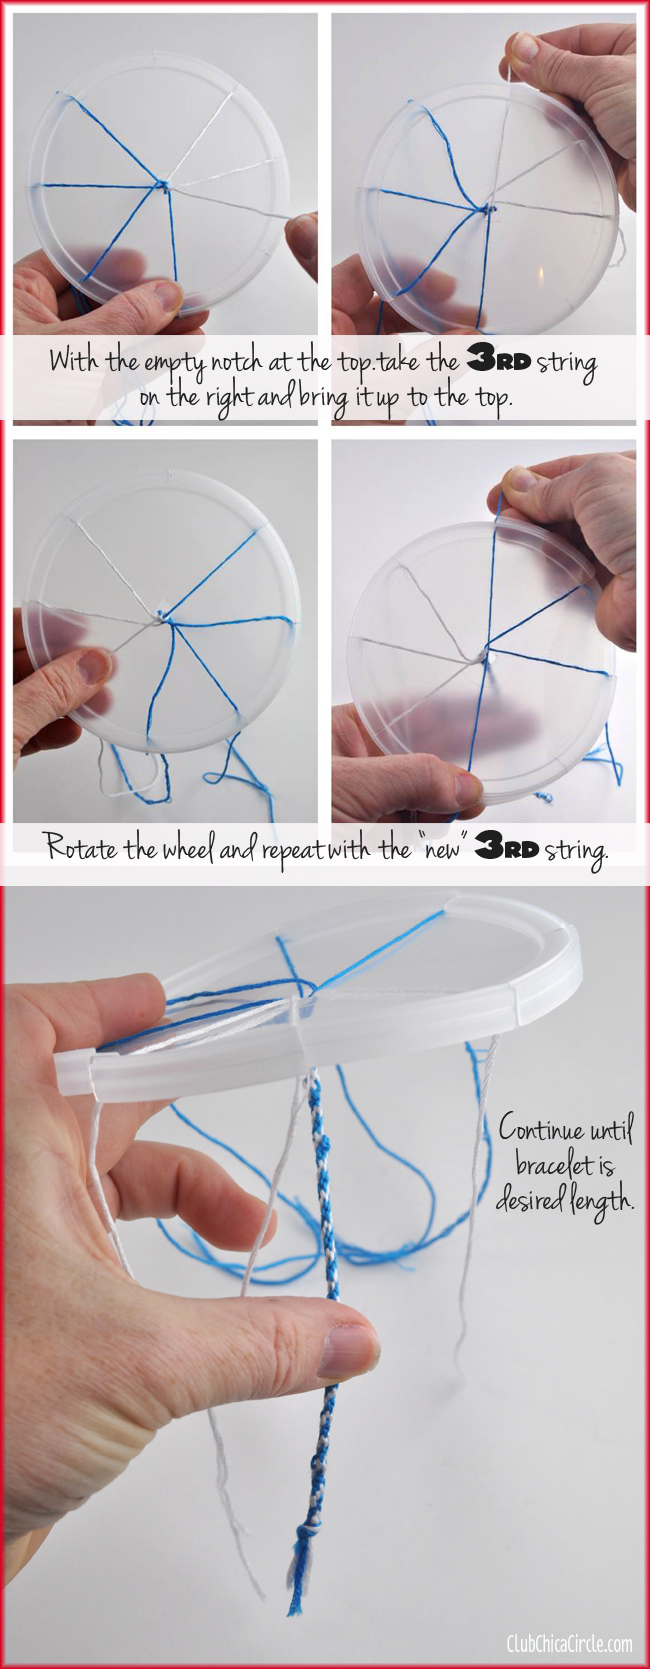
Here is how you weave your friendship bracelet
When you have your bracelet at the desired length, simply remove from your wheel and tie another knot on the end.
Give to a friend, or enjoy on your own wrist!
Enjoy some old-school friendship bracelet fun!
Happy Crafting!
If you liked this post, and want more, you can subscribe to be on our mailing list here, and make sure to get your free Cupcake Toppers Printables for Every Occasion.
Feeling social? Follow ChicaCircle on Facebook or Twitter, and follow me on Pinterest or Instagram.



3 comments for “How to Make a Friendship Bracelet with a Recycled Plastic Lid”