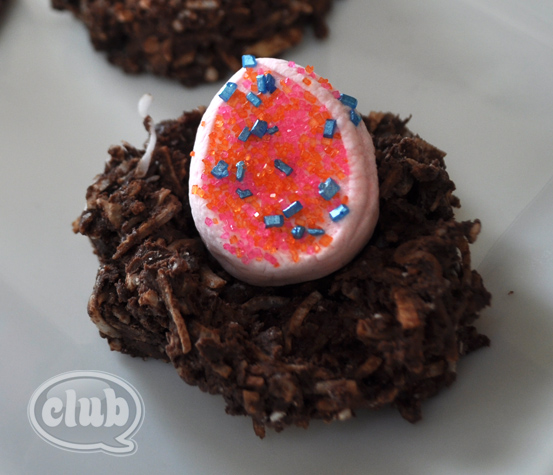
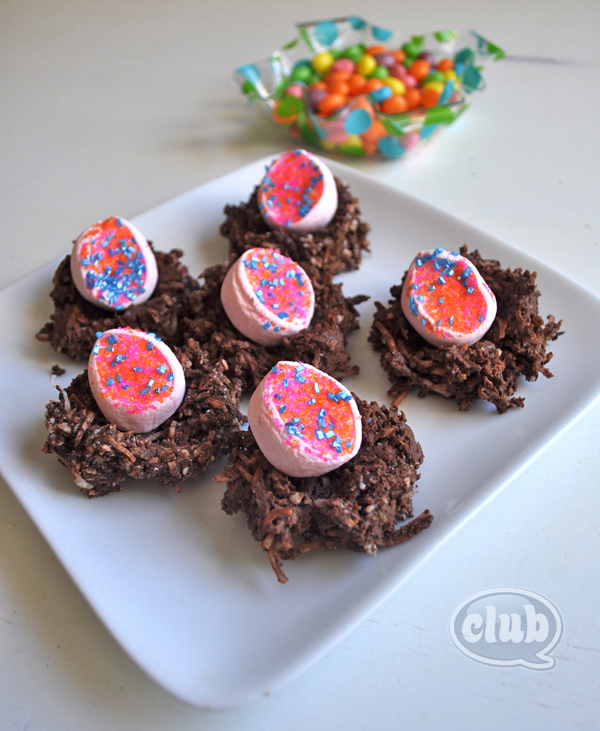
I love food crafting with my tween, especially when it is simple enough that they can get involved, and there isn’t really a way to mess up the results. Easter is the perfect holiday to create some sweet treats. I mean sugar and Easter go hand in hand right? I’m not sure which holiday involves the most candy – Halloween or Easter, but with the Easter holiday you can have creating some great egg/chick/bunny themed sweet treats. I decided to combine two of my favorite ingredients – marshmallows and chocolate. The result: Easter Egg Marshmallows in Edible Chocolate Nests!
Here is a quick tutorial on how to make this edible birds nest with sugary marshmallow eggs using only 4 ingredients, and taking only 10 minutes to complete.
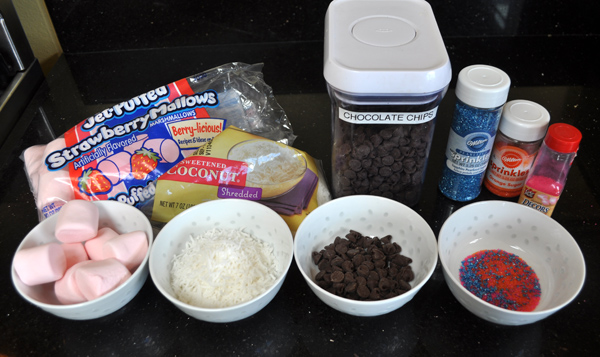
Grab your four ingredients:
- Large jet-puffed marshmallows (I used pink strawberry flavored ones)
- Chocolate chips
- Sweetened flaked coconut
- Colored decorator sugars/sprinkles
I would first start with making the chocolate birds nests, so that while they are setting up, you can be creating the marshmallow Easter eggs. For the edible nests, I found a great recipe and inspiration on A Pumpkin and a Princess here. I used a 1:1 ratio of chocolate to coconut.
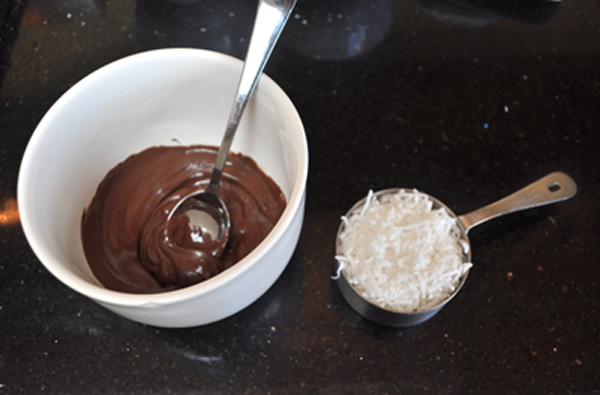
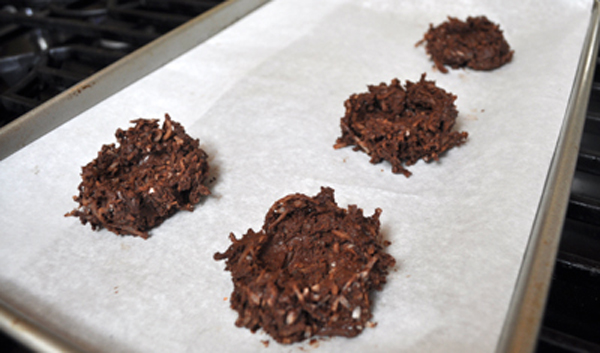
I melted the chocolate in the microwave for about a minute, stirred until smooth, then mixed in the coconut. Then using two spoons, I spooned a small portion onto a tray lined with parchment paper, and with the second spoon created an indent in the middle to make the nest shape I wanted. Then I placed the whole tray into the refrigerator to set up and harden (about 5 minutes).
I love working with marshmallows, and getting cool effects by cutting them and dipping them in sugar like I did here on the Flower Cupcake Cones food craft. That same technique is used her, but with bigger jet-puffed marshmallows.
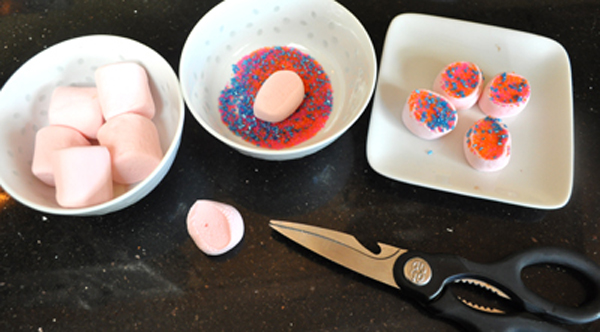
By using kitchen scissors, and cutting the marshmallow in half, I was able to dip the sticky side into a small bowl filled with Spring colored decorator sugars. I used bright pink, orange, and crystal blue. Each marshmallow came out unique, and looked like we had just decorated real Easter eggs. I squished the marshmallow a little bit on the sides to make sure it had the egg shape I wanted. Voilá!
The last step is to just put the two together. Place a marshmallow egg inside each nest on a plate and serve. Perfect for an Easter celebration or class party. Enjoy!
If you liked this post, and want more, you can subscribe to be on our mailing list here.

