Disclaimer: this post is sponsored by DecoArt. All opinions, ideas, and images are completely my own.
You know how one piece of furniture can set the tone or inspiration for the whole room?
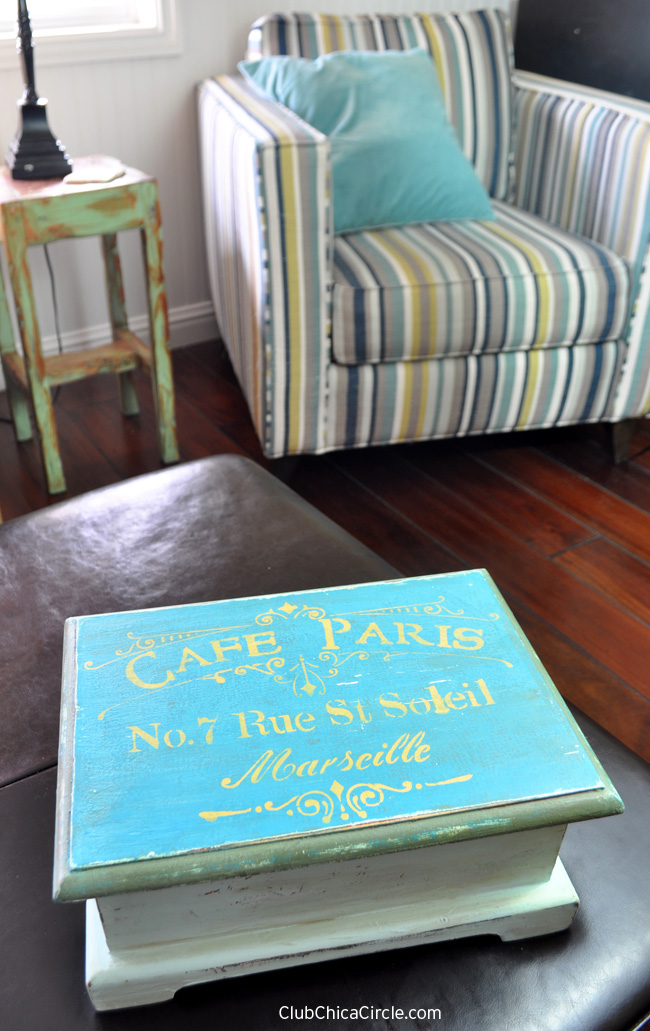
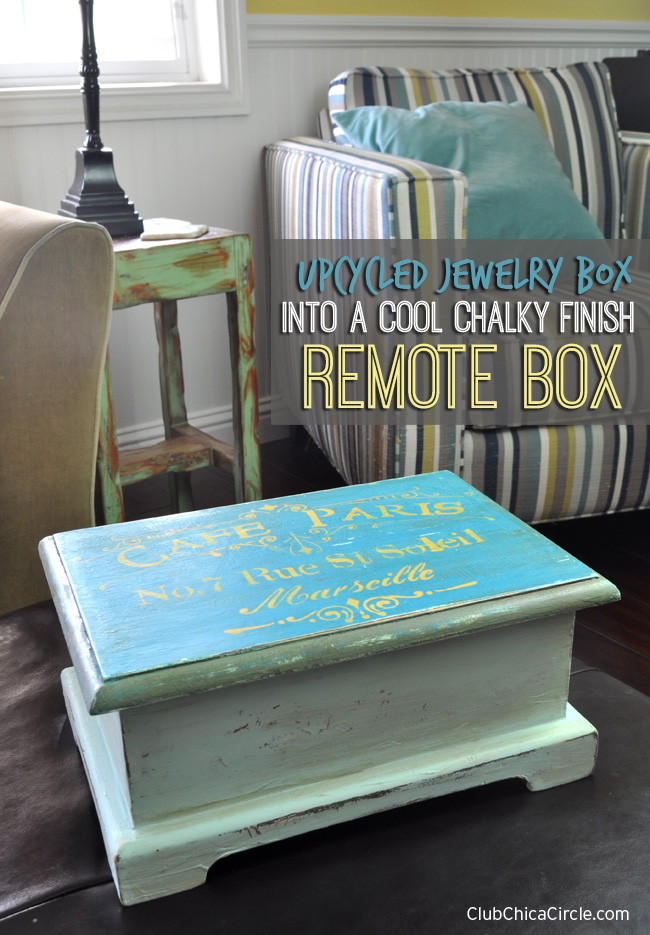
Recently, we introduced this cool striped chair into our living room decor, and it has since inspired us to switch up our throw pillow coverings to accent it, and my latest DIY craft project where I turned an old jewelry box into a cool electronics remote box.
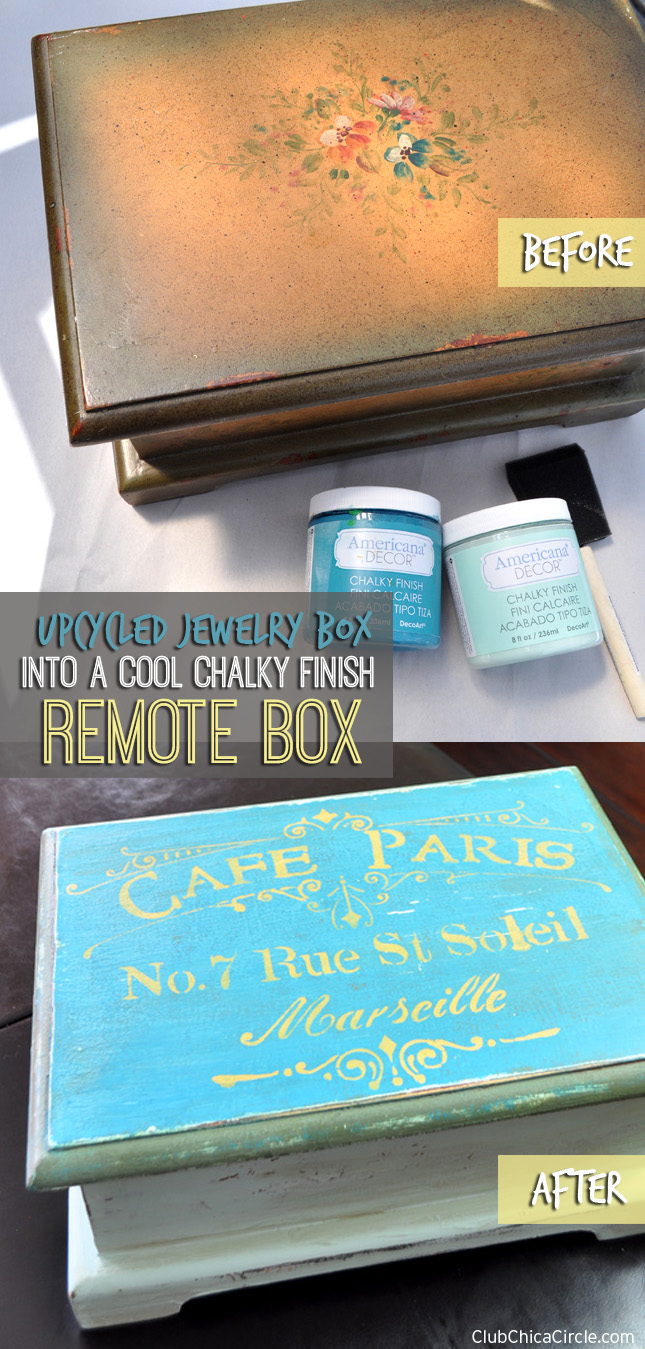
The jewelry box was pretty on it’s own, but wasn’t quite my style and needed a little bit of an uplift. Isn’t it funny how just a little bit of color, stenciling and distressing can give something a brand new look.
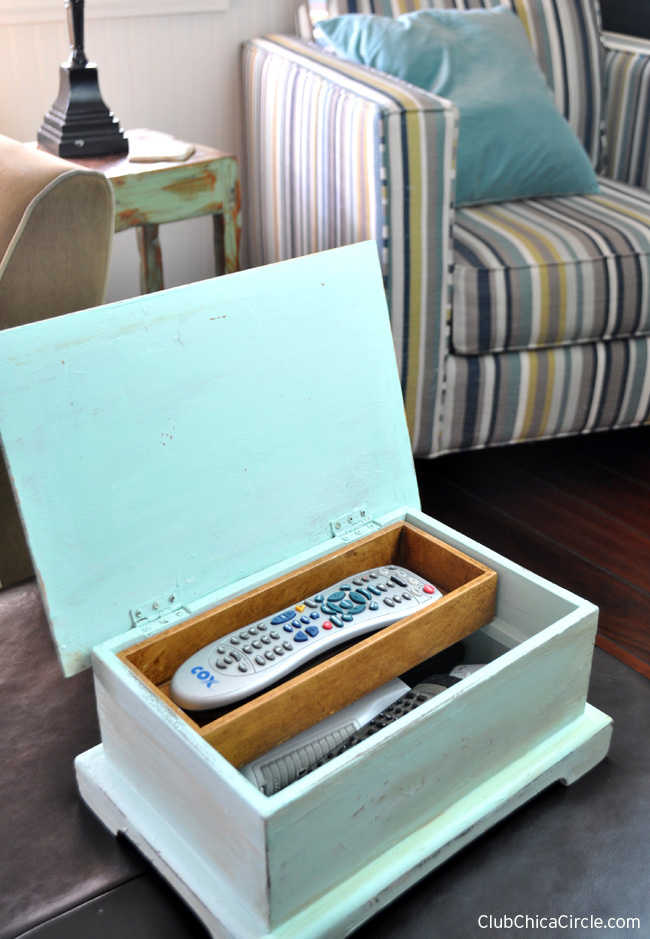
And the best part is that the box is super cute and functional in our living room, holding all of our many remotes.
I love how it turned out. And it actually was really easy to do.
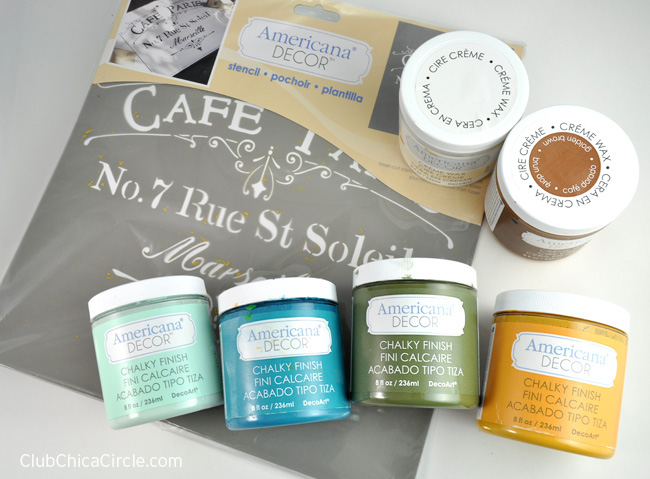
Here is what I used:
- Americana@ DECOR™ Chalky Finish paints in Refreshing mint, Tesoro blue, Enchanted green, Inheritance gold
- Americana@ DECOR™ Créme Wax in clear and golden brown
- Americana@ DECOR™Café Paris Stencil
- Sponge brushes and small paint brushes
- Stencil brush
- Painters tape
- Sanding block or sand paper
- Soft cloth
I know it seems like I used a lot of colors on this one little jewelry box upcycle, but I wanted to pick up many of the colors in the focal chair, and I used them each in their own specific way.
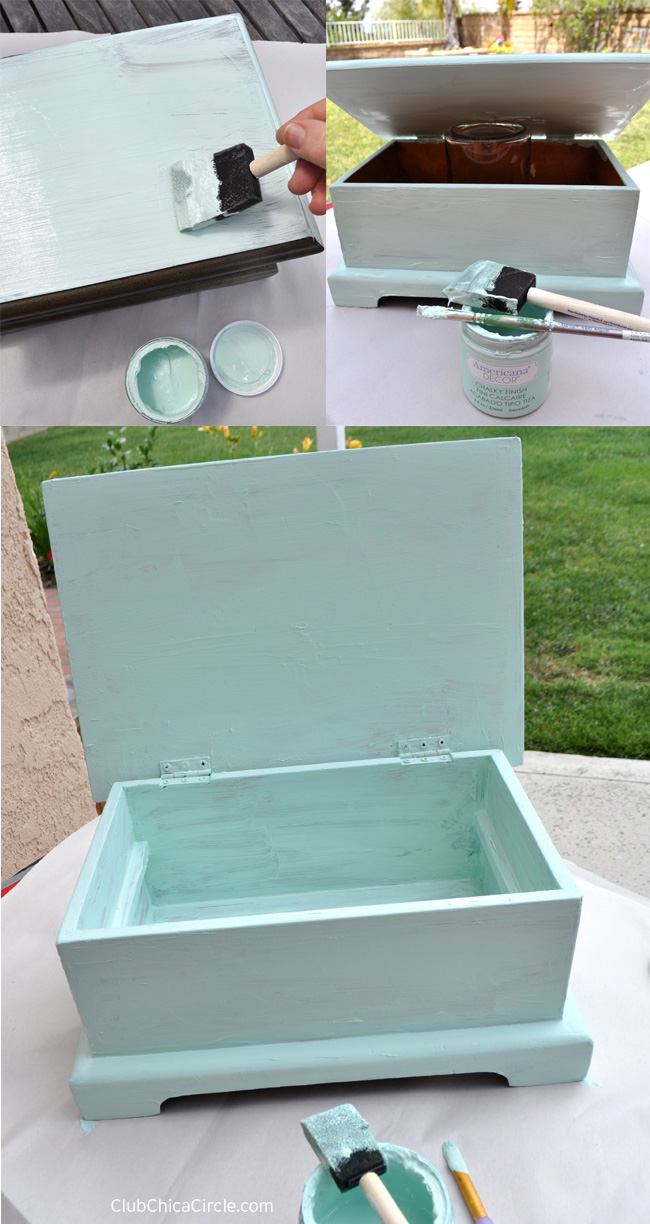
First I painted on the base color, both inside and out, using the mint green color.
I painted the outside and the inside of the top lid first and let dry before painting the inside too.
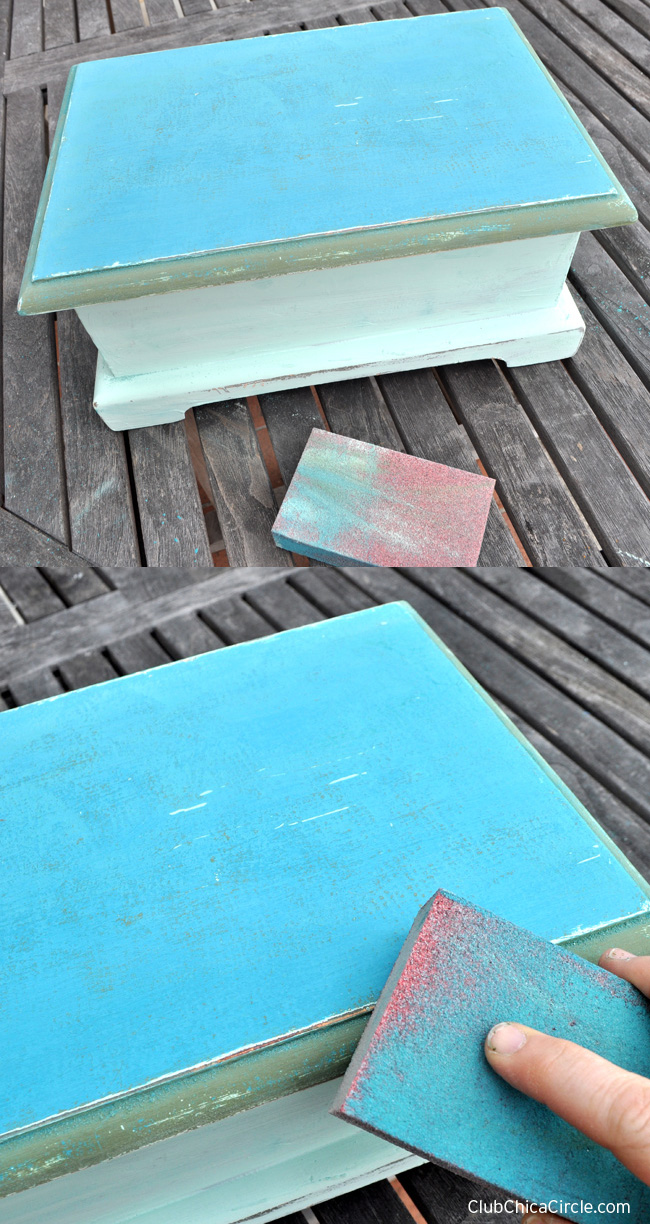
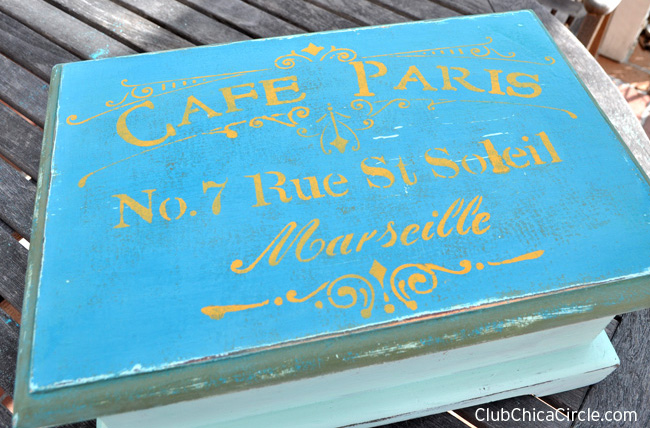
I gave it two coats for full coverage, and then on just the top lid, I accented the top lid with the darker blue color and the top lid edge with the darker green. Then I used a sanding block to rough up the edges and distress it overall. I love how in parts the color of the box, and of the base color comes through. This is truly a one of a kind furniture piece now.
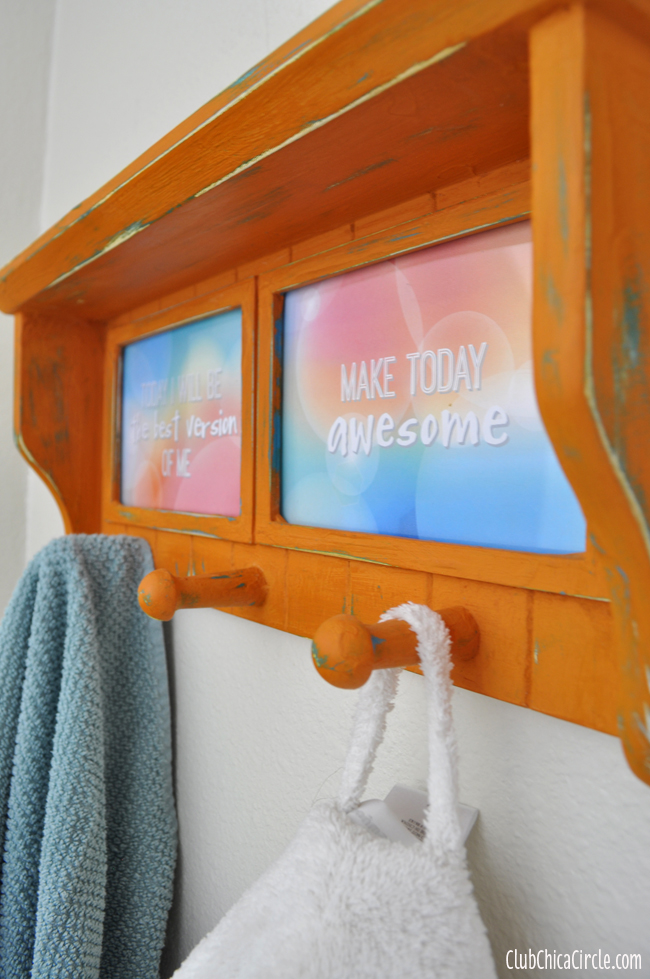
I used that same sanding technique to reveal bottom layers here on this Two-toned hanging shelf…
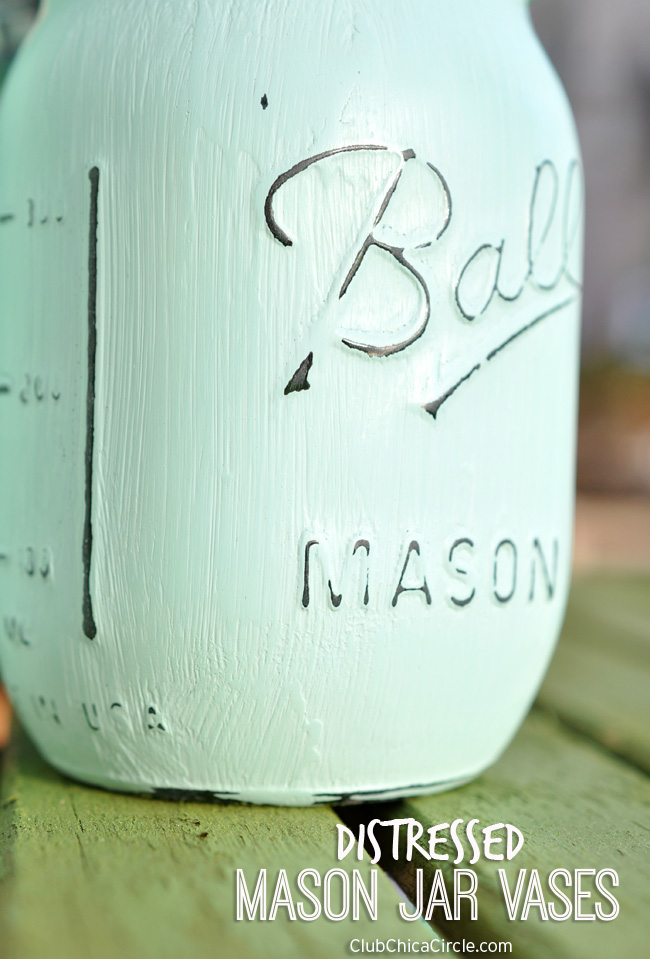
or even here on glass with these distressed Mason Jar Vases.
But I wasn’t done yet with the this crafty upcycle project. I wanted to give it even more unique flair and flavor with a fun painted stencil on top.
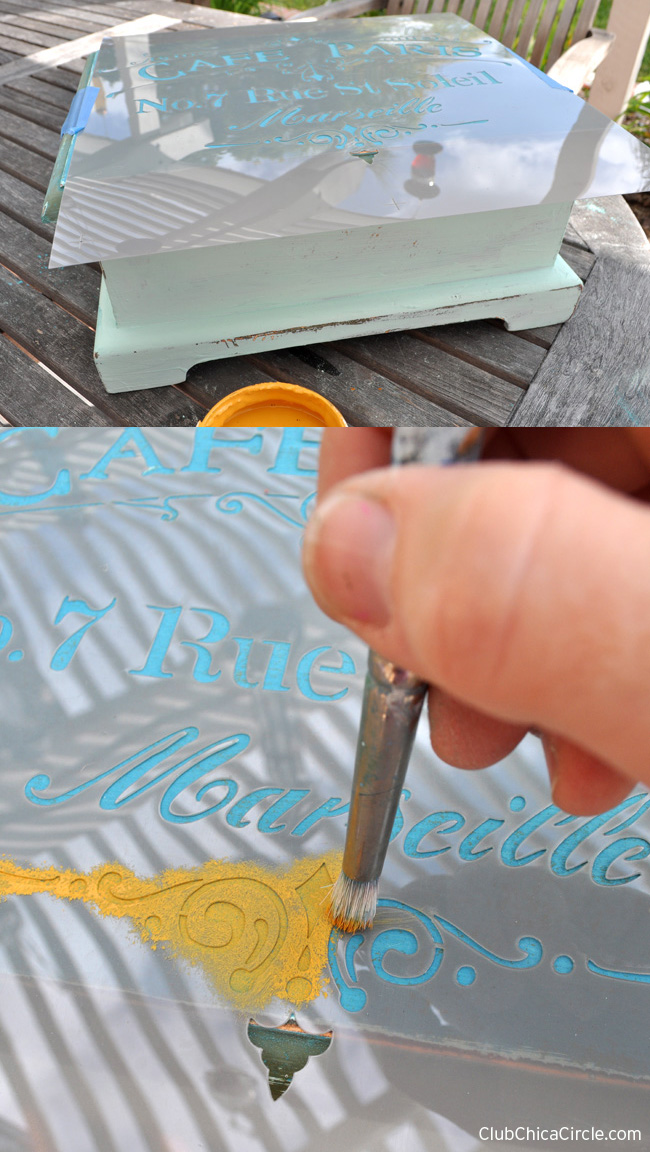
I used a little bit of painters tape to secure my step on the top lid, and then using a stencil brush, I added a pop of color with the gold Chalky Finish paint and this cool Café Paris stencil.
Finally, I finished off by applying some Créme Wax with a soft cloth. I applied the golden brown wax in random spots to give it even more distressed flair, and then applied the clear wax overall.
This jewelry box turned cool remote box is now one of the focal points of our living room!
What wouldn’t you paint next with chalky finish paint? I’m telling you, I love this paint.
Need more inspiration?
Visit the DecoArt Chalky Finish website for more chalk paint ideas and inspiration!
And learn how your next upcycle project might just win you some $$$!
Go to DecoArt.com for all the details!
Disclaimer: this post is sponsored by DecoArt. All opinions, ideas, and images are completely my own.




3 comments for “Upcycled Jewelry Box into Cool Remote Box”