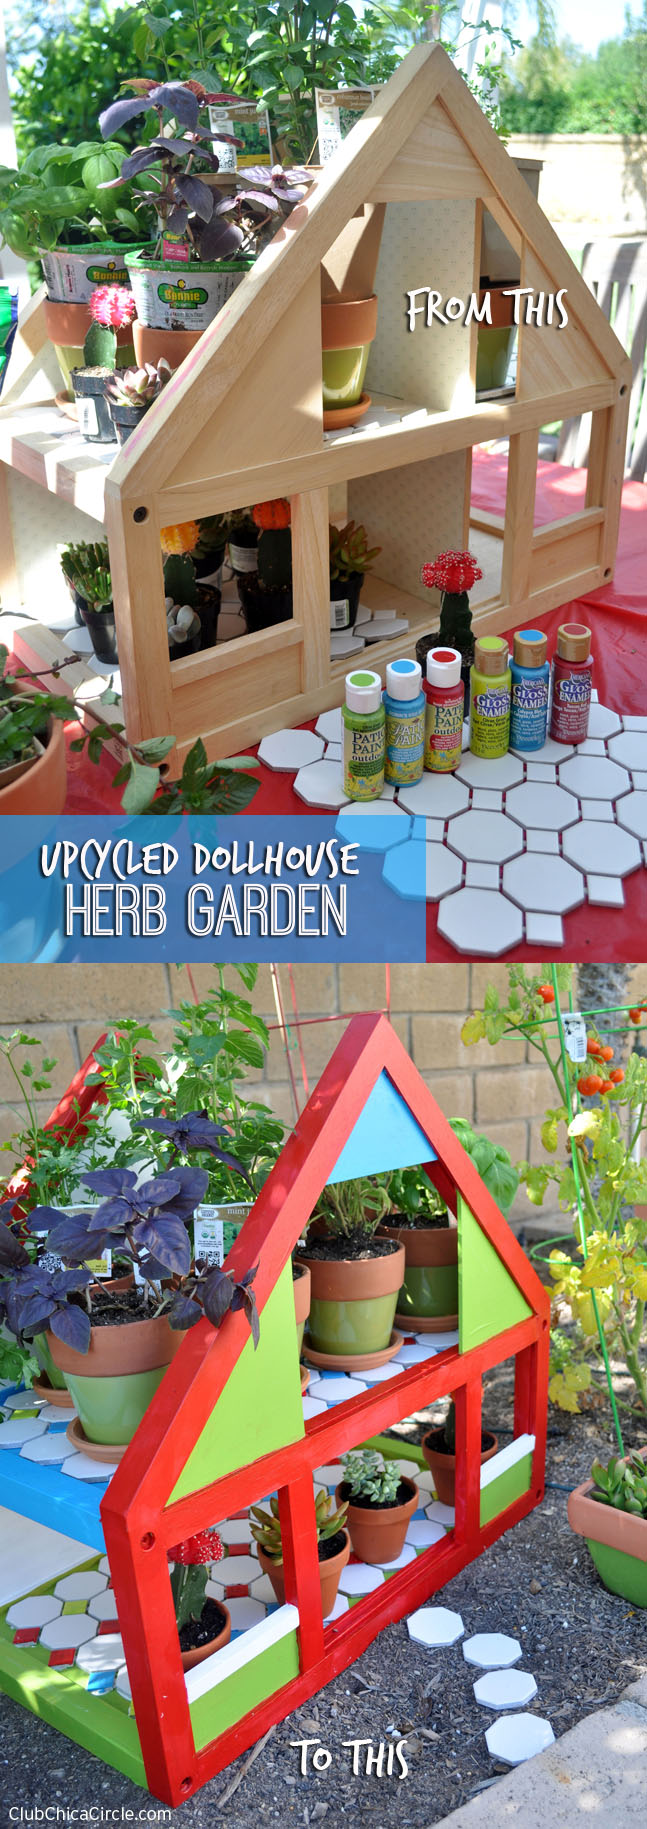
Have you done any Spring cleaning yet? We are in the process of transforming my girl’s room from the “little girl” room into her 13 year old room. And we are also in the process of planting our Spring garden. This upcycle craft idea takes one of my daughter’s old toys that she has grown out of and gives it a new life as an herb garden planter.
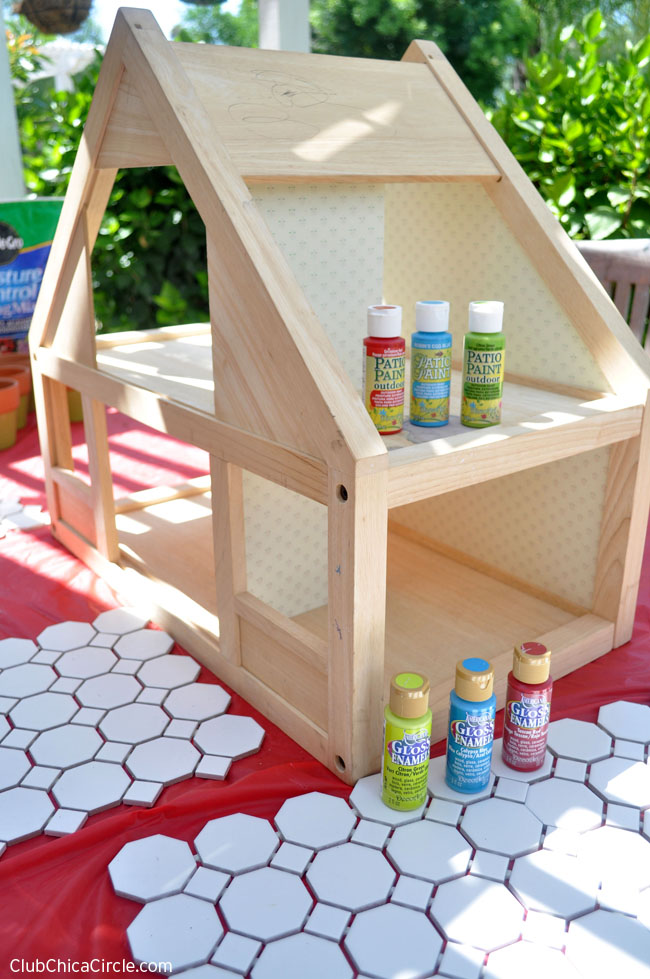
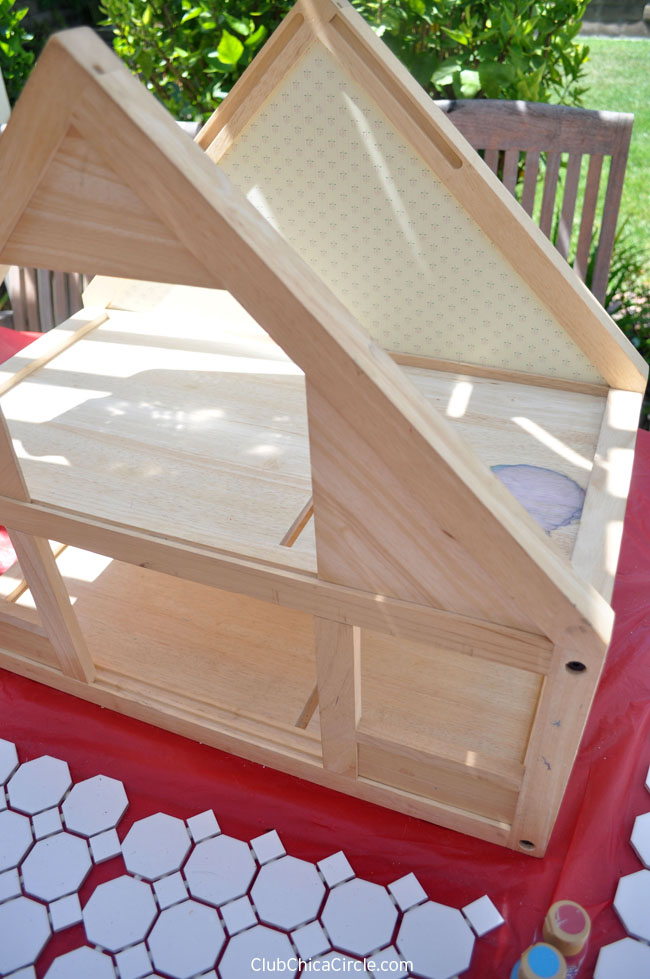
This wood dollhouse had a good life of play, but it was time to turn it into an upcycle masterpiece.
Besides the dollhouse, here are the supplies I used:
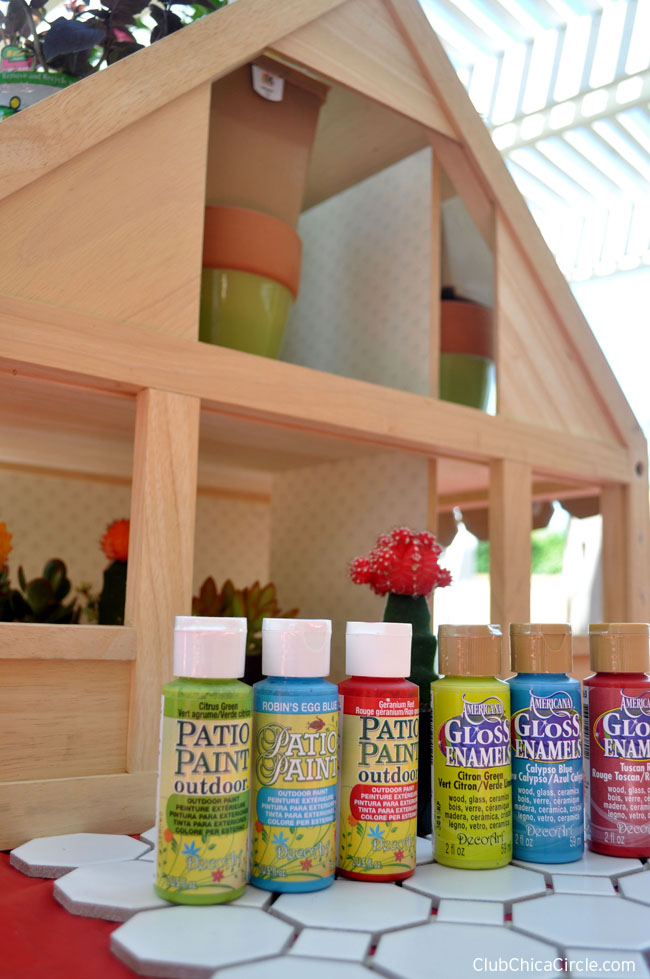
- DecoArt® Outdoor Patio Paint in Citrus Green, Robin’s Egg Blue, Geranium Red, and Cloud White
- Americana® Gloss Enamels paint in Citron Green, Calypso Blue, and Tuscan Red
- Decorative floor tiles with hexagon and small square shapes
- DAP® Kwik Seal Plus premium kitchen & bath adhesive sealant
- Painter’s tape
- Sponge and paintbrushes
- Plastic tablecloth as dropcloth
- Decorative terra cotta planters in a variety of sizes
- Variety of herb plants and succulent plants
One of my favorite things to do is reinvent one thing and turn it into something fabulously crafty and new. My 11 year old has definitely grown out of her wood dollhouse that her grandmother gave her when she was 6 or 7 years old. I couldn’t bring myself to throw it away since it was such a sturdy and well made dollhouse.
I’ve always wanted a bigger herb garden than what we have planted now. The perfect thing about having herbs in planters is that they won’t take over your whole garden. I love fresh mint, but that is one plant that can overtake an area.
I solved both problems when I recently tackled this weekend craft project of turning my daughter’s old dollhouse into a super herb garden fit for garden gnome queen or king!
First stop, a trip to Home Depot for my home improvement needs, or in this case, “dollhouse improvement” needs. I started in the garden section and found some fabulous colored terra cotta planters in a variety of sizes. Then I picked out my favorite herbs—from 3 kinds of mint, 2 kinds of basil, sage, and Italian parsley and a large bag of potting soil mix.
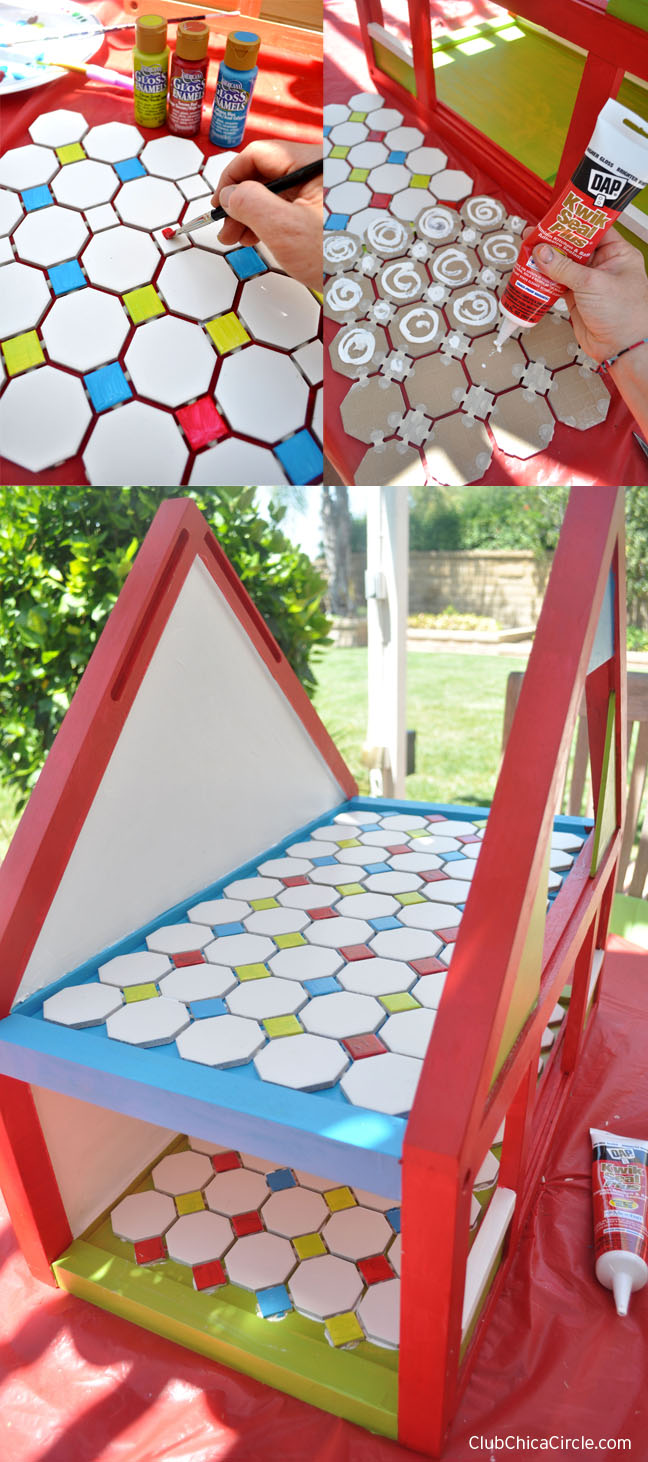
Next, I hit the flooring department to pick out the perfect dollhouse tile floor. I found bright white sheets of floor tile with hexagon and small diamond shapes. I brought my dollhouse floor dimensions with, and I knew 4 sheets would be perfect to tile 2 floors of the house. Then I picked up some adhesive sealant and painter’s tape.
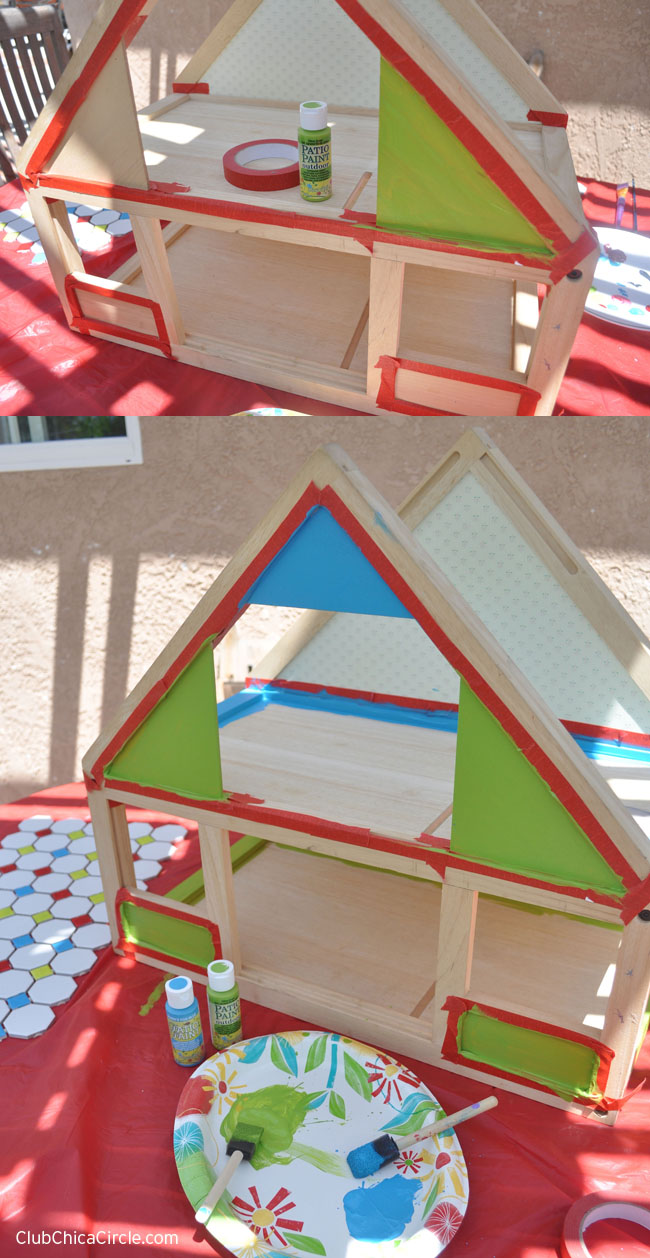
The plain wood dollhouse definitely needed a facelift and I wanted to make sure to weatherize it for the outdoors. I used DecoArt Outdoor Patio Paints for the wood dollhouse, and Americana Gloss Enamel paints to customize and decorate the tiles. I picked a bright green, blue, and red that matched each other from each paint line.
I prepped my workspace by using a plastic tablecloth on our outdoor table. I wiped down the dollhouse and tiles to make sure they were both clean and prepped for painting.
I measured how many tiles would fit on each floor and cut off the excess to fit. I also did some “construction demo” on the dollhouse by removing the roof sections and the room divider board.
I taped off sections of the house that I wanted to paint in different accent colors. I started with the green accents and then the blue, letting each color dry first before taking off the painters tape and re-taping.
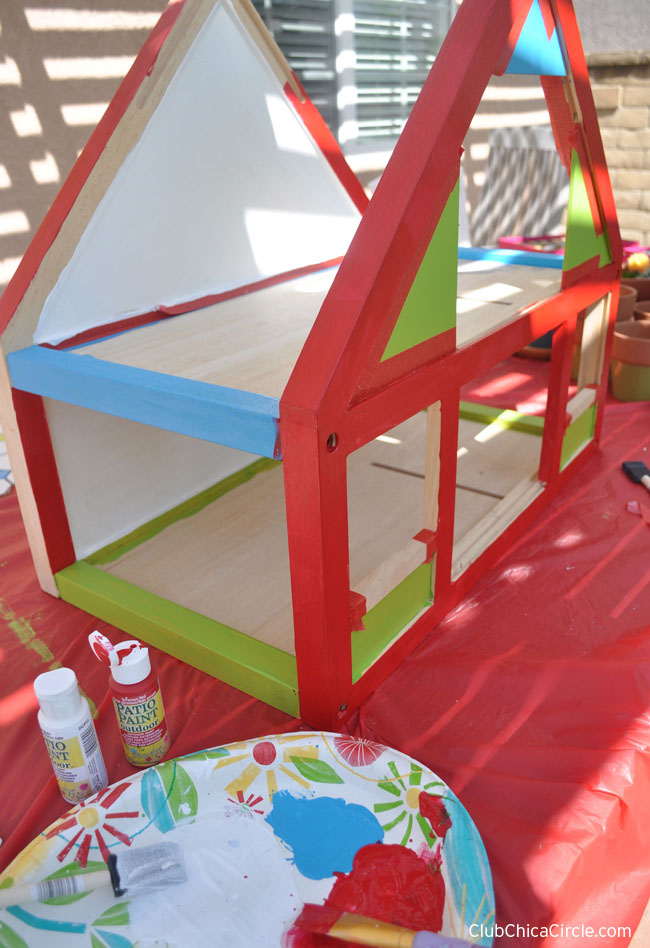
I added the red frame details, and covered the dollhouse wallpaper with the white patio paint.
I love the bright color combination!
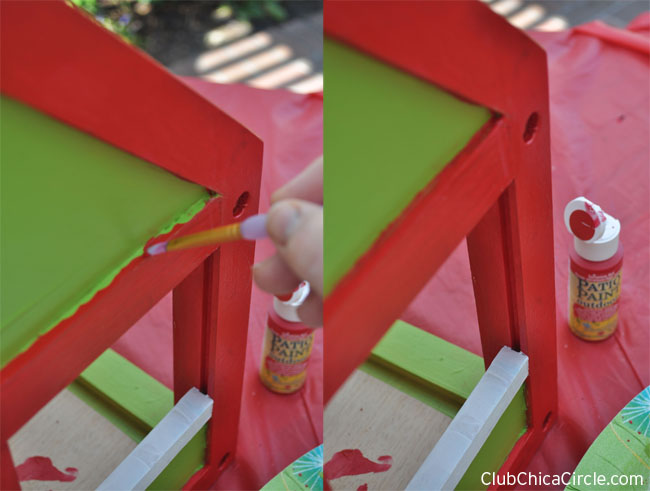
Even with the use of painters tape, there were some hard to reach areas that I went in with a small paintbrush to clean up all of the details for each color.
In between the paint drying stages, I worked on painting the tiles using the three Gloss Enamels colors that coordinated with the Patio Paints. I painted a random pattern with the three colors on the small diamond shapes of the floor tiles and left the hexagon shapes white.
When all the dollhouse surfaces, including the floors, were painted and the tiles had dried, it was time to lay the flooring. I used kitchen & bath adhesive sealant to attach the tiles to the painted wood floors.
I squeezed a small amount on each tile shape and applied pressure when placing on the dollhouse floor. The dollhouse had made its colorful transformation!
I planted most of the herbs in medium sized pots, and individual succulents into small pots.
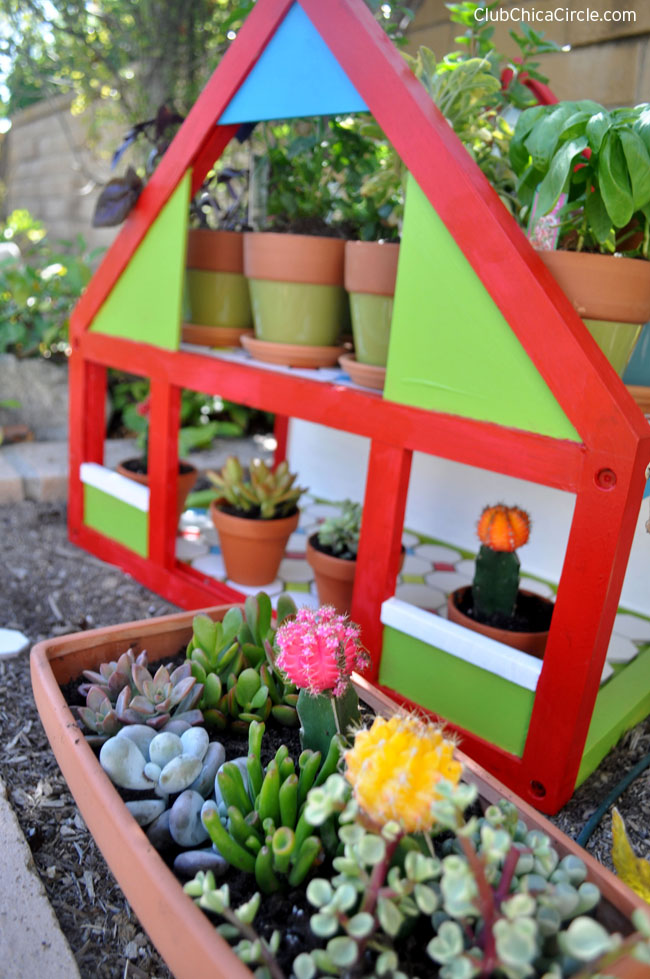
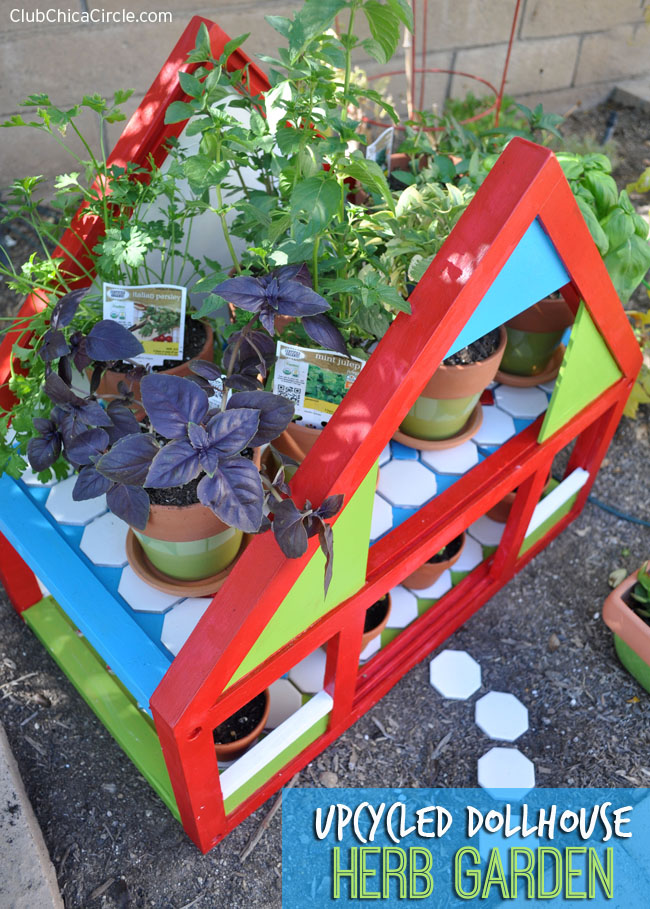
It was finally time for the dollhouse planter to find it’s home in our backyard garden. I placed the herb planters on the top level for full sun exposure, and some succulents peeking through the windows and door of the bottom level for part sun exposure.
I added a decorative succulent planter in large rectangular shaped pot in the front, and used some extra hexagon tiles as a decorative garden walk.
Our new herb garden is definitely one of my favorite crafty additions to our garden!
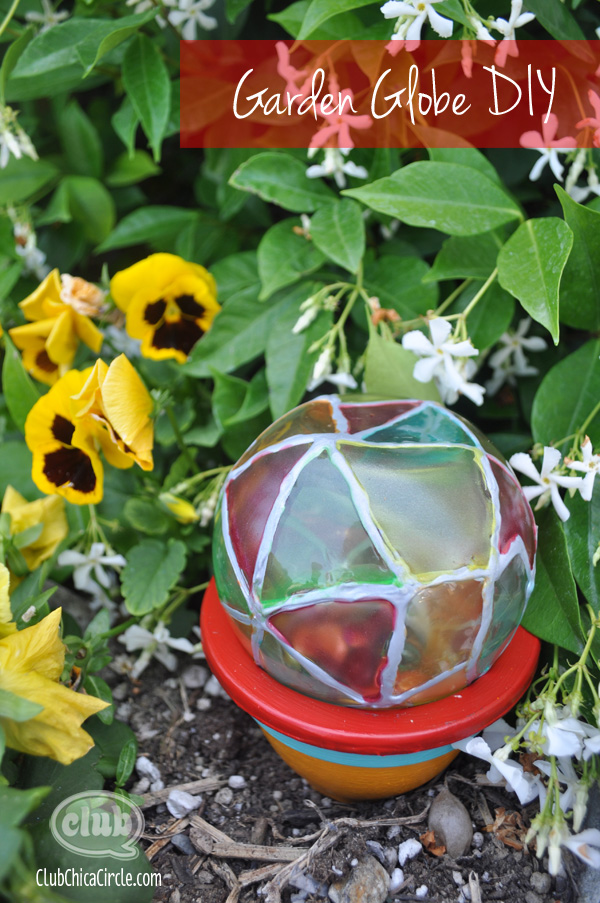
If you are looking for more garden craft ideas, check out this Garden Globe DIY…
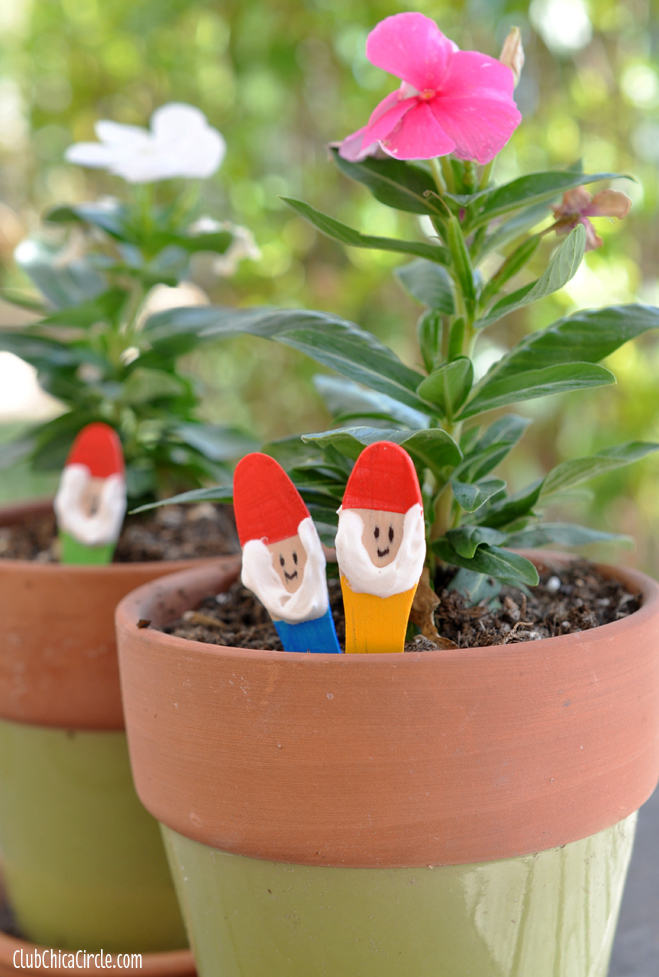
… or these easy craft stick Garden Gnomes.



5 comments for “Upcycled Dollhouse Herb Garden”