As part of the DecoArt core blogger team, this post is sponsored in part by DecoArt.
All photographs, ideas and opinions are completely my own.
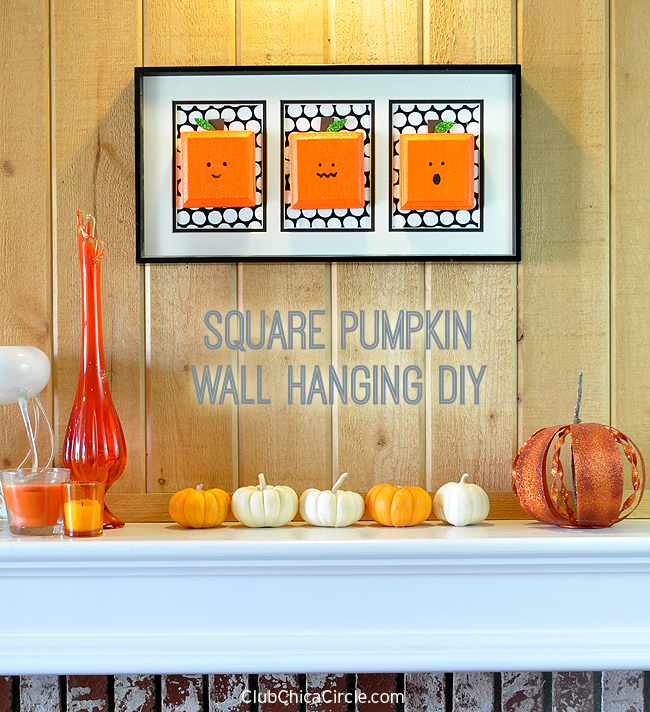
This is the season for pumpkin decorating of any shape and size and design. If you missed it, I shared a huge round up of 25 pumpkin decorating ideas a couple days ago. Today’s craft idea is not about decorating a pumpkin, but turning something unexpected into a pumpkin. Kind of the reverse of a Cinderella story. = )
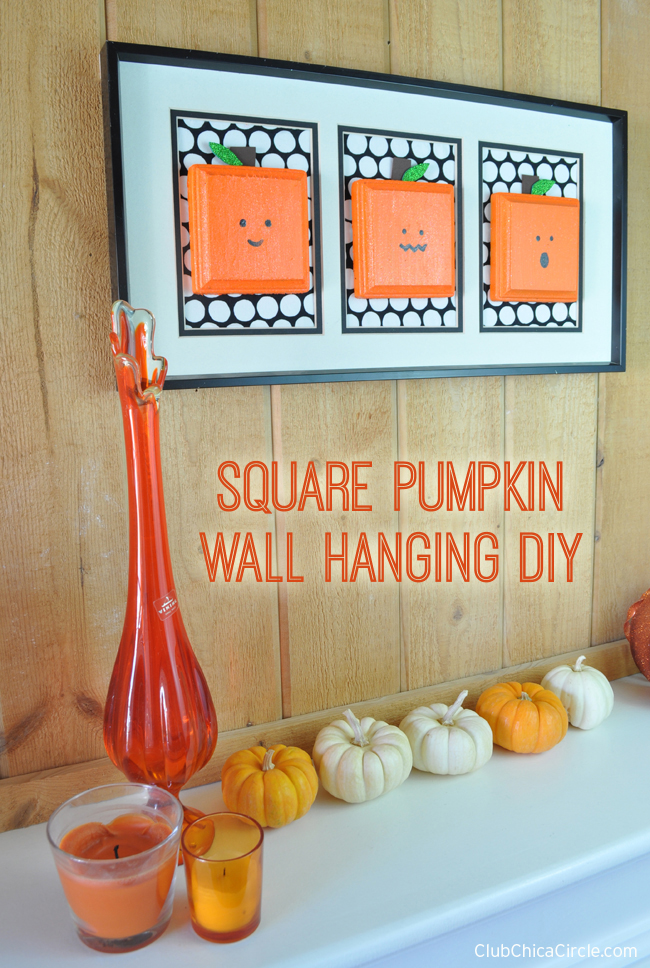
I know pumpkins are normally round-ish, but there is just something so modern and fun about a square pumpkin. This is the tale of how I turned three ordinary wood plaques into a super cute pumpkin wall hanging for Halloween, and the best part is, they are glittery!
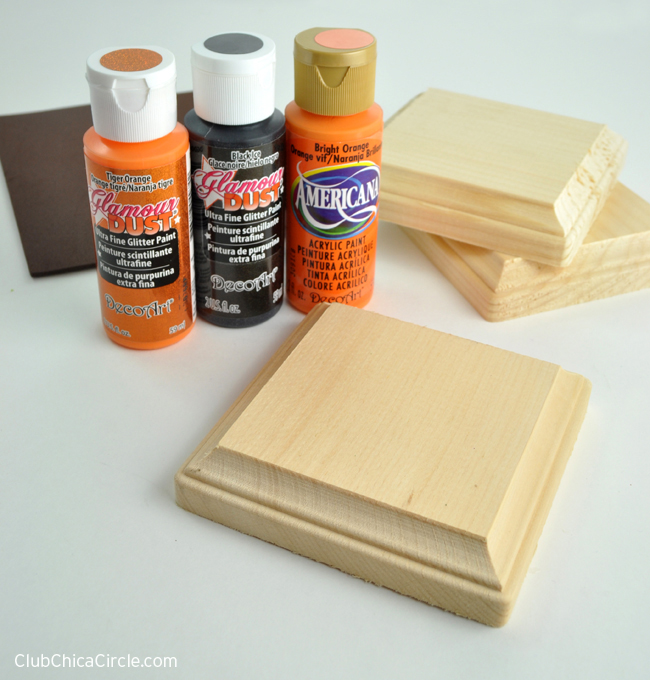
Here is what I used to make my square pumpkin Halloween wall hanging:
- 3″ wood plaques (I found mine at my local Michaels in the wood aisle)
- Americana acrylic paint in Bright Orange
- DecoArt Glamour Dust Ultra Fine Glitter Paint in Neon Orange, Tiger Orange and Black Ice
- Sponge brush and thin paint brush
- Glue gun
- Brown foam sheet
- Green glitter self-adhesive foam sheet
- Fabric or paper of choice
- Picture frame for three 5″ x 7″ pictures
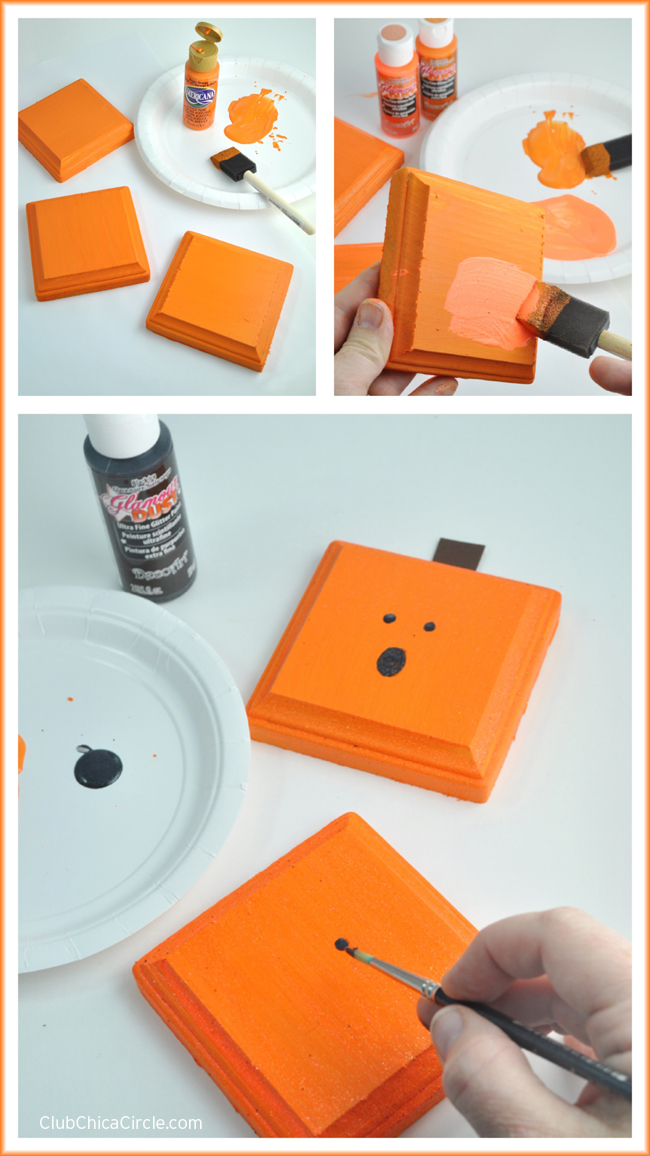
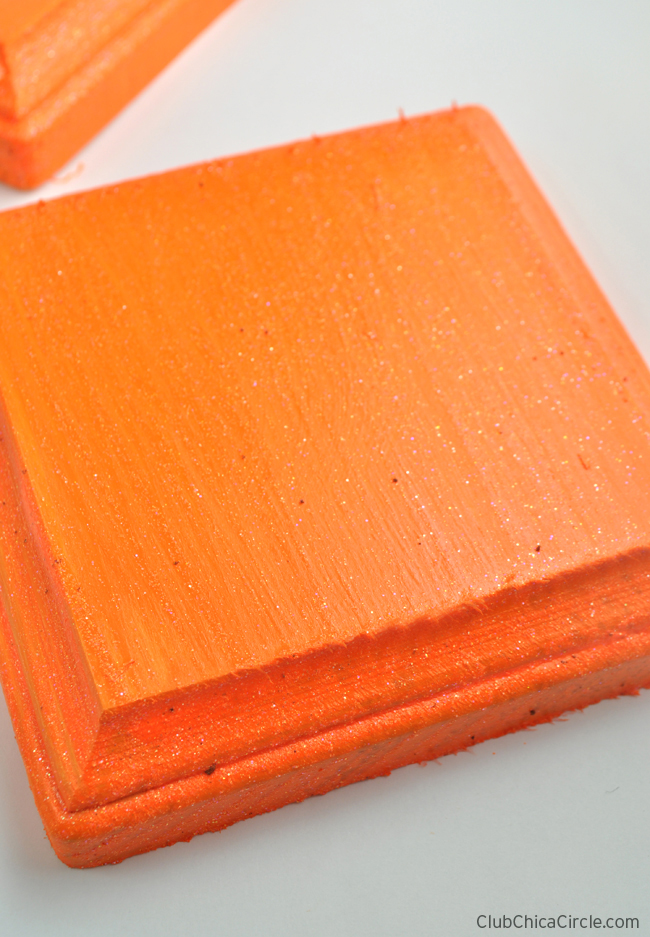
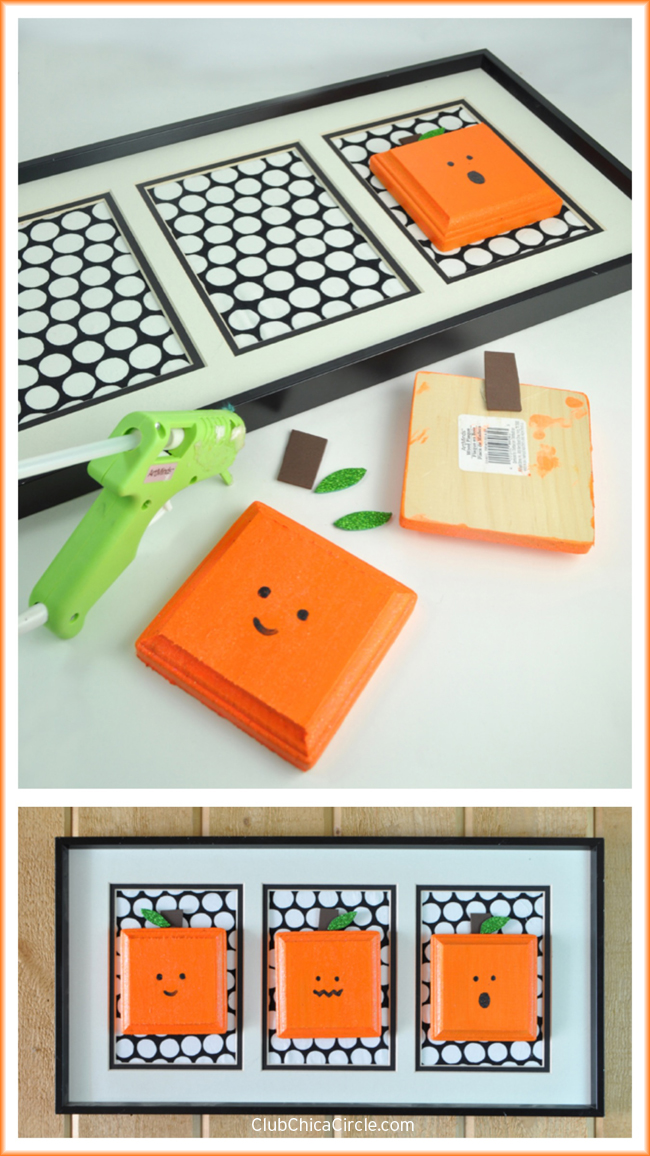
To make my square pumpkins, first I painted the front of the wood plaques with an orange base coat using Americana acrylic paint in Bright Orange. After that was dry I applied a layer of the Glamour Dust paints. I used a mixture of the Neon Orange and the Tiger Orange. The Tiger orange added a nice glittery layer onto the painted wood that was the same tone of the base coat orange, and the Neon orange kicked it up a notch.
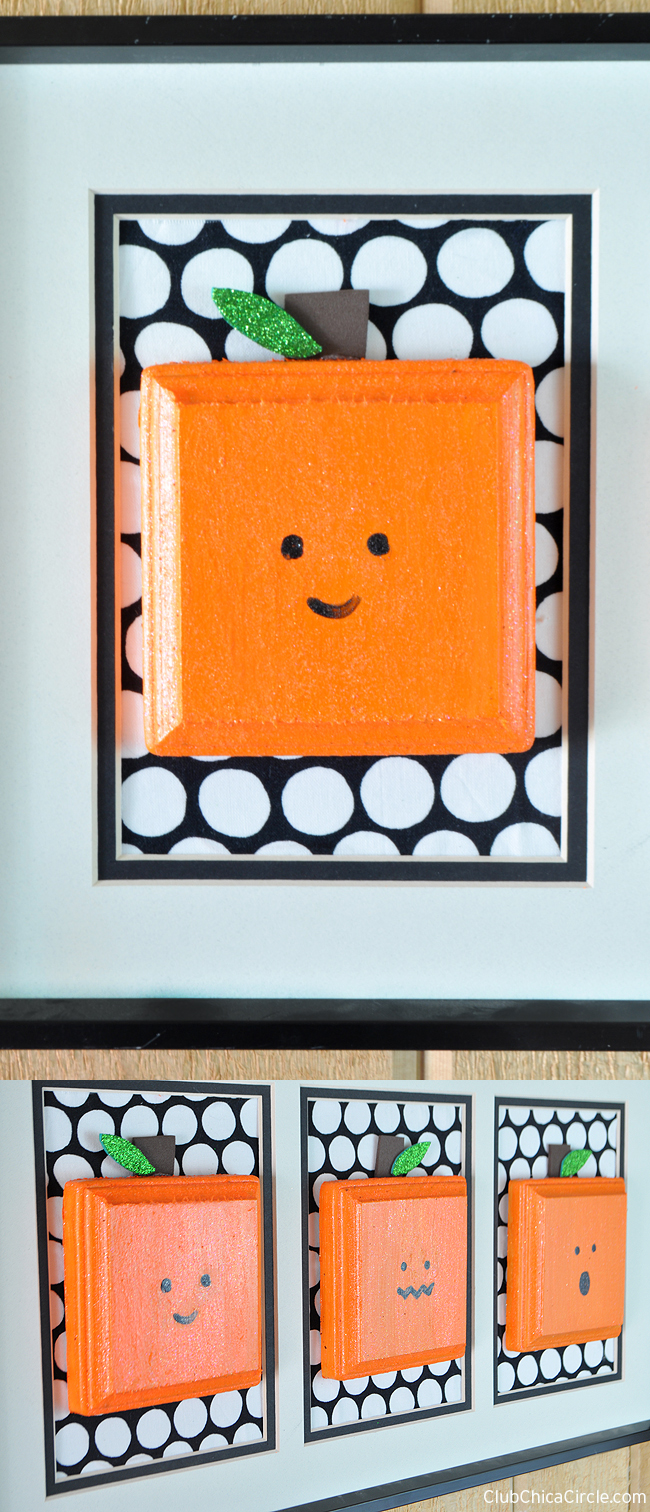
Then, when my orange layers were dry, I used a thin paint brush and my Glamour Dust paint in black to paint on cute pumpkin face designs.
Honestly I am in love with the Glamour Dust paints! The glitter effect is just the right amount of glamour and sparkle, in my opinion.
I wanted my three pumpkin “friends” to have their own unique face, so I made one happy, one scary, and one surprised. Let that dry completely before moving to the next step and putting your wall hanging together.
I cut a small rectangle shape, about 1 1/2″ x 1/2″ from my brown foam sheet and glued it at the top of my pumpkin. Then I cut a piece of fabric to size to fill the background of my picture. You can use patterned scrapbook paper too. I assembled into my three window picture frame and then glued my finished pumpkins in the center of each picture window with my glue gun. The final touch was to add pretty little green glittery leaves at the top of each pumpkin face. I cut teardrop shapes out of my self-adhesive green glitter foam sheet, and attached them on top overlapping my brown pumpkin stems.
I love how this turned out. I think it looks great hanging over our fireplace mantle. It’s the perfect way to add a little Halloween decor to a room.
So cute!




2 comments for “Square Pumpkins Wall Hanging DIY”