Today’s post is going to be short and sweet. I have been recovering from the flu all week, and either the cold medicines or the sinus pressure has made my head a bit fuzzy. The flu is definitely making its rounds in my daughter’s school, and thankfully she is already recovered from her bout with it. From my many hours in bed this week, I have learned a few things.
1. Watching Contagion probably isn’t a good idea for your state of mind when you are sick in bed with the flu. Good movie, but seriously disturbing in regards to getting sick.
2. Nyquil may help you sleep, but you can have some really trippy nightmare-ish dreams with it.
3. When your body aches so much that you can’t sleep, and you can’t watch one more episode of “Say Yes to the Dress“, the Pinterest app on your phone can keep you occupied.
That is exactly how I stumbled upon this handy tip, and I knew I had to try it. Did you know that you can print directly on paper bags? I would have never thought to try and feed a paper bag into my printer, but now that I have, the customizable treat bag possibilities are endless!
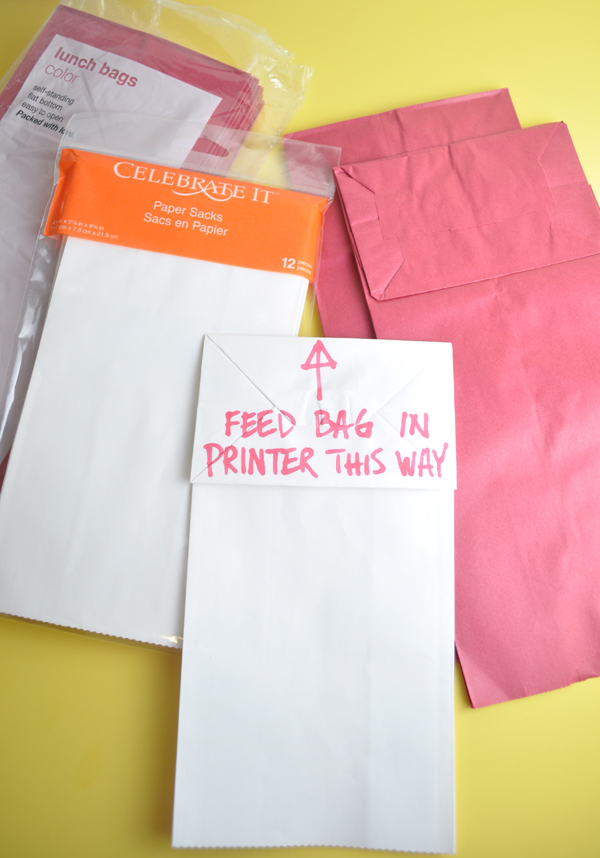
I had some plain white small gift bags on hand, and I found these cool red colored lunch bags at Target recently.
The trick to printing on a paper bag, is to create a custom printing size within your printer settings. I plugged in the exact dimensions of each bag and labeled them accordingly. I now have a “lunch bag” setting and “gift bag” setting in my printer settings.
Secondly, be sure to feed the bag in with the bottom of the bag facing up (see image above).
Finally, in your printer settings be sure to flip the orientation of your print horizontally. That way when it prints on the bag, the words and design will be right reading after you fill your bag.
One note: I found that I got a better print when I planned my design to print on the middle of the bag instead of at the bottom where it was thicker. I think because of the extra paper from the bottom of the bag, the printer liked to add some extra printer smudges on the front. As long as I planned my printer above the bottom fold, I was able to get a nice clean print on my treat bag.
Another note: Make sure to purchase bags that are uncoated, or that have no glossy coating. The ink will not dry and rub right off.
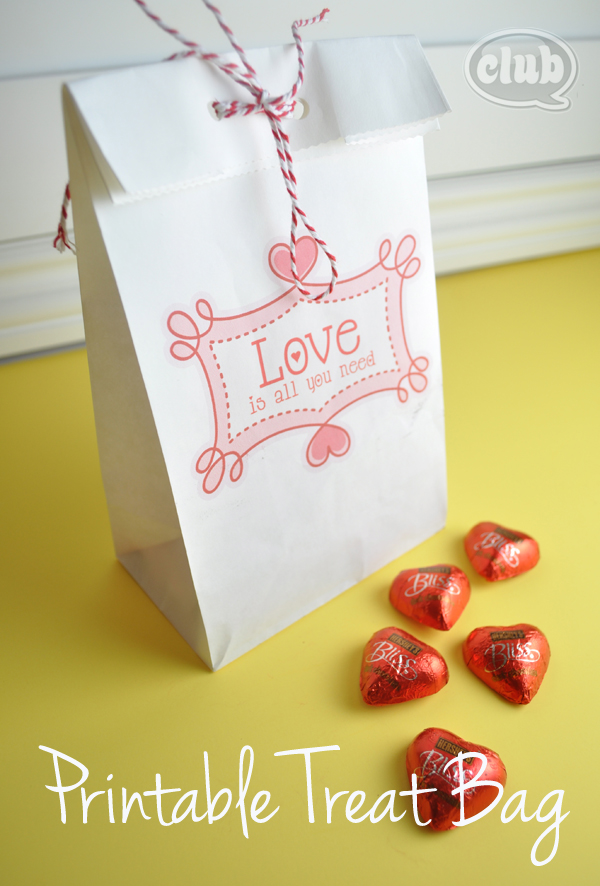
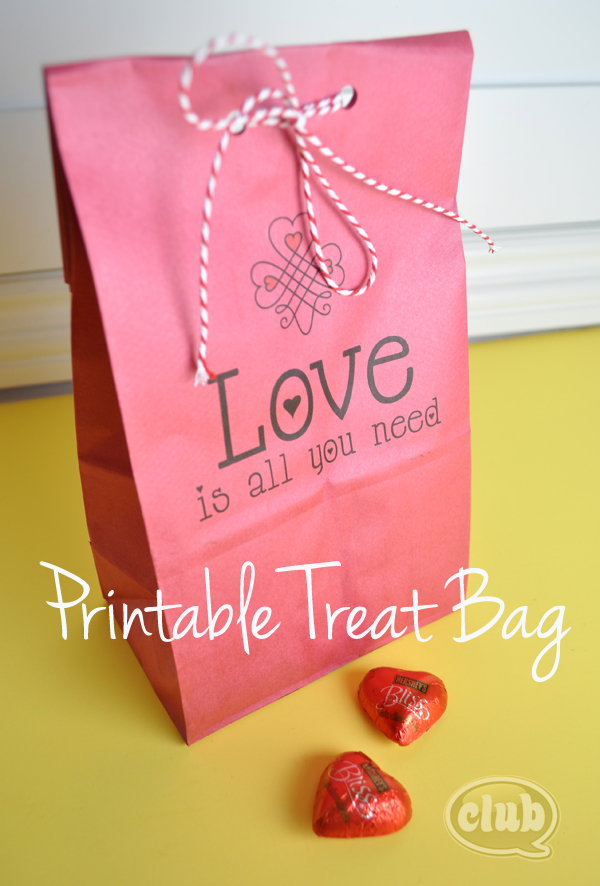
I created a couple quick bag designs that I am happy to share with all of you if you would like to try and print on your own bags. In the spirit of Valentines Day coming up, and because I somehow had this song stuck in my head, I decided on a “All You Need Is Love” theme.
Get your FREE printables here:
Paper Gift Bag Printable with Love
Lunchbag Love printable bag design
Then you can fill your bags with yummy chocolates for a quick and easy Valentines gift bag idea:
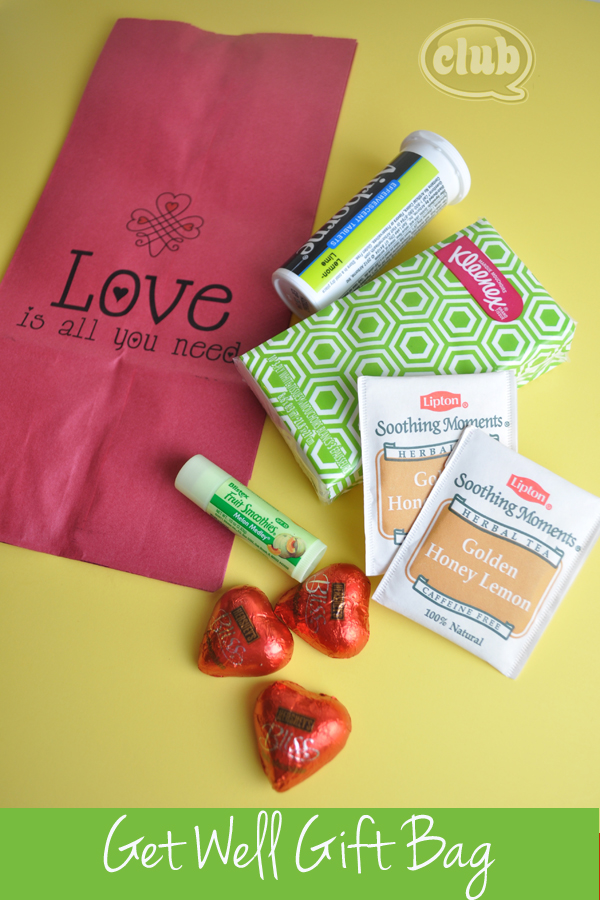
Or, for a great “Get Well Soon” gift bag idea, fill it with a few things that might make getting over a cold a little easier. My suggestions after this week are, tissues, chapstick, Airborne, soothing tea, and of course, chocolate. You can’t ever go wrong with chocolate. = )
After filling your bag, you can fold over the top, punch a couple holes a the top and tie with with a pretty ribbon or string. Lovely!
Enjoy printing your own treat bags, and I am wishing all of you good health, happiness, and love.
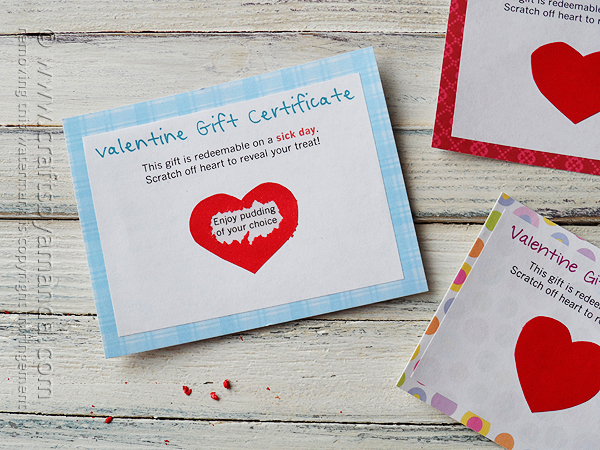
Looking for another clever trick? These homemade scratch off Valentines are so crafty from Crafts by Amanda!
Happy crafting!
If you liked this post, and want more, you can subscribe to be on our mailing list here.



54 comments for “Printing on Paper Bag Ideas with Free Printable”