Club ChicaCircle is all about being inspired and getting crafty! Once I saw this cool pict on Pinterest, I couldn’t resist trying it myself with my tween. Here is the original DIY from a fellow crafty soul, Joan Bagger Andersen on her Dutch site Wooz.
And below is our American DIY version. They were so simple to make, and we were having so much fun that one of our resident crafty tweens, Maggie, wanted to show you personally how you can make them yourself! You can check out another DIY video from one of our tweens here, in Miranda’s Kitchen.
You can make multi-color bead bowls, or make your own color design using only a few colored bead choices.
Start with meltable beads, like Perler Beads®, a little cooking spray, and a small oven-safe bowl.
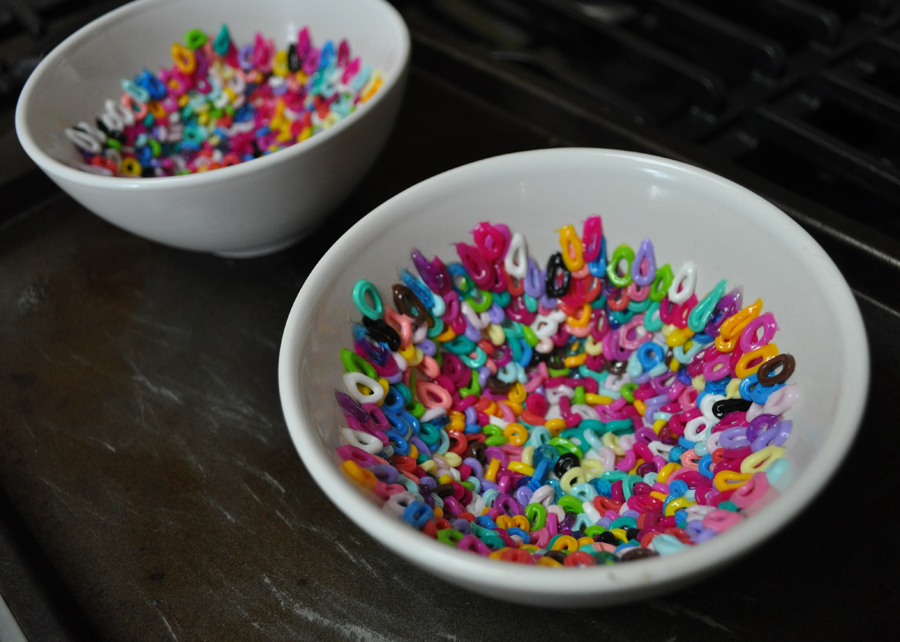
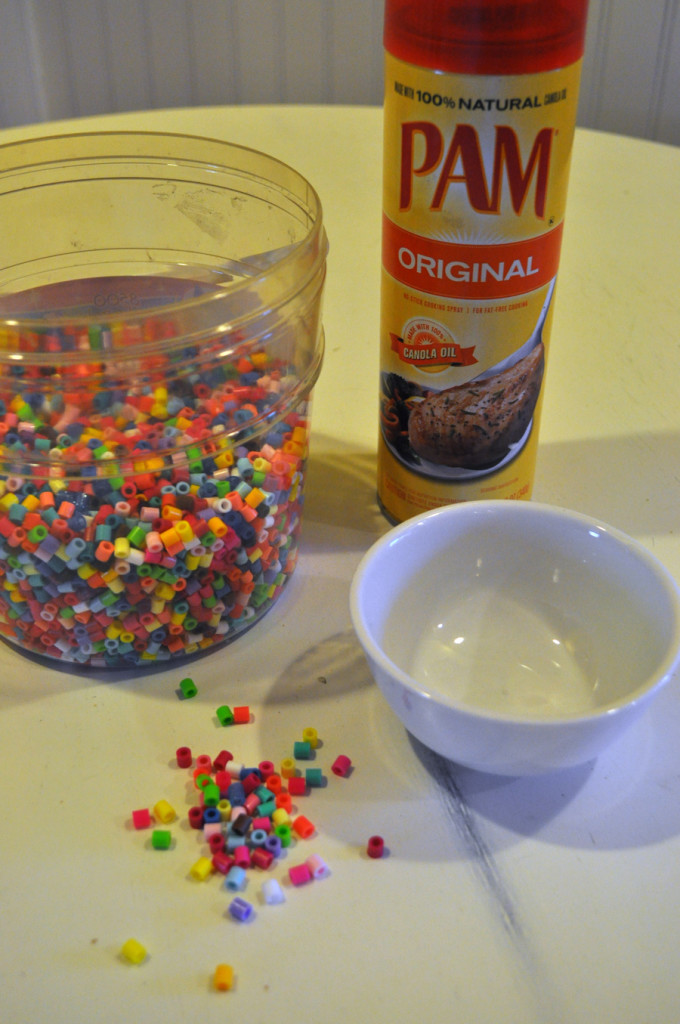 Spray the bowl with a little cooking spray. Then, select the color palette of beads you want and place them in bowl. Press them down in the bowl until there is only one layer of beads. The beads will automatically climb up the sides of the bowl along the edges. Fill bowl with enough beads until desired height.
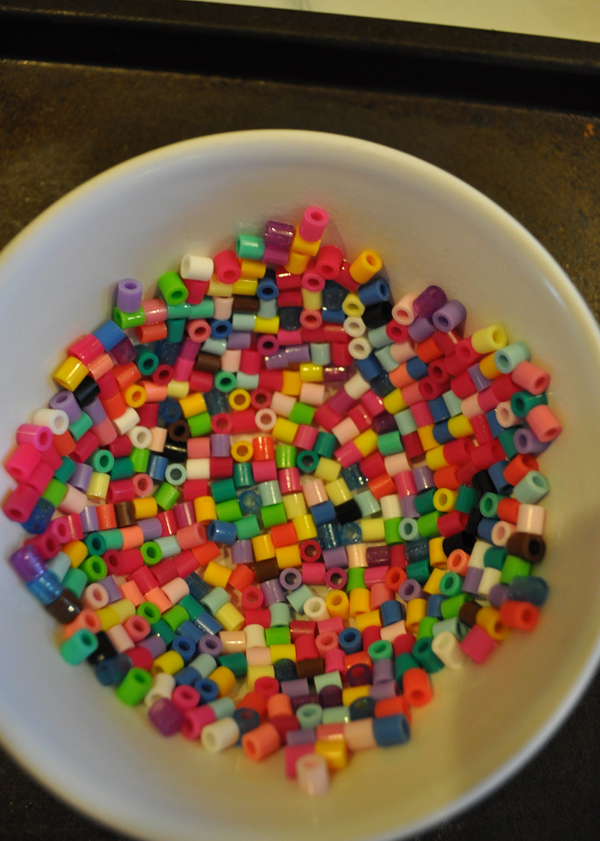
Here is BEFORE:
Put on cooking tray and place into a preheated oven at 400 degrees for about 10 minutes.
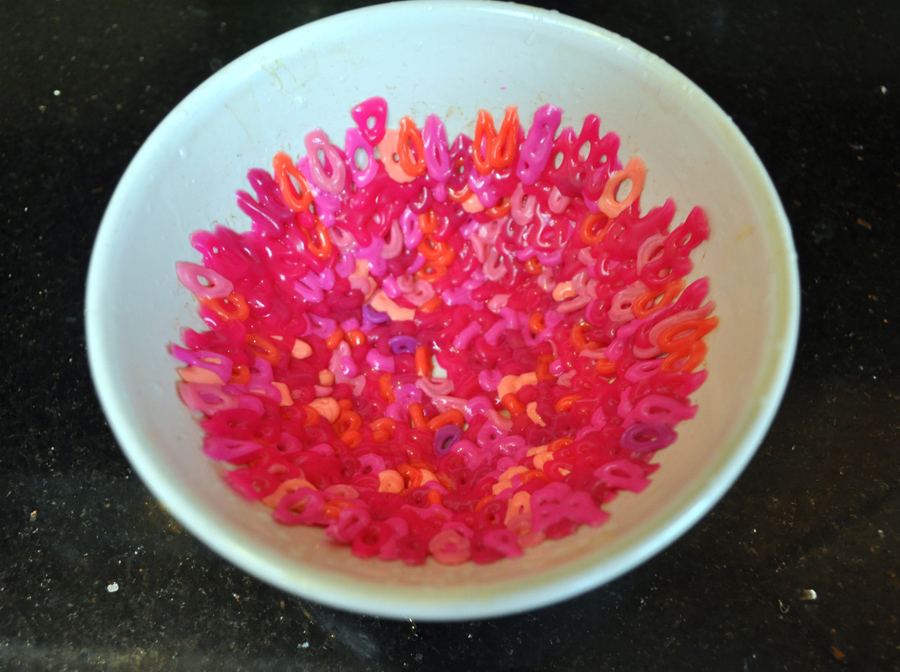
And this is AFTER:
And this what happens when you leave your bowls in for 20 minutes – the beads get even meltier – although they are harder to get out of the bowl too.
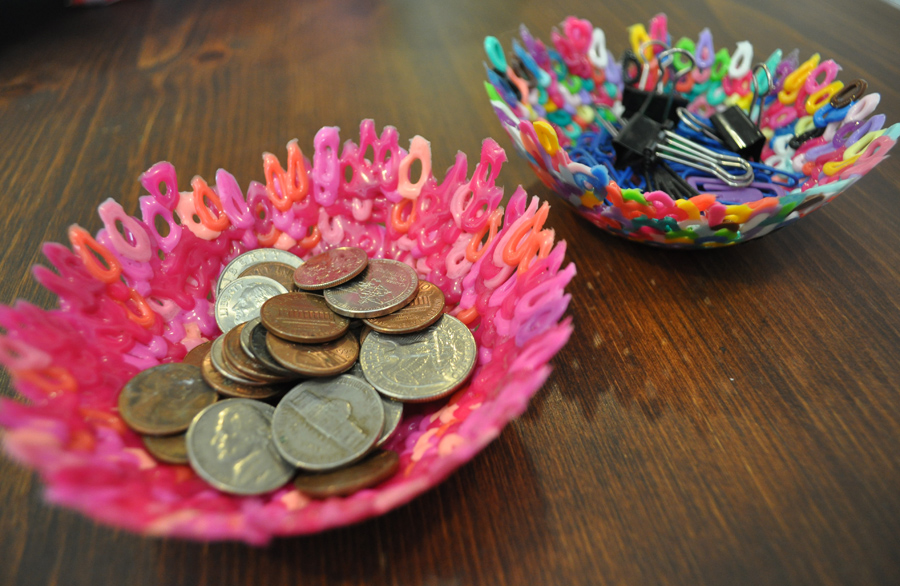
Pop the bowls out and let cool. Display and use as desired! = )



11 comments for “Melted Bead Bowls DIY”