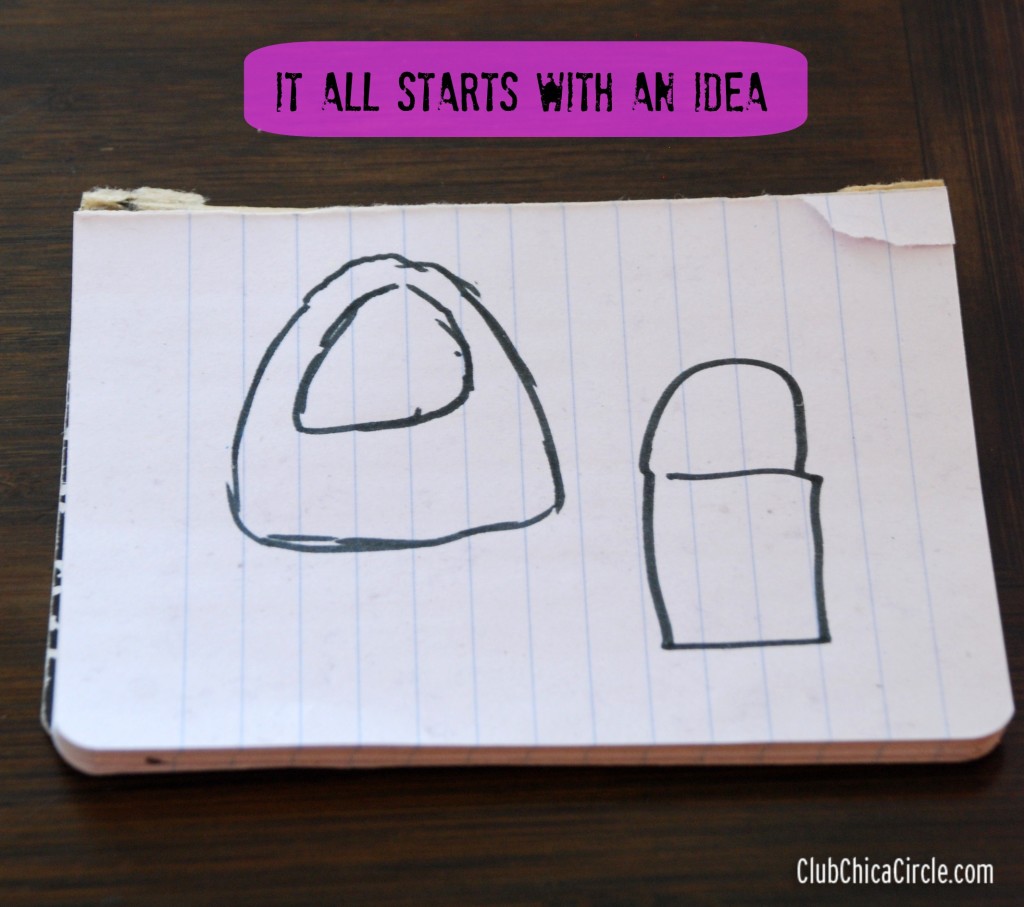
It all starts with an idea. In this case, my daughter started with a drawing for a project:
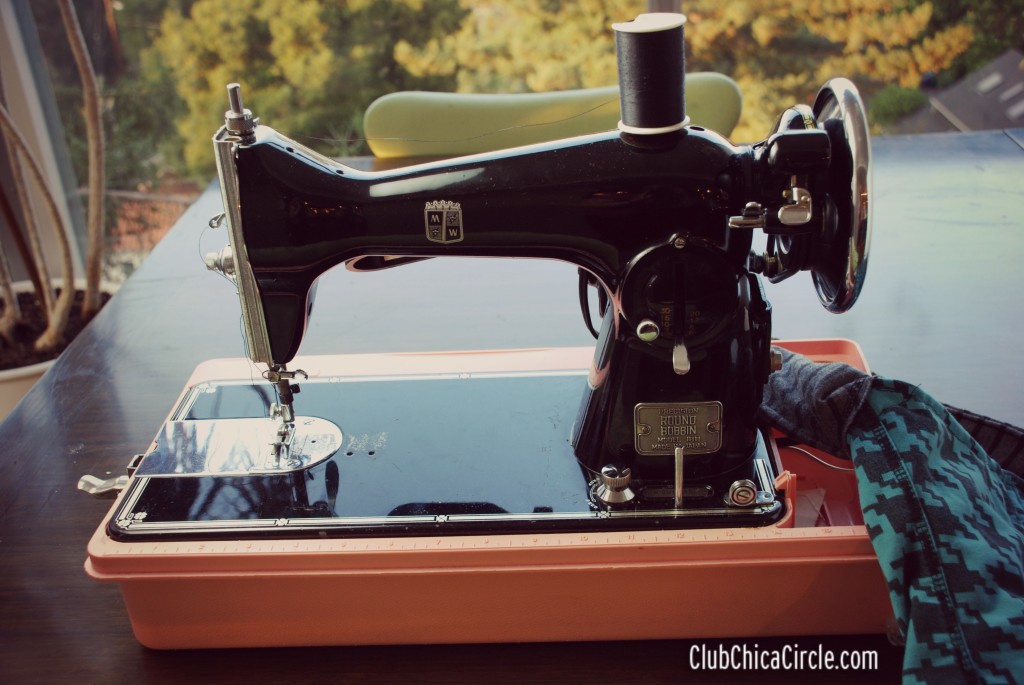
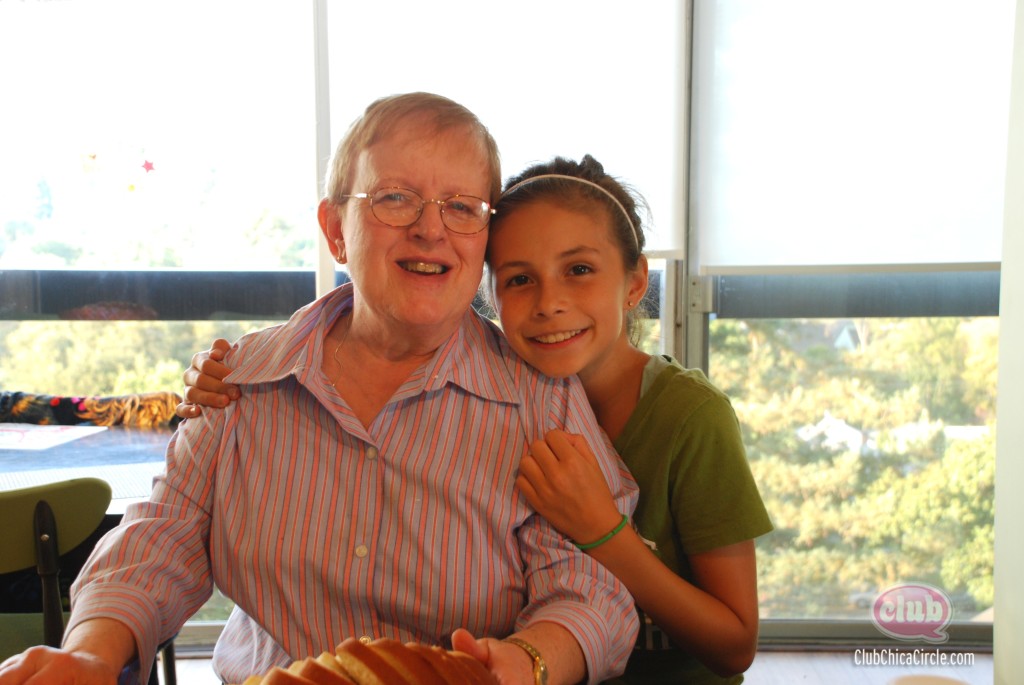
Thankfully, my mom is in town for a few more days. She and my girl held ‘Grandma Camp’ and tackled this project idea in a little over an hour. My mom brought out a treasured sewing machine which belonged to her maternal great aunt. (Disclaimer: I do NOT know how to use this machine which weighs a ton – but I’m thankful my daughter gets a refresher lesson every time Grandma is in town.)
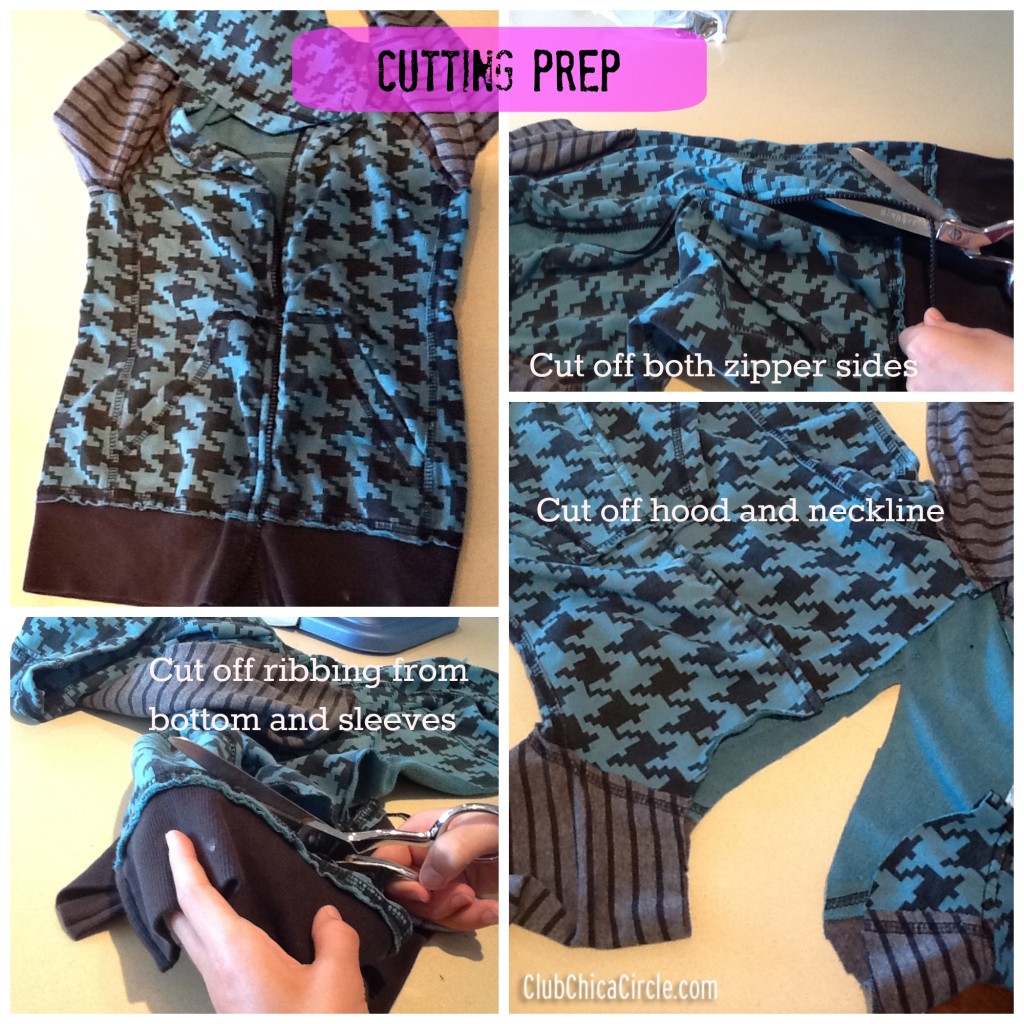
To start the project, my daughter dug out a hooded sweatshirt from a bag destined for Goodwill.
Cutting
The first project step involved cutting away both sides of the zipper (to reduce the thickness where a new seam would go), cutting off the ribbing from the sleeves and jacket bottom, and cutting off the hood and neck area of the jacket.
Sewing the Strap
The sewing part of the project is easy in concept (see disclaimer above) with the hardest part to explain is how to join the sleeves to create the continuous hoodie bag strap. The approach is to join the ends of the sleeves together and then flip inside out while keeping the ends of the sleeves joined. By doing so, you can stitch a seam to join the two sleeves together but hide the seam inside. (Imagine the seam of the joined sleeves at the top of the upcycle hoodie bag.
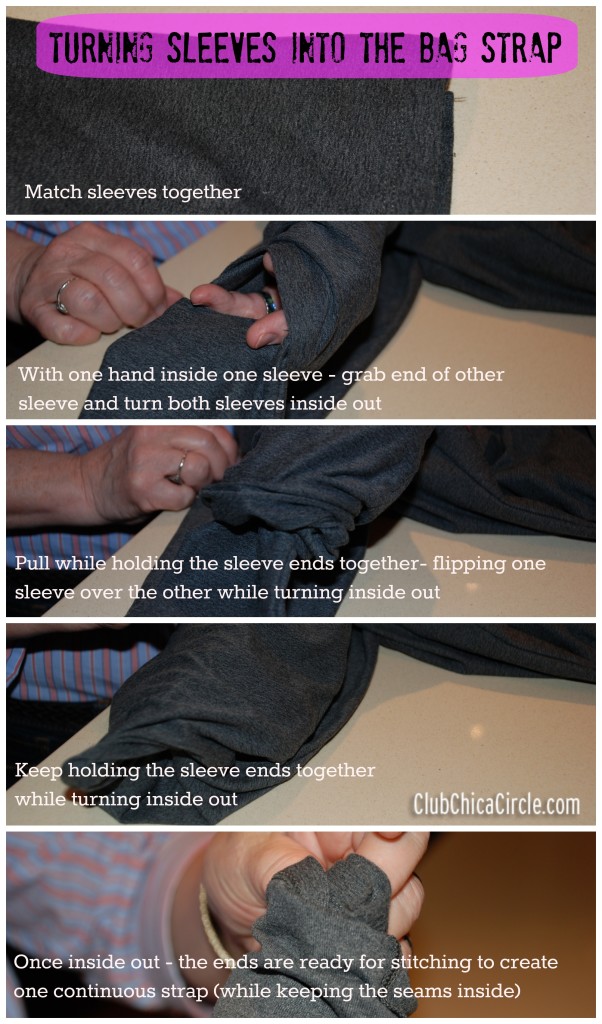
Once the sleeves are joined, flip right-side out and you will have one continuous strap. My Grandma-daughter team decided to make the strap narrower by folding the strap over lengthwise and stitching a seam along the edge to seal the folded edge together.
Sewing the Upcycled Hoodie Bag Body
To create a neat seam at the top of the bag body, my home team folded the neck edge over and stitched a seam at the top. They finished the body of the upcycle hoodie bag by flipping the jacket body inside out to sew the seam at the bottom of the jacket/bag and where the zipper was.
No pictures here…because my mom and daughter ‘were having too much fun and were on too much of a roll to stop and take pictures’. (Note: I’ll take that explanation any day.)
Upcycled Hoodie Bag – Final Product
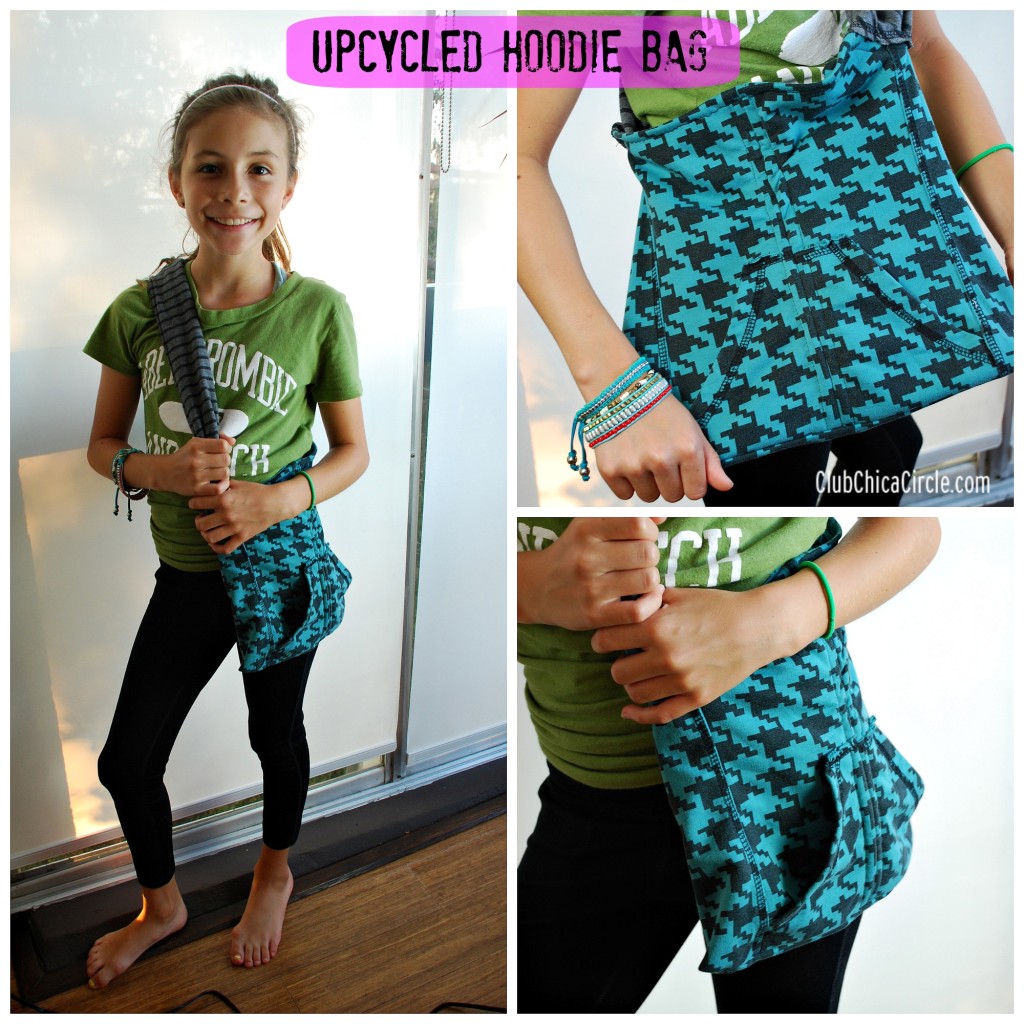
My daughter gives the bag two thumbs up (‘perfect to wear while riding a bike – light and short enough not to hit the legs’).
Even better than the bag are the laughs and stories my home team shared during a precious cross-country visit from my mom.
It all started with an idea. It ended up with an upcycled hoodie bag and an afternoon to make big smiles for all.
Do you have any favorite Grandma Camp stories? Share below! Also, let us know if you make your own upcycled hoodie bag.
If you liked this post, and want more, you can subscribe to be on our mailing list here.
Follow Lynnee’s boards on Pinterest and Pauline’s Club ChicaCircle boards here. You can also find Lynnee Jimenez on Google+.


2 comments for “It Starts With an Idea – Upcycled Hoodie Bag”