Note: this post contains affiliate links for products I have used and can recommend. I was NOT compensated for this post, but I was given a Mod Podge Melter to review and try out. As usual, all photographs, ideas, and opinions are solely my own.
You may remember me mentioning that I had recently attended the Craft & Hobby Association Mega Show conference. This is, by far, one of my favorite conferences to attend. I get to see what some of my favorite craft brands are launching and preview what is going to be their up-and-coming new product or crafty tool.
So when I was asked to preview and try out the new Mod Podge Melter tool from Plaid, I jumped at the chance! I’m a #luckygirl that I get to craft cool things every week, and I’m a #luckygirl that I get to share this with all of you. = )
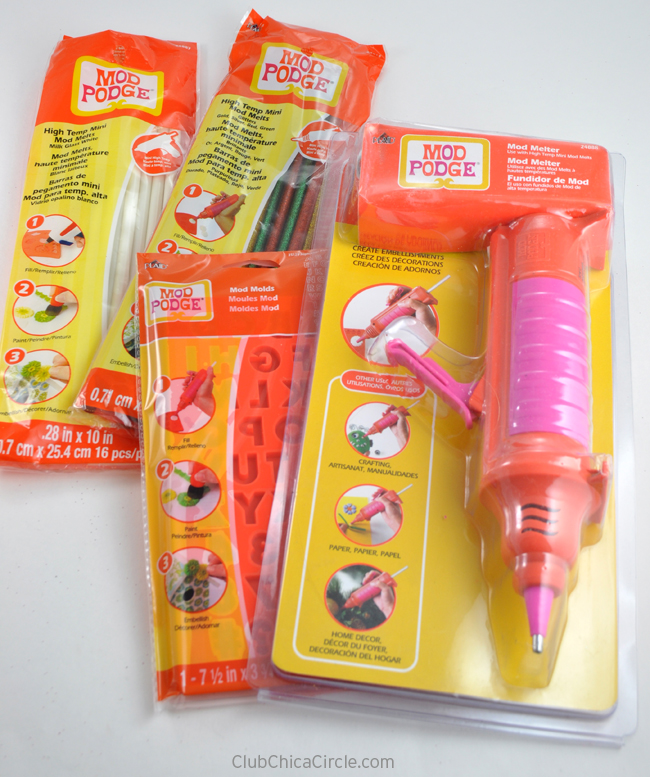
What is the Mod Melter?
It is the new and improved all purpose glue gun designed by rock star crafters Cathie & Steve, complete with an on-and-off switch, built-in stand, 6 foot electrical cord, silicone soft grip and covered tip, and a large, easy-to-control trigger.
The Mod Melter is the perfect tool to use to fill Mod Podge Mod Molds with Mod Melts – make beautiful embellishments for a variety of projects.
I decided to test out this new cool tool with a fun St. Patrick’s Day craft idea.
For this gorgeous gold gift box I used:
- Glitter Mod Podge Melt sticks (similar to these)
- White Mod Podge Melt sticks
- Alphabet Mod Mold (similar to this)
- Gloss Mod Podge
- Craft stick
- Gold Metallic Craft Paint
- Sponge brush
- Small paperboard box
- Small scissors
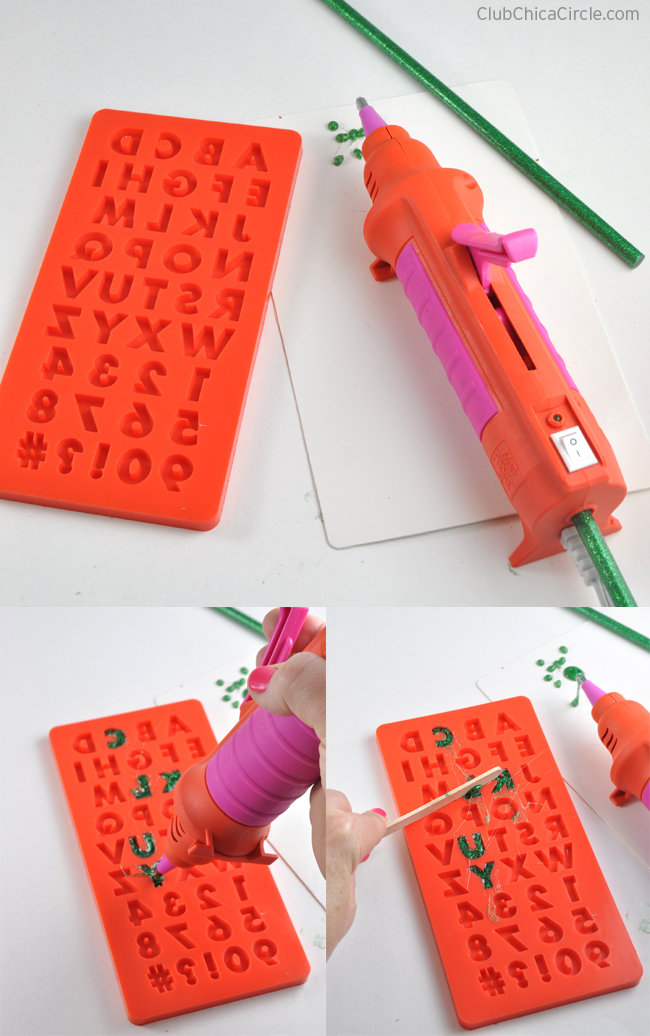
I loaded up my Mod Podge Melter with the green glitter Mod Melt stick. Then, starting from the center of each mold, I squeezed enough glue into each desired mold. I squeezed a little extra, and to make it smooth, I immediately used the edge of a craft stick to scrape off the excess. Then I let the melts dry in the mold for about 10 minutes.
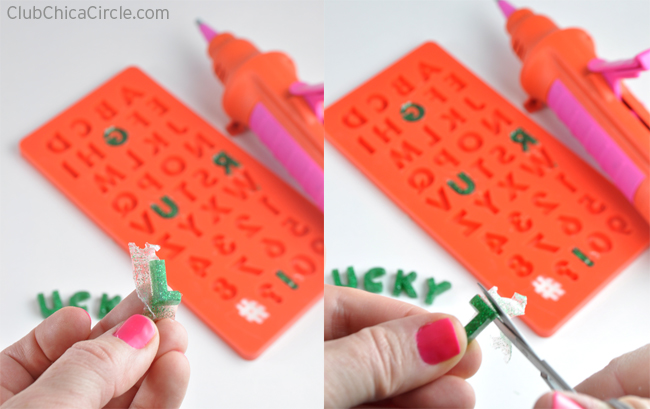
The letters popped right out of the silicone mold. I then a small detail scissors to cut off any excess glue from my design.
Now it was time to put it all together, and create my “Lucky Girl” gold gift box.
I painted my paperboard box (you can find these at your local craft store) with gold metallic paint and let it dry completely before moving onto the next step.
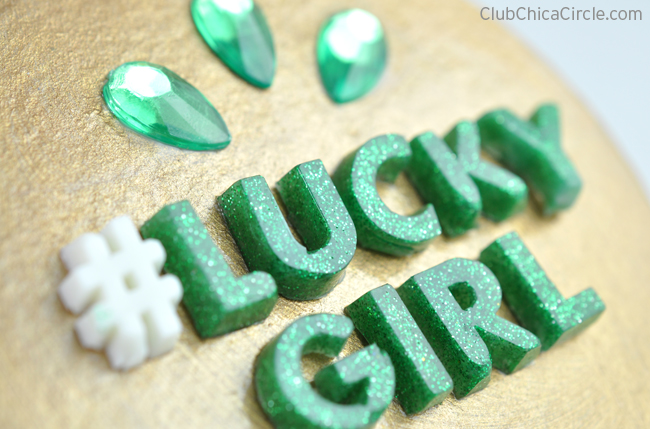
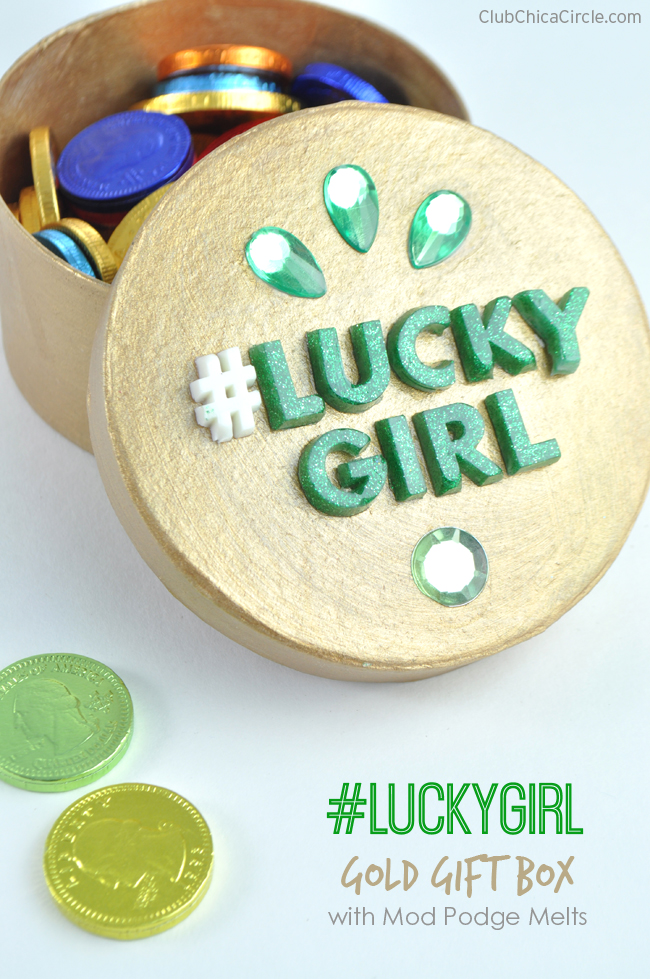
I then put a thick layer of Mod Podge gloss on the lid of my box and arranged my Mod Podge letters and jewels on top. Keep in mind, the Mod Podge will dry clear. Do not be afraid to put the white glue on really thick. You want to make sure your design stays put.
Along with the cool dimensional letters, I added some pretty emerald jewels.
Check out how cool these glitter letters turned out!
After my gold gift box was done, I filled it with yummy chocolate covered coins—perfect to give to my own Lucky Girl!
I love how it turned out!
Honestly, the Mod Podge Melter was so easy to use. I especially loved the built-in stand, and because you are meant to hold this new-fangled glue gun upright and vertically, it made it super easy to fill the molds.
The new Mod Podge Melter officially launches on PlaidOnline.com and Amazon.com mid-March, and will be available on HSN.com on March 9.
You can use this new handy tool for general crafting, paper crafting, home décor, floral décor and so much more!

