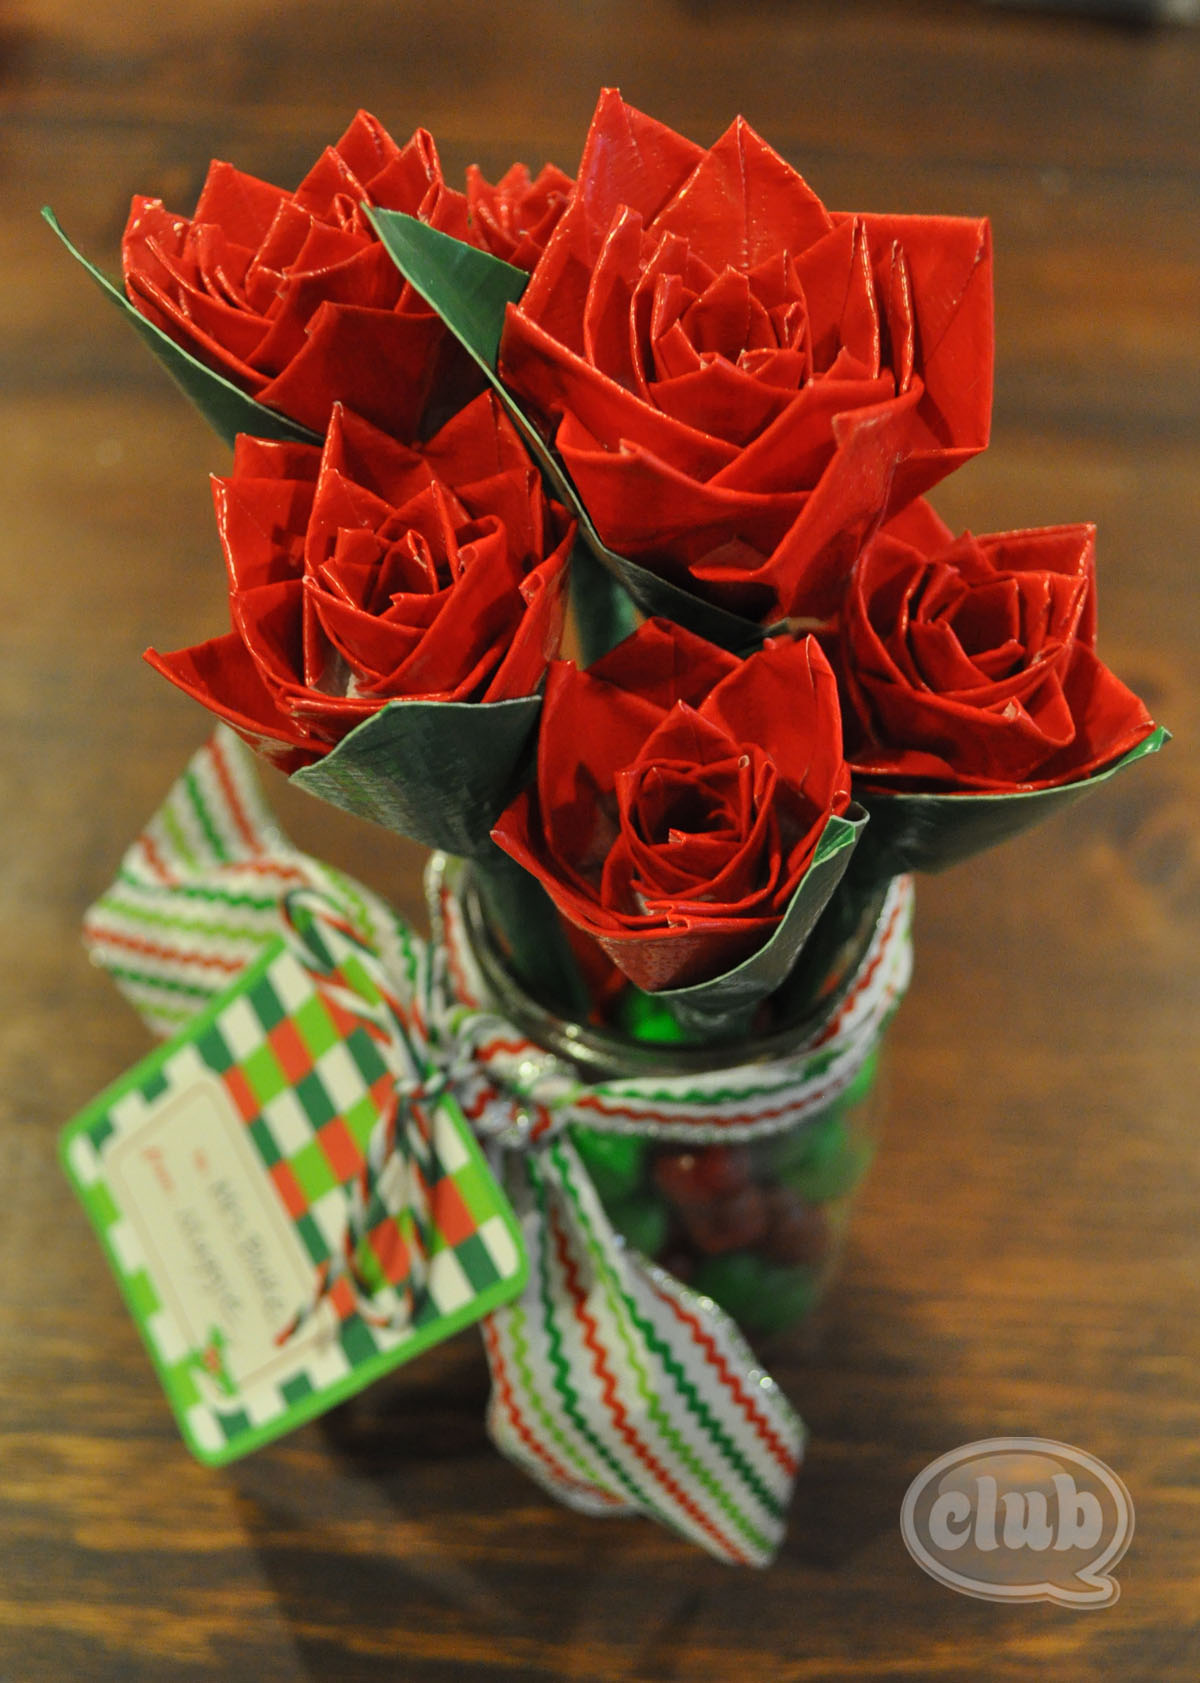
I can’t even describe how much my tween uses duct tape for room decoration, headbands, wallets, purses. You name it, and we have probably tried it. In our crafty world Duck Tape® truly can fix anything. I will admit, we do have quite the collection of decorative duck tapes. For the holidays, one of the homemade teacher’s gifts we made was a duct tape red pen rose bouquet. It was a huge hit with her teacher.
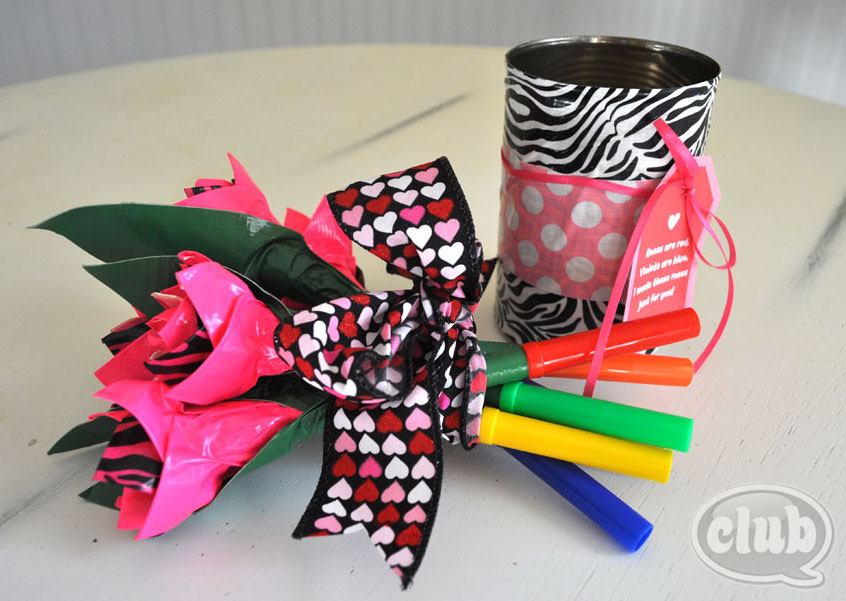
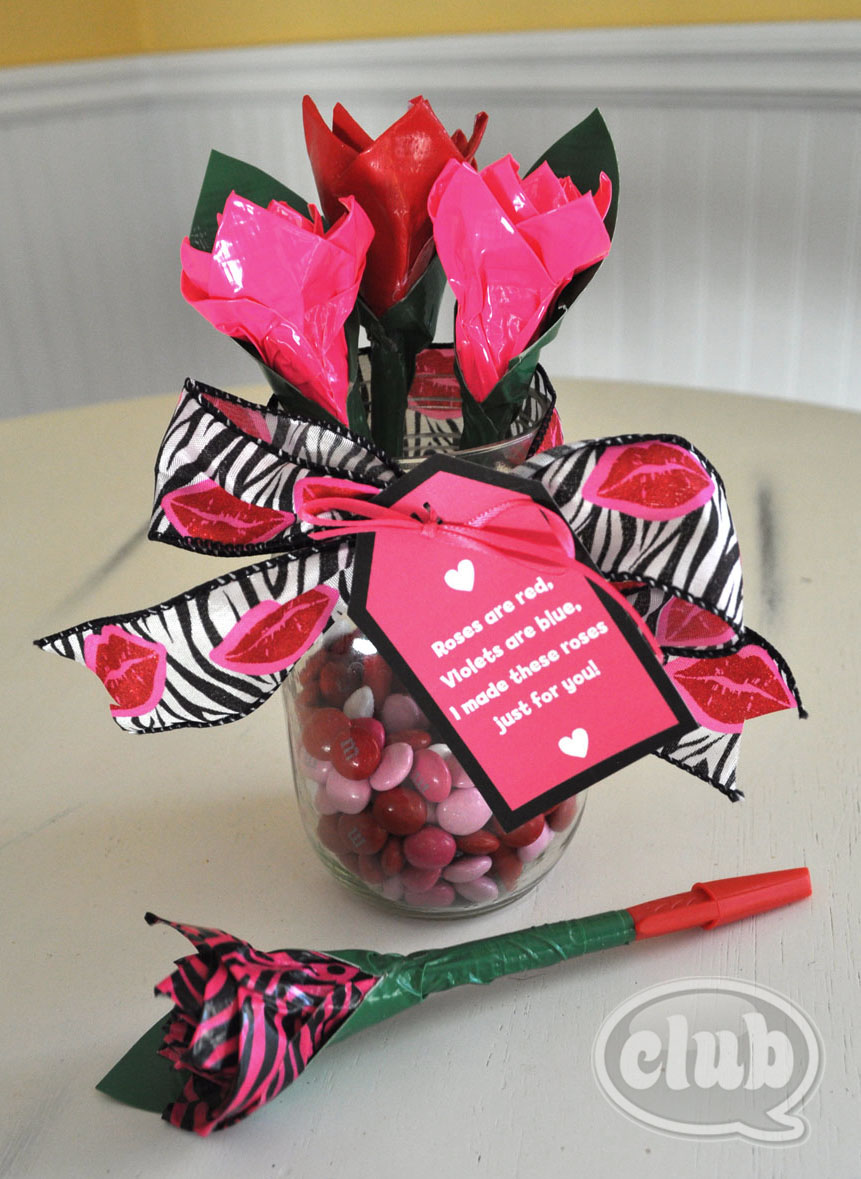
For the homemade teacher’s Christmas gift we made a half a dozen red roses on red pens, put them in a jar filled with holiday colord M&Ms and tied it up with a holiday bow. This Valentines Day we were inspired to make more for friends, since they were so well received, and so easy to make. This time we made some hot pink ones, and some mixed duck tape patterned ones and dressed them up with Valentine tags and ribbon. We made a colored marker bouquet, and some red pen ones too, but you can really cover any pen or marker you choose. If you want to create a duck tape pencil, just make sure not to cover the whole pencil so you can still sharpen it.
Check out the easy DIY below, and here is a free Valentine Gift Tags Printable you can use for the tags.
What you will need to make your own duck tape flower pen:
- Decorative Duck Tape (I used a variety of pink, red, and pink patterned, plus green for the leaves)
- Scissors
- Pen or markers for wrapping
- To get started, you will first need to wrap the stem of the pen or marker. Cut a length of green duck tape a little longer than the length of the pen or marker. Make sure you don’t go past where the pen or marker cap would be so you won’t have trouble reattaching after use. Carefully wrap all the way around the barrel of the pen. Twist at the end and cut off any excess.
- Now, cut a small piece of duck tape (about 1/4″ wide, use the same color as you want the rose petals). Wrap on the bottom of the pen to cover up the rough edges of the green tape, and so as the inside of your rose flower will be all the same color.
- Create the petals by cutting about a 2-3″ piece of duck tape and fold down the corners of one side to create a triangle point. I like to work on my self-healing mat surface and line up a number of petals in preparation for wrapping around the pen (making sure not to stick them onto each other). You can use as many petals as you wish – it just depends how thick and full you want each flower. I used between 12-16 for each rose pen.
- Now take your first petal and wrap tightly around the bottom of the pen to create the center. Continue by wrapping the petals around in an alternating pattern so that the petal points don’t line up exactly. Once you have wrapped 3-6 tightly around the center, you can start wrapping them looser and pulling out the petals to create some fullness. Keep wrapping until you are satisfied with the fullness of the duck tape rose. Don’t worry about the rough edges at the bottom of the petal, when you attach the leaf next, it will cover it all up.
- To finish off, cut about a 9-12″ piece of green duck tape. Fold over about 4″ onto itself. Then cut a leaf shape on that section. Wrap the exposed sticky section of the green leaf tightly around the pen stem and around the bottom of the rose. You are done!
You can arrange your duck tape flower pencils into a glass jar, fill with colorful M&Ms, and finish off with a festive ribbon and tag to create a great homemade gift!
 Or you can decorate a recycled can with stripes of decorative duck tape and fill with this great set of duck tape rose markers and give to a friend. Or there certainly is no shame in keeping for yourself. This set my tween has actually nabbed as her own.
Whatever you choose, these will be a huge hit, and a super fun craft to do together with your tween.
One more bonus, here a quick how-to video on how to make your own duck tape rose bouquets.
Roses are red, violets are blue, I made this duck tape rose DIY just for you! = )
And for a laugh, check out the Duck Tape® Tron video here.
If you liked this post, and want more, you can subscribe to be on our mailing list here.


5 comments for “Duck Tape Rose Bouquet DIY”