This post is sponsored in part by I LOVE TO CREATE and Blueprint Social. All images, ideas and thoughts are completely my own.
We seriously had so much fun creating a multitude of really beautiful tie-dye creations. I was so excited to join in the Tie Dye Your Summer campaign with Tulip One-Step Tie-Dye Kits. Tulip One-Step Tie-Dye is America’s Favorite Tie Dye, and I can see why!
Each kit comes with everything you will need to get started—minus the t-shirt or fabric you want to tie-dye, and it’s so easy to use.

Each applicator bottle is already filled with color powder that is activated once you pour warm water in them. The caps of each of the bottles tell you what color is in each. You also get plastic gloves, plastic to wrap your shirts in, rubber bands and a project guide.
These kits are perfect for multi-color projects, parties, group activities and good old family fun!
I set the stage for some fun weekend crafting with my girl and her friend. I set up our backyard table and covered it with a plastic sheet. I also made sure the girls wore aprons and plastic or rubber gloves when working with the dyes.
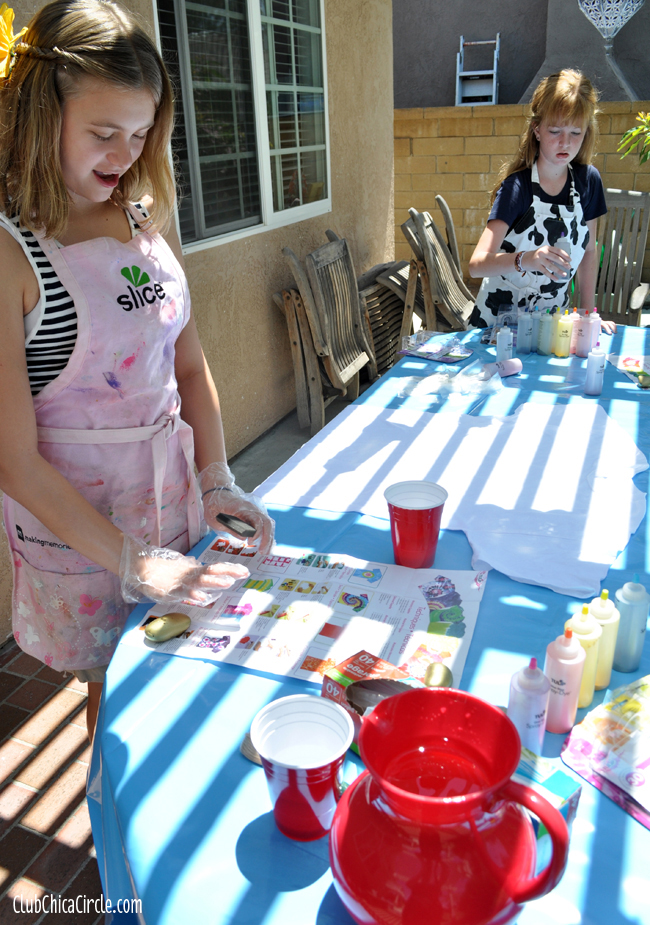
I had a pitcher of warm water ready to pour into the applicator bottles. One-step can make a fashion masterpiece – just add water for beautiful bold color! The dyes are permanent and color-fast, so they won’t fade in the wash!
Basically, we applied the color to our shirts and then wrapped them in plastic and let them set for 6-8 hours.

The project guide that comes with each kit was a huge help. Between the three us, we practically tried every technique.
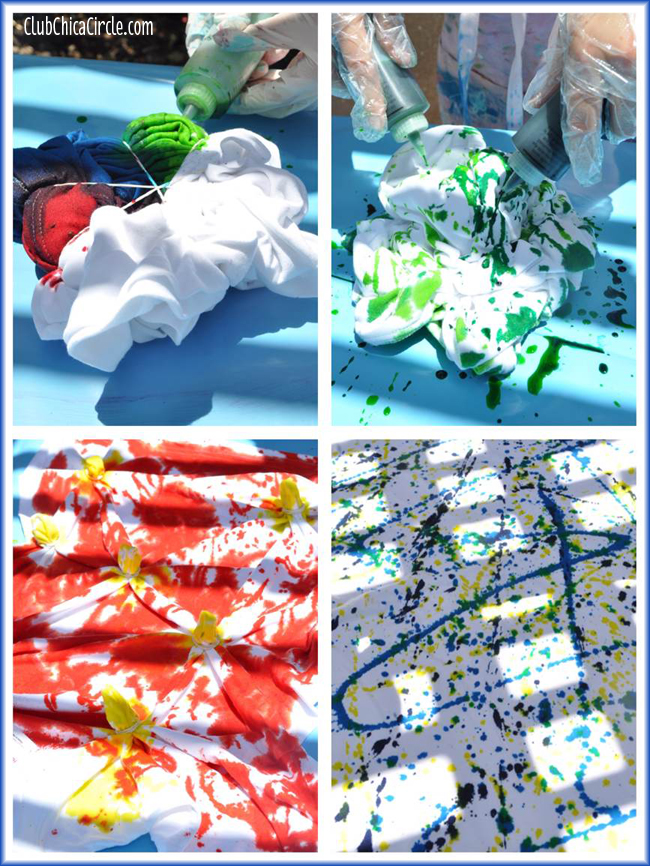
From twisting the shirts and securing with rubber bands, to crumpling them, to simply squirting the color on.

We even tried the “ombre” effect by brushing on and blending the dye color with a sponge brush and water.
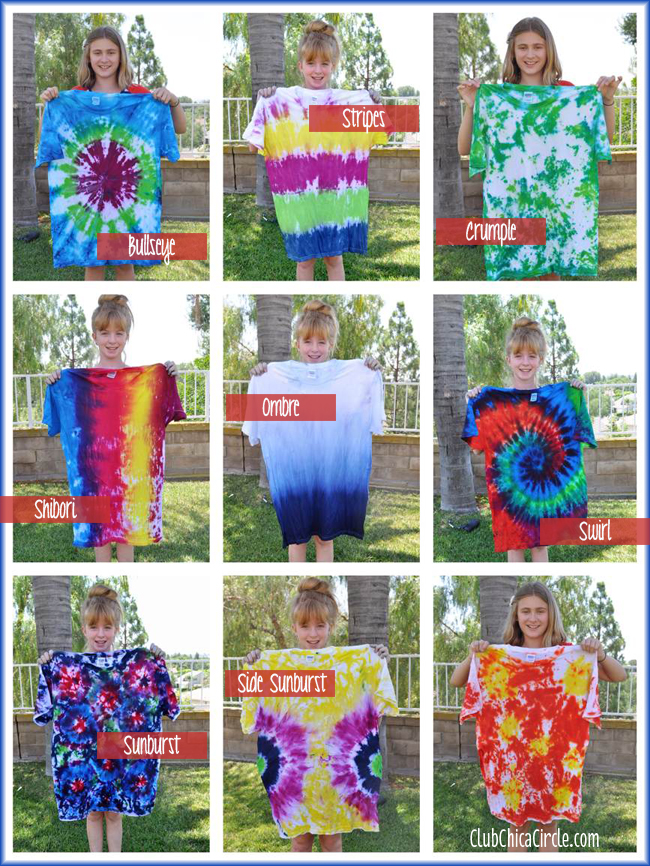
Once we started dyeing shirt, we couldn’t stop. We honestly kept going until we ran out of ink to use.
Here is just some of the fun tie-dye designs we made!
So, now that we made all of these cool shirts, it was time to give some of them a fashion upgrade!
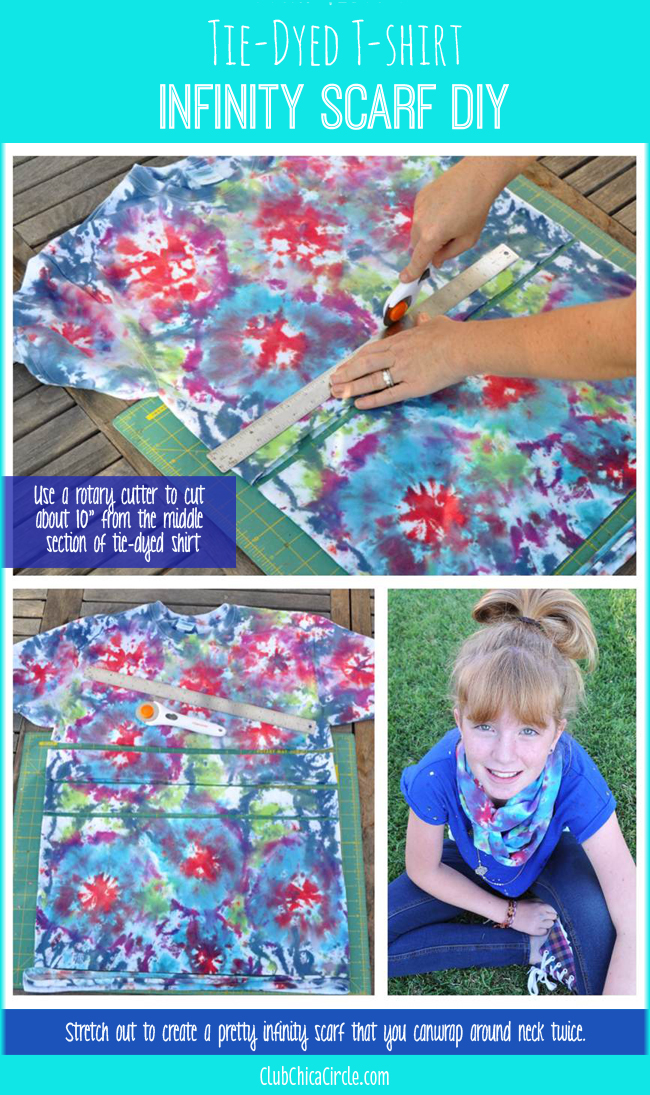
PROJECT 1
To make a super easy infinity scarf, you can cut the middle section of your shirt (about 10″ tall) minus the bottom hem. Then stretch out the tie-dyed t-shirt band and wrap around your neck twice for a pretty scarf accessory!
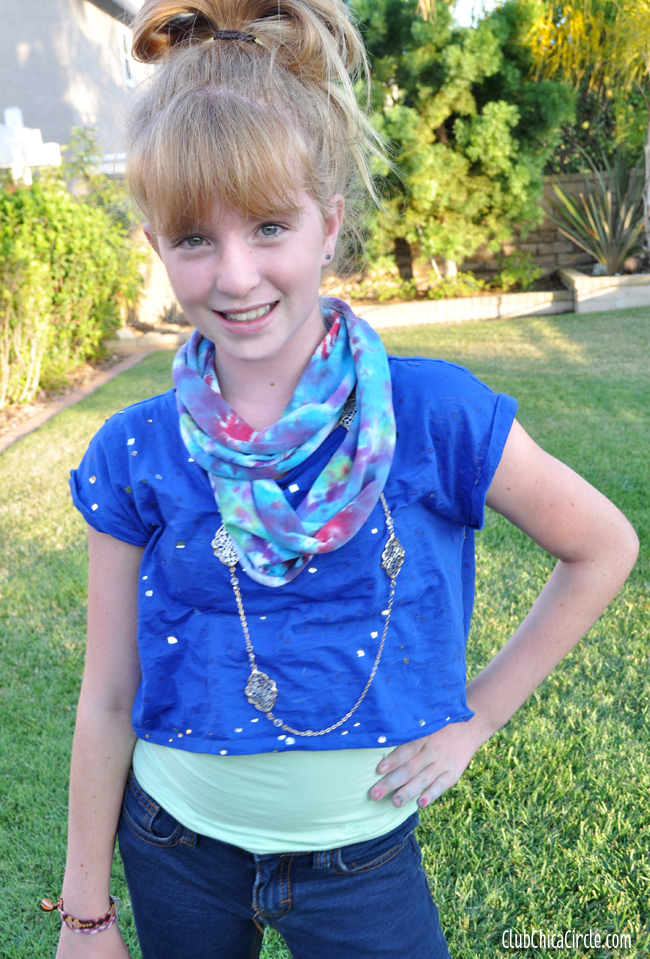
TWEEN FASHION TIP #1: layering is good!
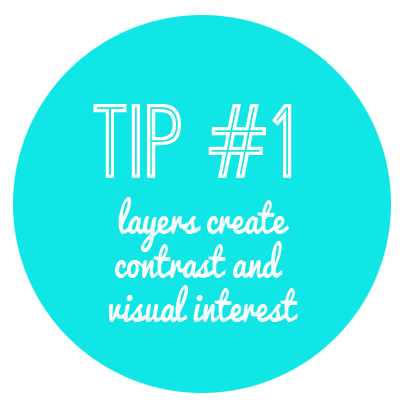
Create visual interest by layering a colored tank with a tee, add a scarf and even a sparkly necklace for even more of a fashion statement.
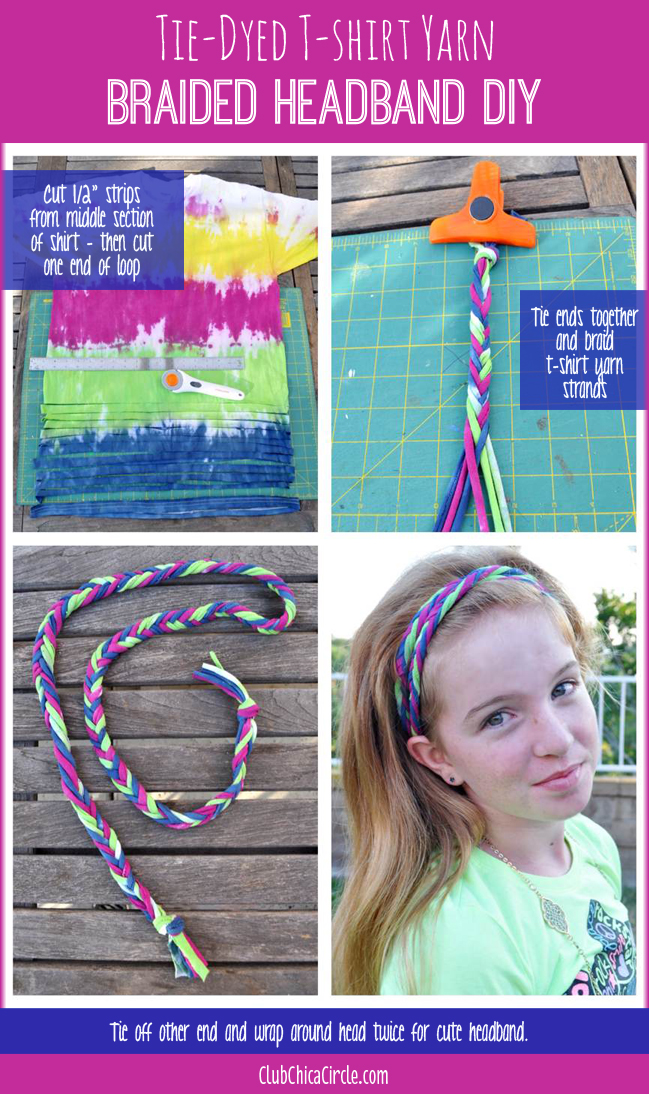
PROJECT 2
Make a really pretty braided headband, or even belt, by creating colorful t-shirt yarn from your shirts. I used a rotary cutter to cut 1/2″ wide strips from the middle section of one of our tie-dyed shirts. Then I snipped one end of the t-shirt loop to create a long strip of t-shirt “yarn”. The rest was just braiding them together. You can make it as thin or thick as you like depending on how many strands of t-shirt yarn you use. I did a simple fishtail braid using 6 strands for my example below. We tied off each end and it was long enough to wrap around twice around my daughter’s head for a really pretty headband.
TWEEN FASHION TIP #2: Your look can be changed in an instant with a different hairstyle.
Change it up with different hair accessories or styles to match your mood.

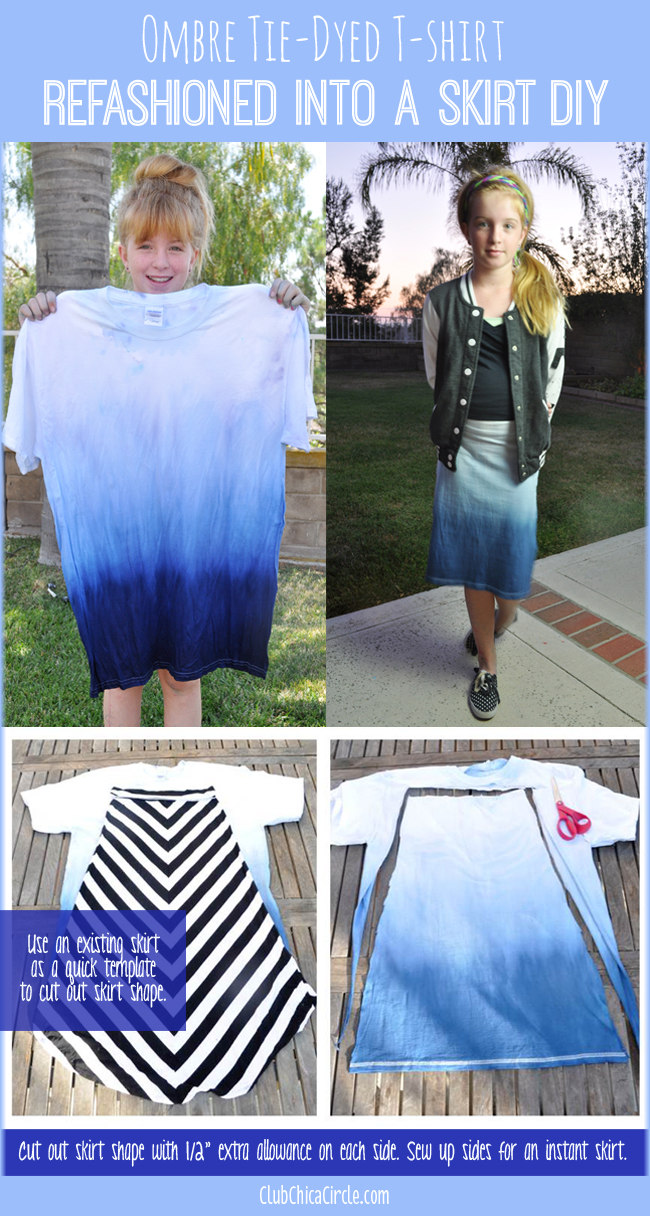
PROJECT 3
We turned a large tie-dyed t-shirt into a skirt with just a couple cuts and a couple sewn seams. First, I used one of my daughter’s favorite skirts as a template or guide on how big to cut out her skirt pieces. I made sure to cut an extra 1/2″ seam allowance on each side. Then with the right-facing pieces touching, I zipped a quick seam up each side, and one at the top. I kept the bottom seam of the shirt for the bottom of the new skirt. The t-shirt fabric is stretching enough and it was snug enough, that we didn’t need any elastic at top to hold it up.
TWEEN FASHION TIP #3: Be comfortable.
If you are comfortable and confident in your look, you will reflect that. Be comfortable with yourself and love yourself inside and out.
For more tie-dye fun, check out this great video:
And to connect or get more inspiration from I LOVE TO CREATE on Facebook, Twitter, Pinterest, or check out their blog!
Oh, and check out all of these fabulous tie-dye fashion ideas from some of my fellow crafty bloggers here:
This post is sponsored in part by I LOVE TO CREATE and Blueprint Social. All images, ideas and thoughts are completely my own.


4 comments for “Back-to-School Tween Fashion Tips with Tie-Dye Craft Ideas”