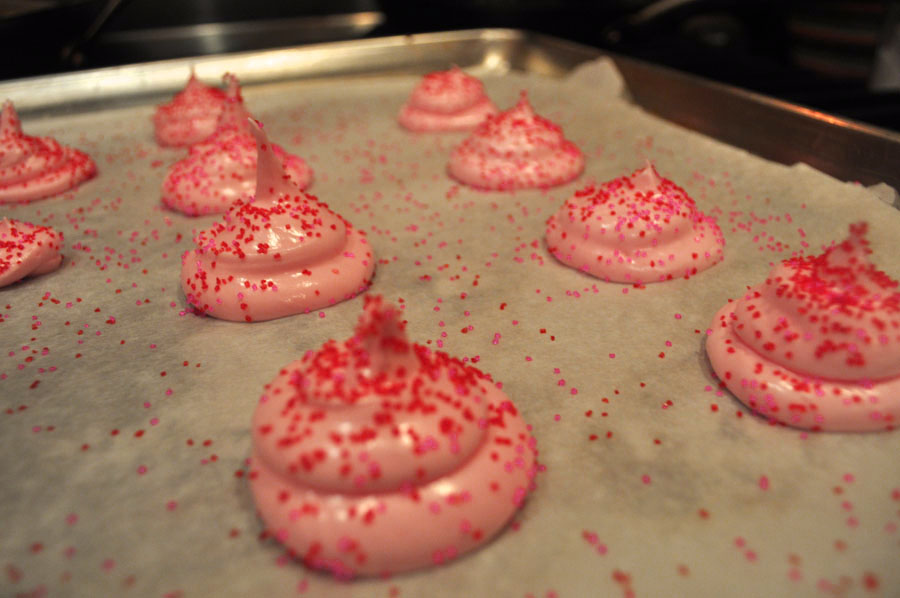
One of my favorite treats that I made over the holidays were peppermint meringues. The December 2011 edition of Bon Appétit featured a super easy, yet satisfying Candy-Striped Peppermint Meringue recipe. I love how when they were piped on parchment paper in a swirly fashion (just like you would might frost the top of a cupcake) they hold their shape perfectly. Piping the meringues was Maggie’s favorite part for sure! We made a circular swirl, ending in the middle while lightening up on the pressure to make the perfect swirly, pointy top.
With Valentines Day just around the corner, I couldn’t resist trying out this recipe again, but with a twist and a few modifications. We added cherry food flavoring and just enough red food coloring to make the yummiest shade of pink. We finished off with a sanding of red and hot pink colored sugar.
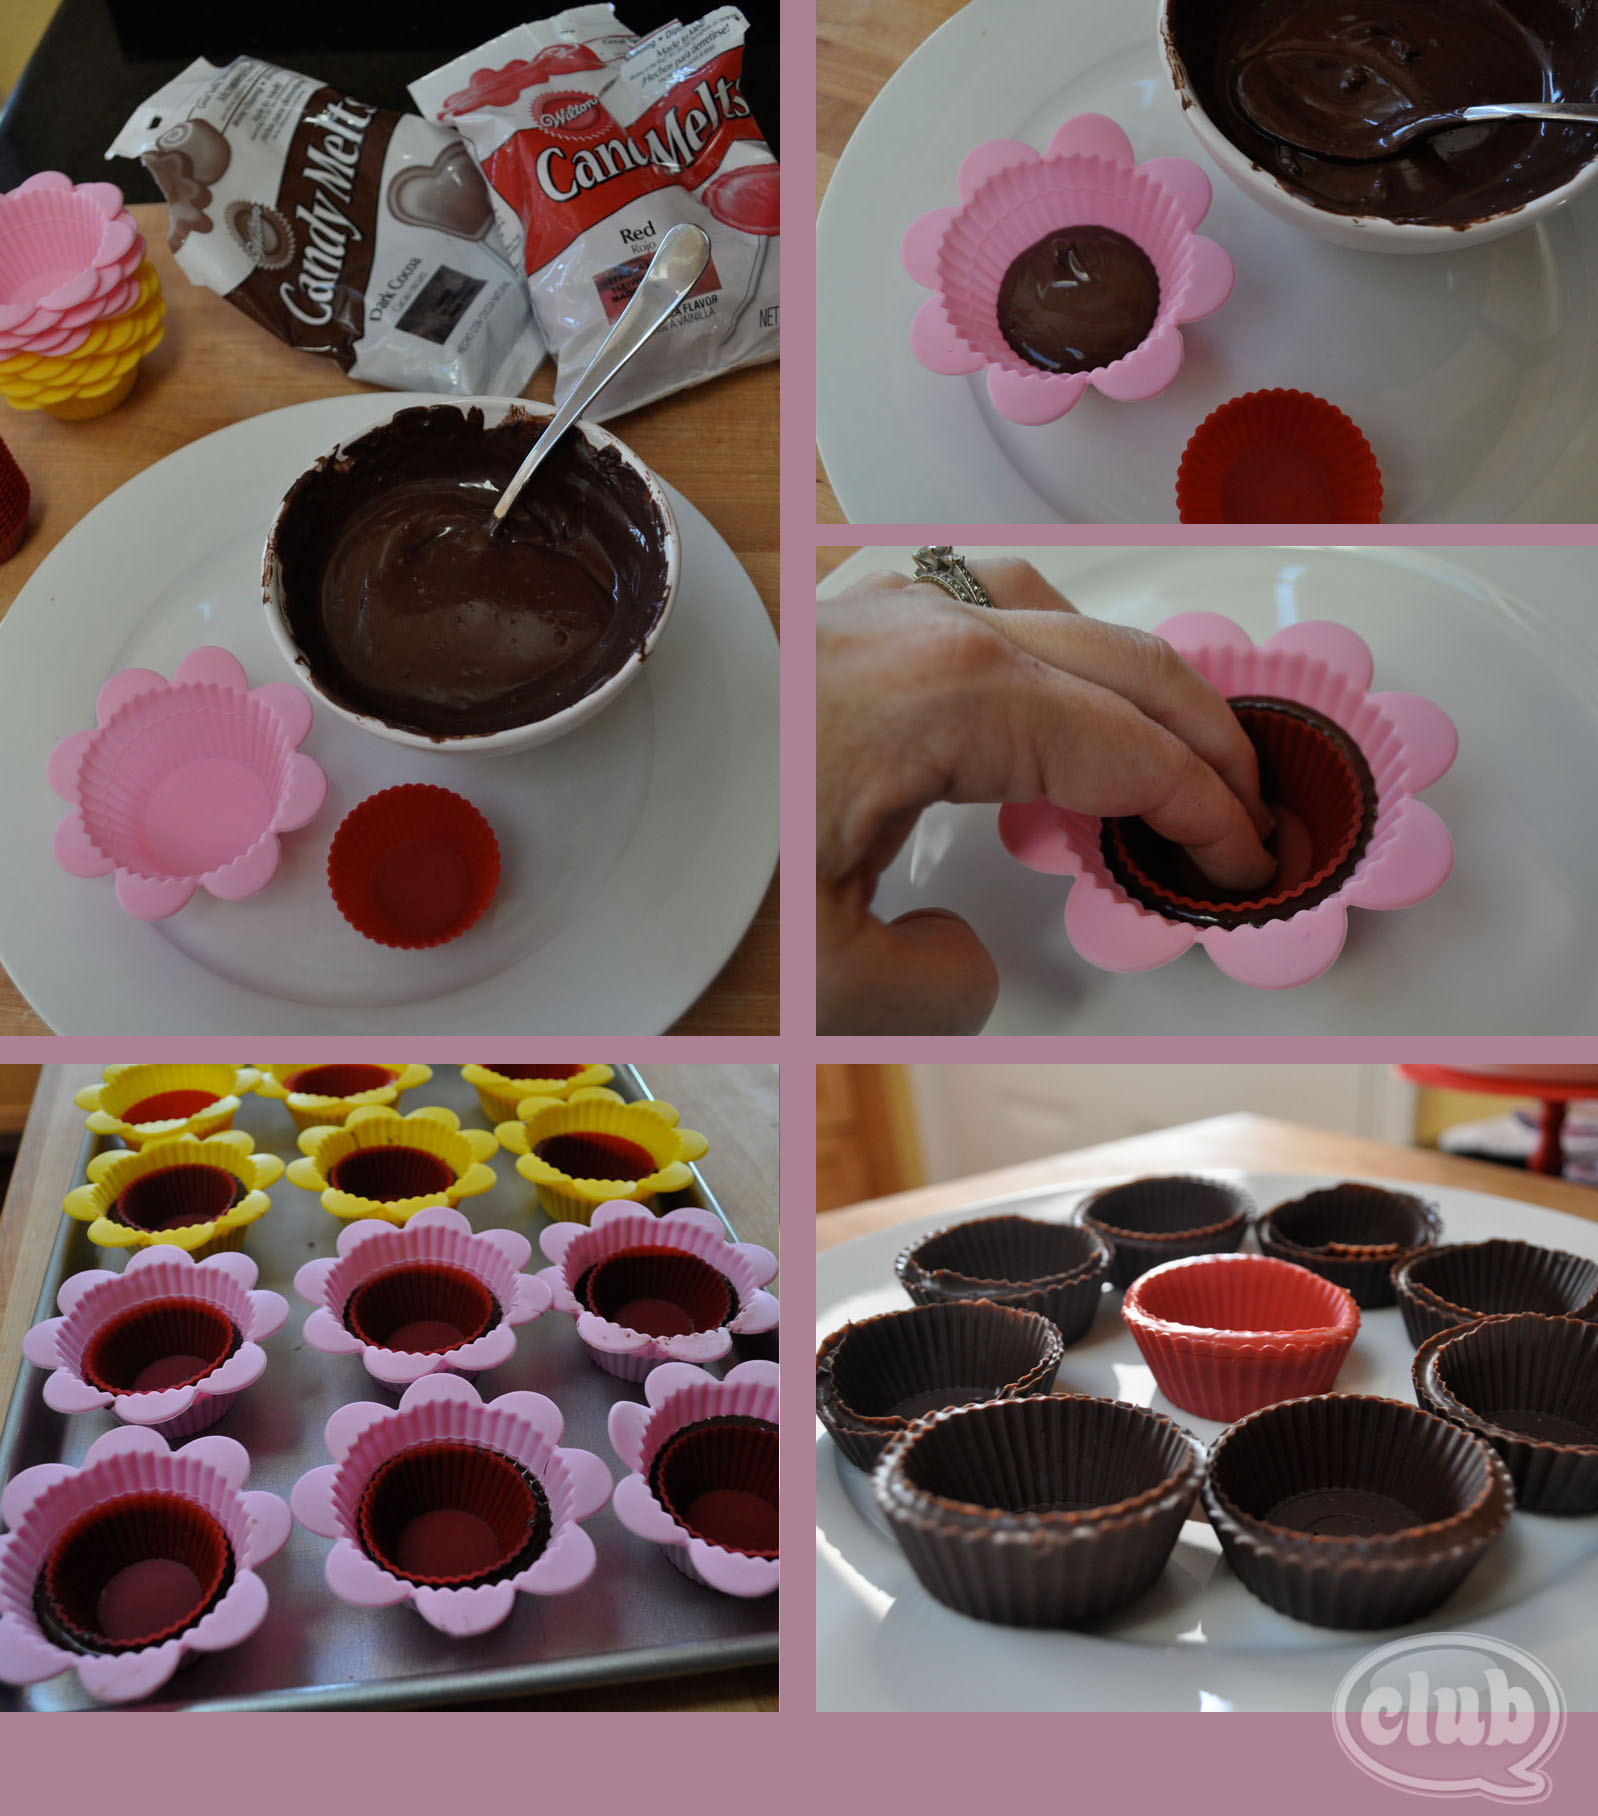
The next task was to make the chocolate cupcake shells that would create the “bottom” of the cupcake. After a little experimenting, I figured out how to make hard-shelled chocolate cupcake cups and I just had to share.
I own a set of regular-sized silicone cupcake baking cups like these and a set of mini-cupcake silicone baking cups like these. And if you couldn’t tell, I love to bake with Candy Melts. I can admit I have almost every color in my food crafting collection! Anyway, after melting a small bowl of chocolate candy melts in a microwave safe bowl (1 minute usually works for me, then stir until smooth), I spooned in a large tablespoon of chocolate at the bottom of the the regular-sized silicone baking cup. With even pressure, I pressed down the mini-sized silicone baking cup until the chocolate oozed up the sides just as high as the mini baking cup. I also melted some red candy melts to create some red cupcake cups as well.
After creating a dozen chocolate cupcake cups, I put them in the refrigerator to harden and set up (about 5-10 minutes). Then, I peeled off the bottom regular-sized silicone cup carefully, and then the mini-cupcake silicone cup. Voilá – hard-shelled chocolate cupcake cups!
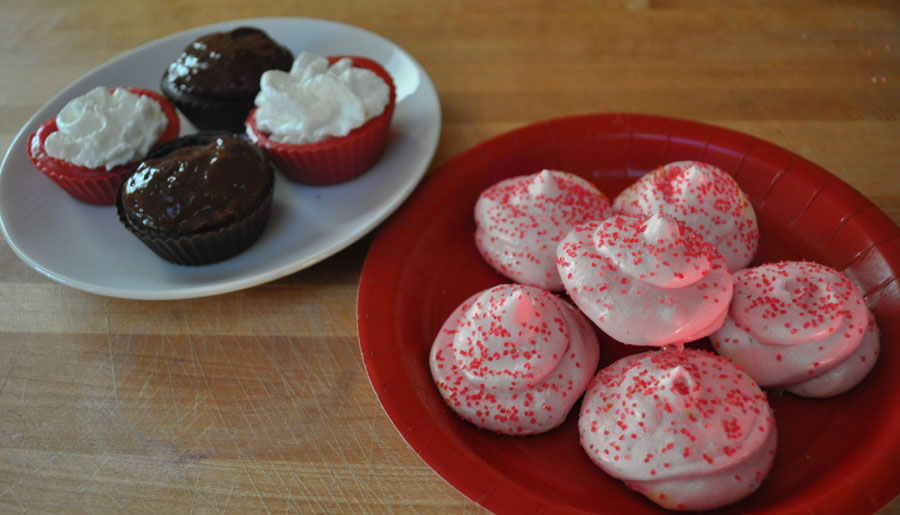
While the cupcake cups were setting up, I whipped up some instant chocolate pudding for the filling. (You can also use whipped cream as another option.) Now that you have all of the components for the perfect Sweetheart Filled Cupcake, the rest is a “cake walk” without the cake!
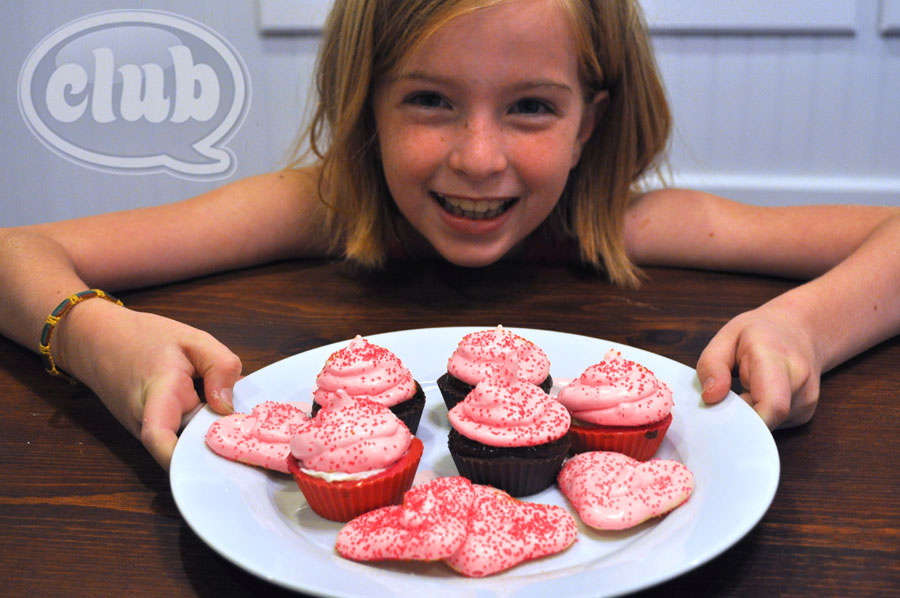
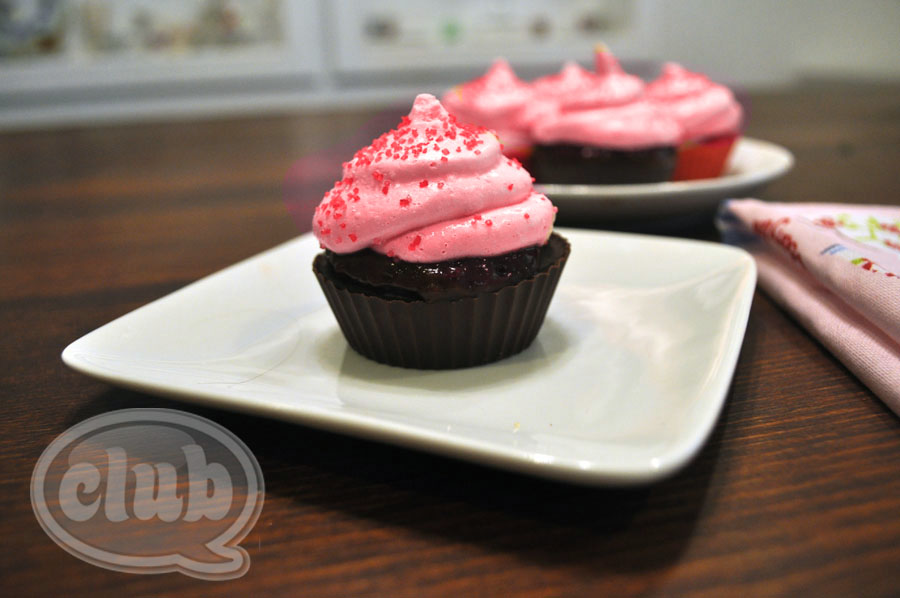 Serve them up on a pretty plate and share these sweet treats with friends or sweetheart. We had some extra meringue, so we piped some pretty hearts perfect for a sweetheart of a celebration! Enjoy!
If you liked this post, and want more, you can subscribe to be on our mailing list here.


