This is a sponsored post written by me on behalf of sugru.
If I had to pick one crafty tool that I couldn’t live without, I might have to say my glue gun. That is one of first tools I taught my daughter how to use, and I always make sure I have enough glue sticks in reserve.
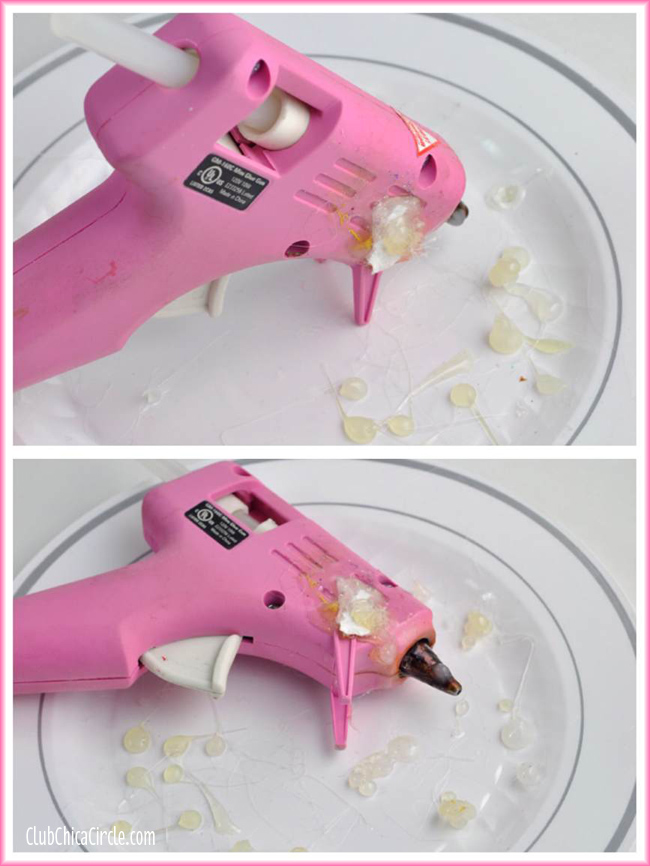
But I am always frustrated at how, no matter that it has a built in stand, it always seems to fall over.
I generally have a stack of plastic plates that I use for my “glue gun plates”. Ok, and I’m being straight up real right now. This is truly my glue gun. And this is one of the plastic plates I use to catch the glue drops and to keep me from ruining any of my work surfaces. Look you can see I have old glue matted on the side of my gun from when it tips over, and I have burned mini holes in my plastic plate. It topples over all the time.
I get a lot of use of my glue gun, but it also can be a bit troublesome to work with at times, especially when you are talking about HOT glue.
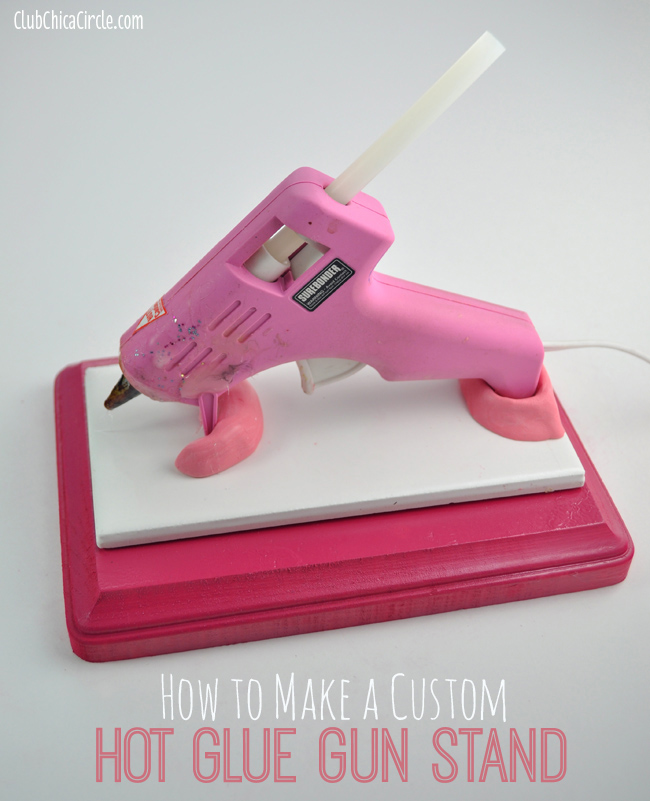
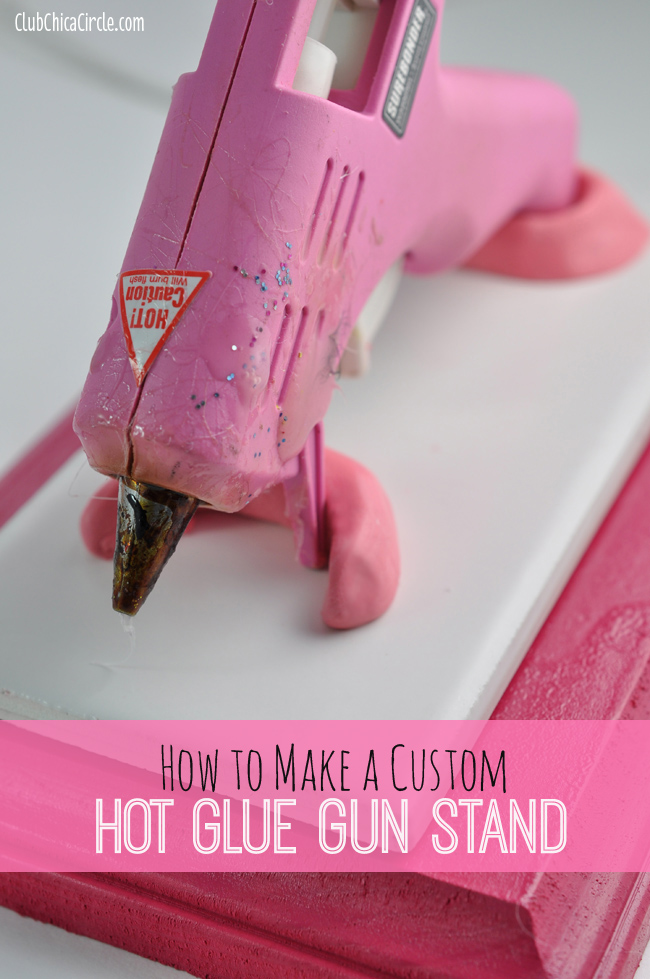
I was thrilled at the chance to try out sugru, which is a self-setting rubber or a silicone material that you can mold and set. There are so many different applications that this can be used for, and I wanted to make my crafty world a little easier and more efficient. So today, I’m going to show you how to make your own custom glue gun stand or holder.
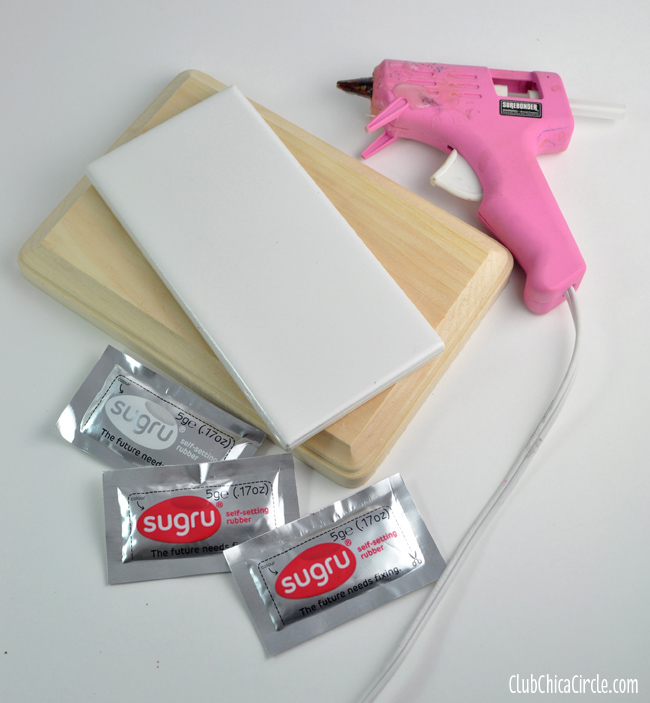
Here are the basic materials I used:
- sugru self-setting rubber packs
- rectangle ceramic wall or floor tile (mine was 3″ x 6″)
- wood base (I found mine at Michaels and it is 5″ x 7″)
- glue gun
If you are wondering where to buy sugru, right now, you can get 25% of your total sugru order if you use the coupon code sugrumoms25! Go here to order.
The sugrumoms25 coupon will expire on 4/8/14 and cannot be combined with other coupon codes.
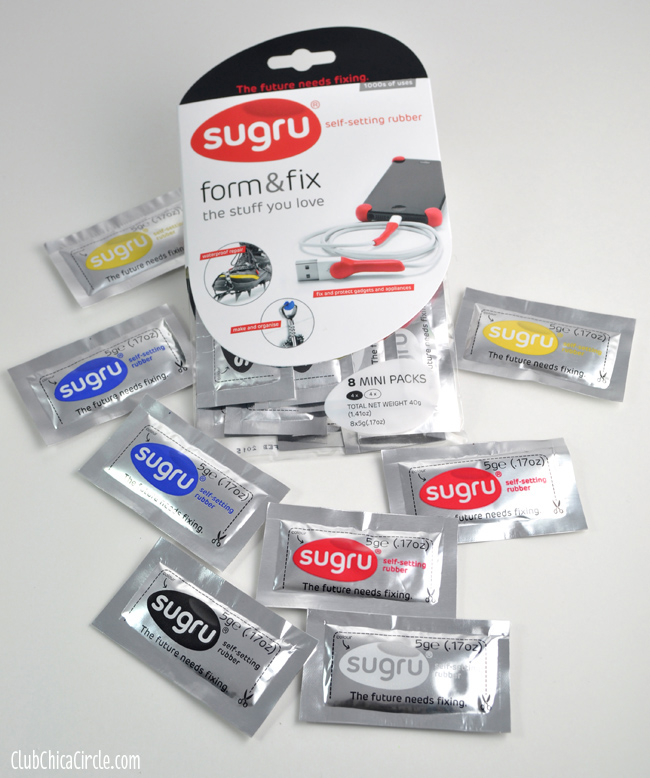
This innovative self-setting rubber product comes in a variety of colors and mini-packs. I can’t tell you how many different ways you can use this product. In fact, the sugru website shows you a plethora of ideas, and they are always looking for others to share how they have used their product. Imagine making a custom hand hold grip on a craft knife. How about fixing something that has a certain piece missing? What about making custom bumpers for your electronics?
That’s the ingenuity of this product. You mold it (just like you would play dough) and let it set for 24 hours until hard. Don’t misunderstand, this is NOT a toy. This is a tool and quite possibly your new favorite fixer-upper material.
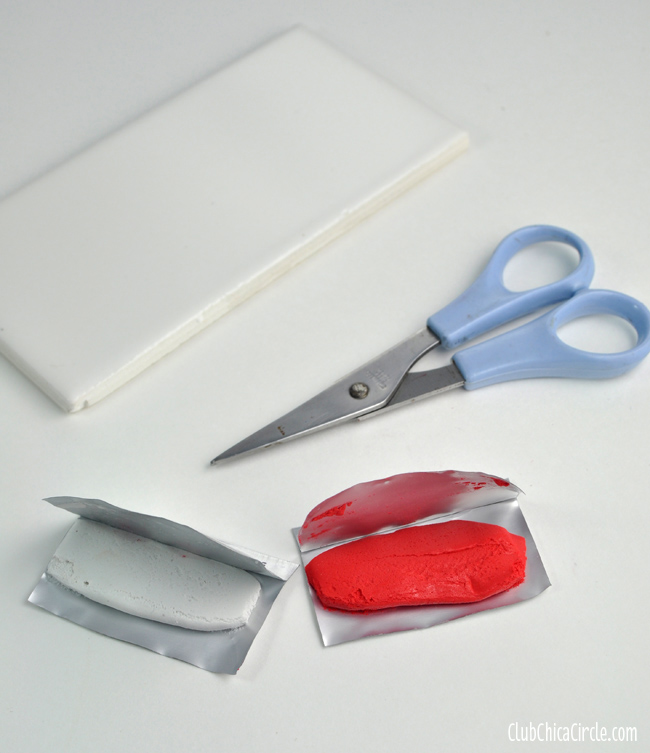
So to make my own custom glue gun holder, I first started with my sugru packs. I wanted to build a base part for the back of my glue gun, and and barrier of sorts for the front stand. Also, being a little obsesses with the color pink, I wanted to try and match my pink glue gun somewhat. I started with a red and white sugru pack that I used to mix together to make a pinkish hue compound.
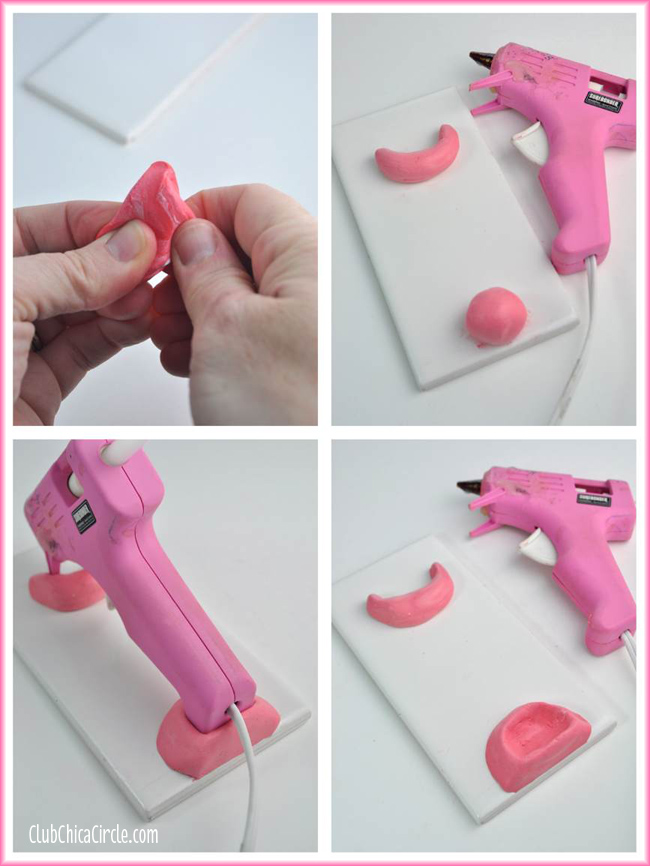
I ended up using one pack of red and two packs of white to get the perfect pink. I simply mixed them together with my fingers until blended.
Then I divided it into two pieces and made a moon shaped piece as well as a ball shaped piece of sugru. Using my glue gun as reference for spacing, I placed the ball shape on one end of my tile and then the moon or “C” shaped piece about 1/3 of the way down from the other end. Here is where you really make it a CUSTOM stand to fit your exact glue gun. I pressed the end of my glue gun into the ball shape, and moved the C shaped piece accordingly for a tight fit.
Then I removed my glue gun, and used my fingers to smooth out all the edges until I was satisfied.
Then, let it set overnight.
It truly does set into a nice hard rubber and attached to most surfaces perfectly. And best of all, since I shaped it specifically to my own personal glue gun, it fits MY glue gun perfectly!
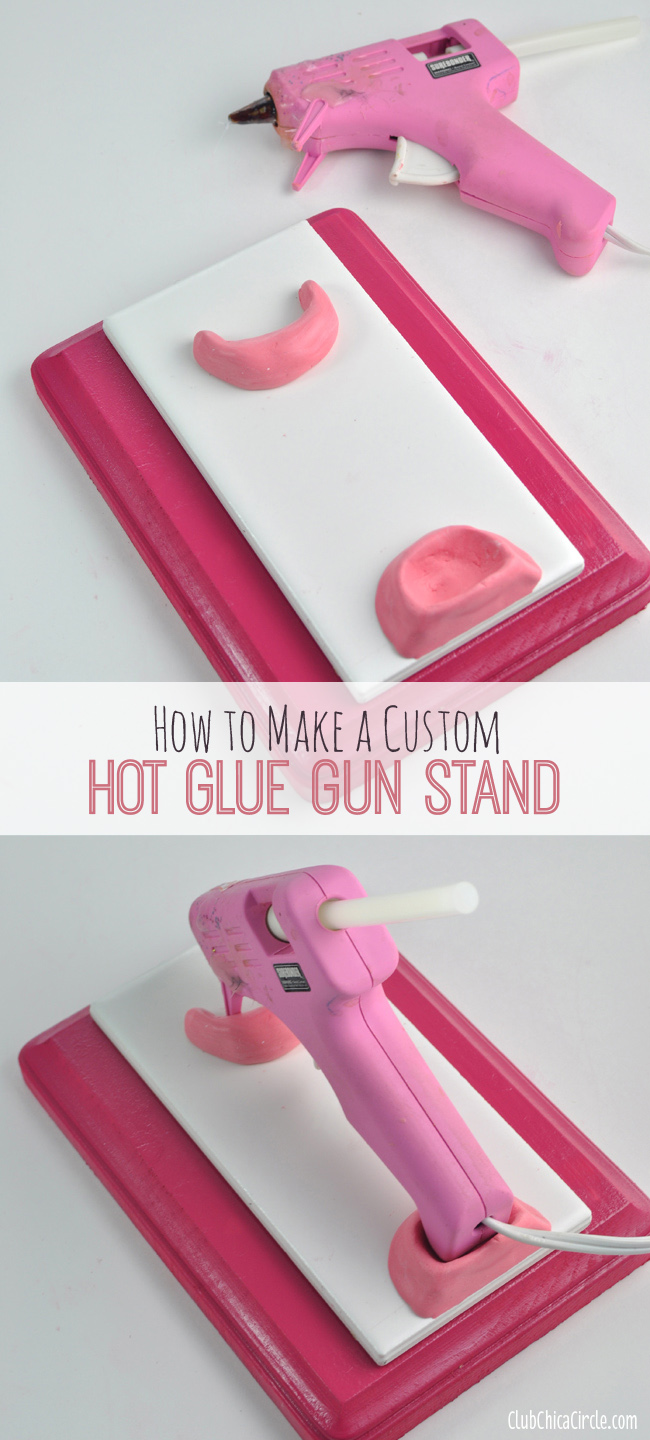
The last step I did was to attach my ceramic tile glue gun holster to my wood base. And of course I used my glue gun to do that.
I spray painted the wood base a pretty pink using Krylon Mambo Pink Gloss Indoor/Outdoor spray paint. You can leave yours raw wood, or use a craft paint as well to color it. I loved the ease of the spray paint and the cool color addition.
Brilliant!
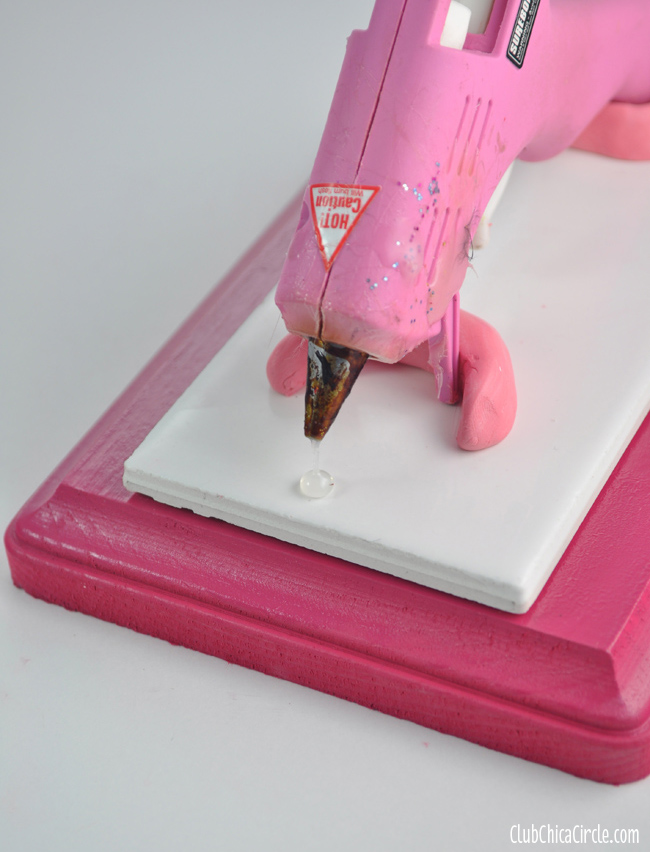
Now, when it drips, it goes directly onto the tile, which doesn’t melt or get ruined.
And any glue spots pop right off when cool.
Caution! HOT craft idea here!
Ok, so if you are a creative with DIY spirit, which I know you are, just take a moment and think…. what would you fix or make a little more efficient with a little sugru?
Enter to win your own pack of sugru below to get started! Good luck!
a Rafflecopter giveaway
This is a sponsored post written by me on behalf of sugru.



22 comments for “How to Make a Custom Glue Gun Stand”