As part of the Make It: Fun Team, this post is sponsored in part by FloraCraft. As always, ALL photographs, ideas, and opinions are my own.
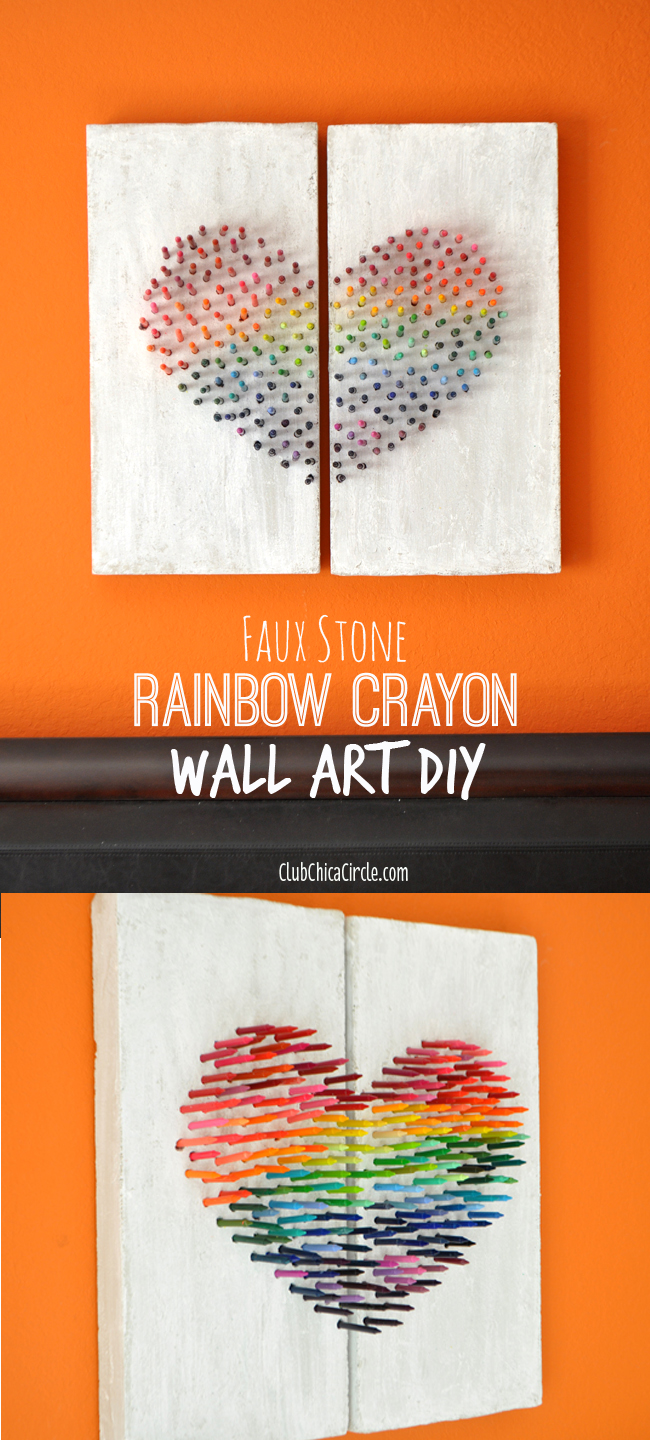
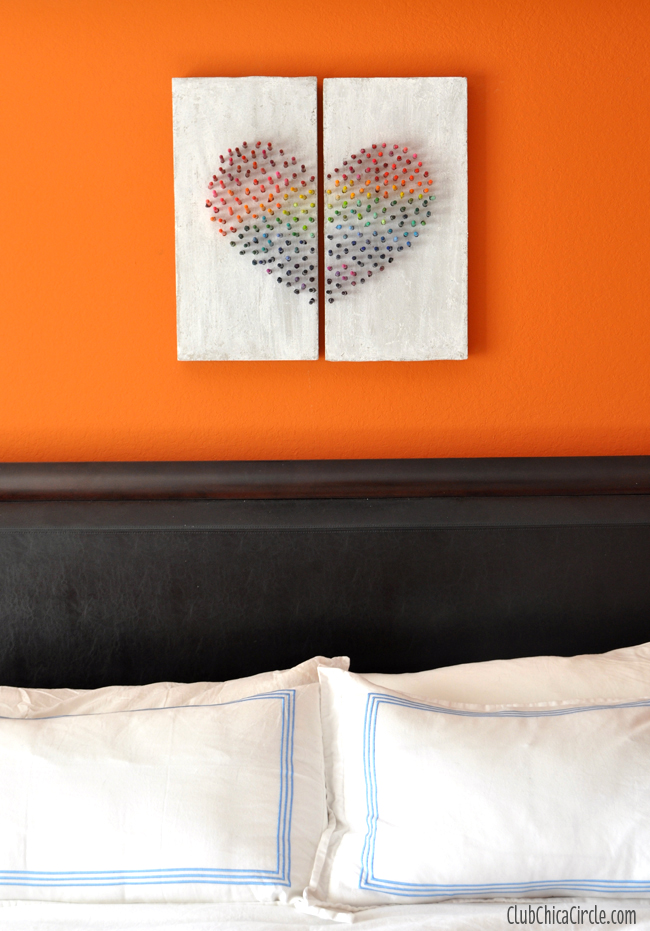
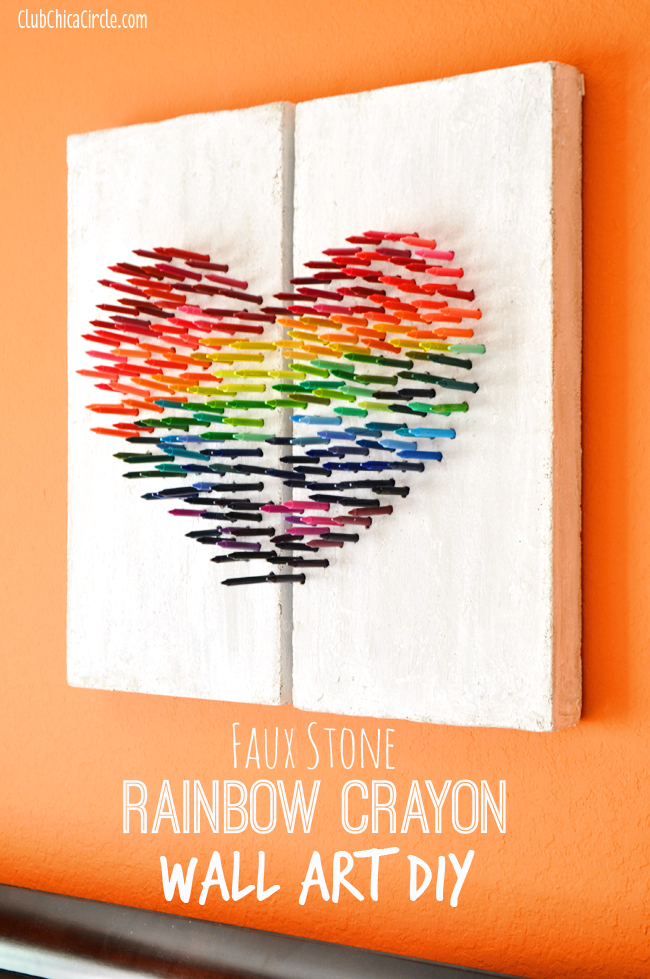
I absolutely love how this turned out! I have been looking for the perfect art to go over our master bedroom bed for the longest time. Something that wouldn’t clash with our bright orange walls, but that would still be colorful.
When I was given the challenge to come up with wall art using Floracraft® MakeItFun® Foam Sheets, I was inspired to make a faux stone effect with a pretty pop of color and heart design using crayons.
Yep, I said crayons.
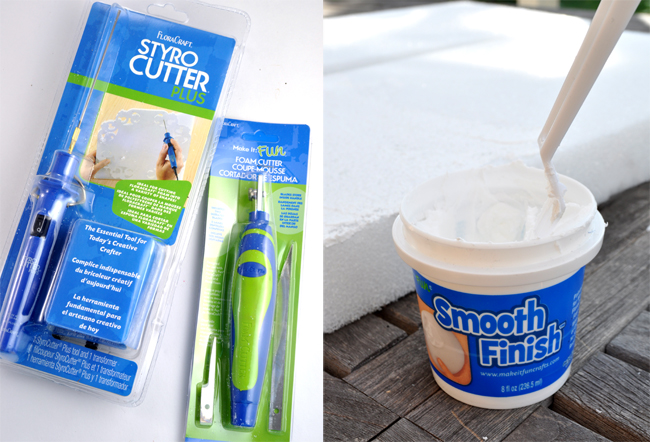
Along with my FloraCraft® Foam Cutter, I also used FloraCraft® Smooth Finish. The Smooth Finish is a brilliant way to create a smooth paintable surface on foam.
This is exactly what I used to create my Rainbow Heart Crayon Wall Art:
- Foam sheets (I used 2″ thick sheets and cut them down to two 12″ x 12″ pieces)
- Foam Cutter
- Smooth Finish
- Sand paper (fine)
- Foam Tool
- Palette Knife
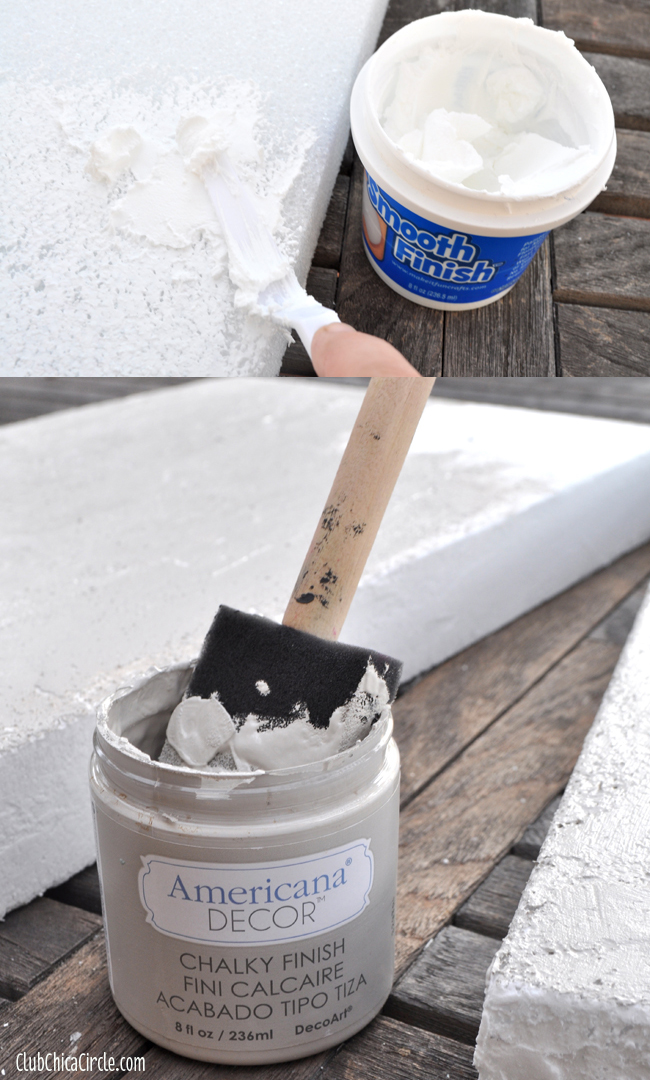
- Chalky Finish Paint (I used Americana Decor in Primitive Gray and Everlasting White)
- Spongebrush
- Paper Towel
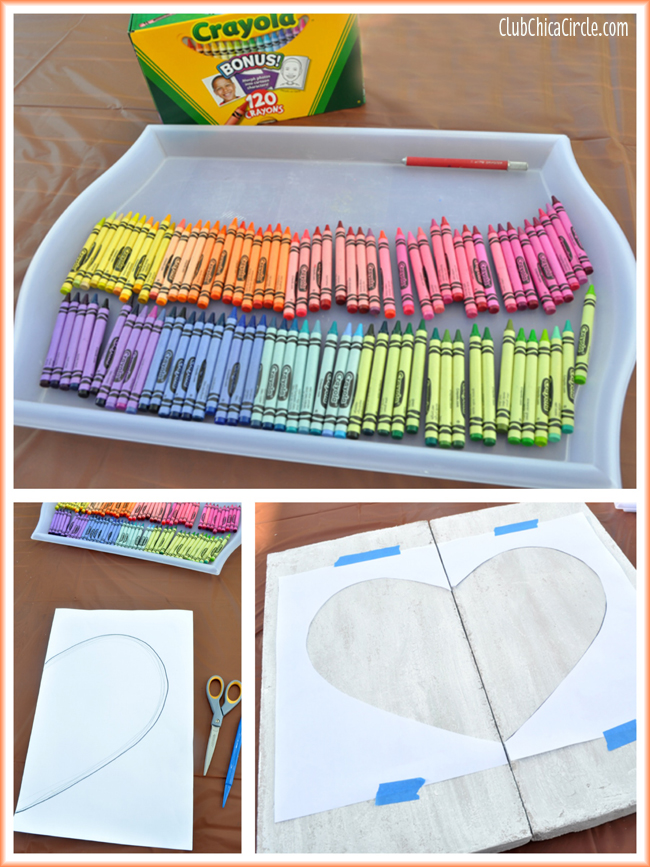
- Crayons (I started with 2 boxes of 120 Crayola Crayons, excluding the blacks, browns and grays)
- X-acto Knife (to remove all of the crayon labels)
- Tabloid paper and painters tape to create a template
First I cut down two long foam sheets to 12″ x 12″ each with my foam cutter, so that when put together, they would create a square. Then I coated the top and sides of my sheets with Smooth Finish. I used almost 3 full containers of the Smooth Finish and let it dry completely before painting my boards.
After, my smooth finish was dry, I lightly sanded any areas that were rough or uneven. I didn’t want to make it completely smooth. I still wanted to give the effect of natural stone.
Next, I painted a coat of my gray chalky finish paint right on top of my smooth surface with a sponge brush and let that dry. After the gray paint was dry, I applied a thin coat of white chalky finish paint on top with a paper towel, wiping off areas to create almost a marble stone look.
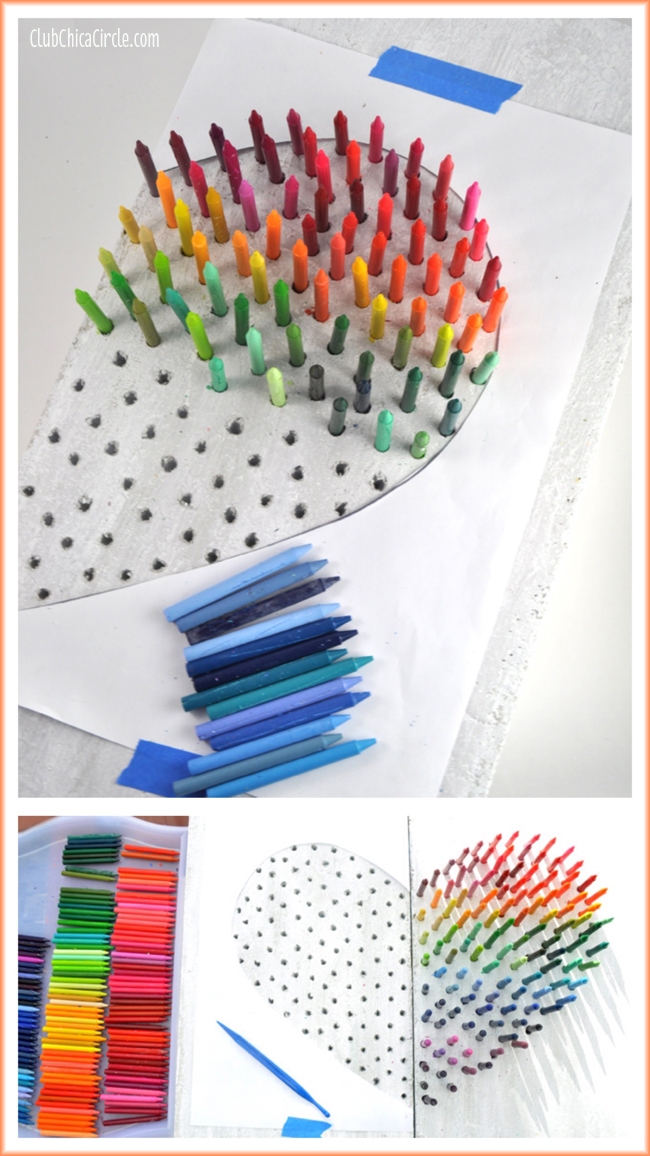
While the paint was drying, I opened each crayon box and sorted the colors in rainbow order. Then I taped two sheets of tabloid paper together, and created a heart shape template the old-fashioned way. I drew in a half the heart on side, and cut out on two sheets of paper to create a symmetrical heart.
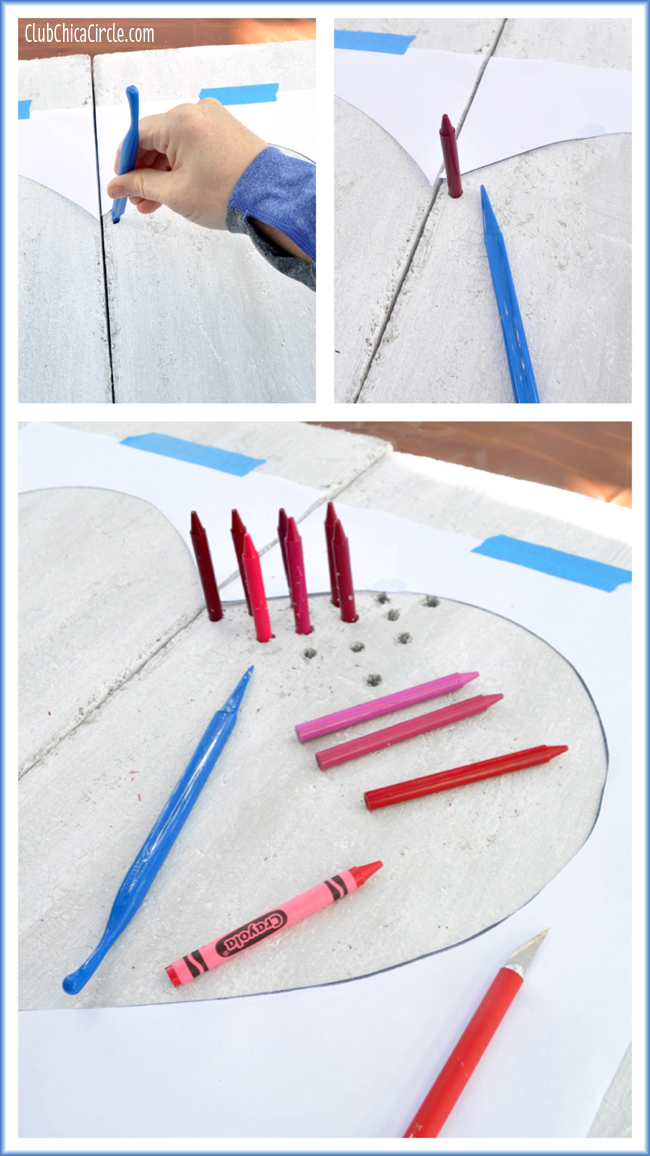
I taped my heart template in the center of my two painted foam sheets, using painters tape.
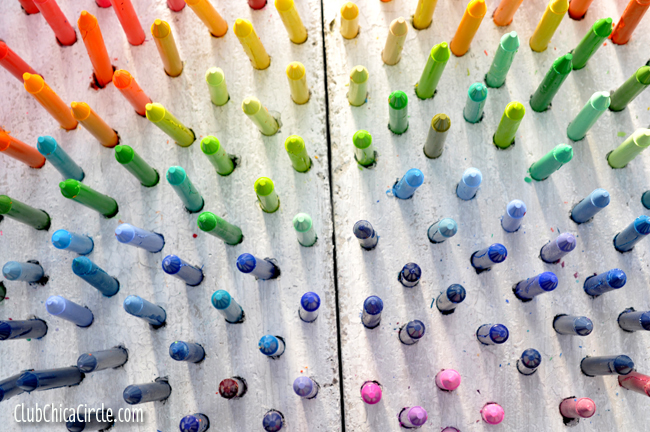
Now it was time to create the colorful heart. Using the pointed end of my “tuck and scribe” foam tool, I created a hole on the top of my foam, and turned my tool in a circular motion to create the perfect cylinder shaped hole for my crayon. I continued to create holes within my heart template about an inch apart from each other.
I used my X-Acto knife to carefully slice off the crayon labels, and decided to place my crayons in a rainbow pattern, with reddish tones at the top, then to orange, yellow, green, blue, and down to purple at the bottom of my heart.
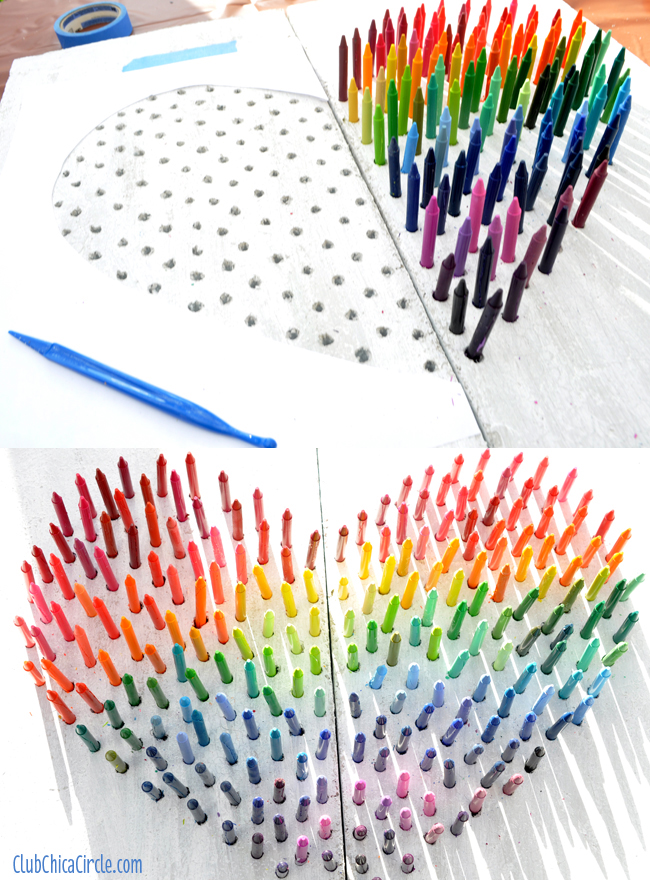
Once I had one half my heart completed, it was time to repeat it and match it on the other side.
I will admit that removing all of those crayon labels did take awhile. And the trick to not breaking the crayons as I put them in, was to put consistent pressure on the crayons as I put them in the holes, making sure not to bend them. I did have some crayon casualties, so I made sure to have a few extras handy.
I love the rainbow design.
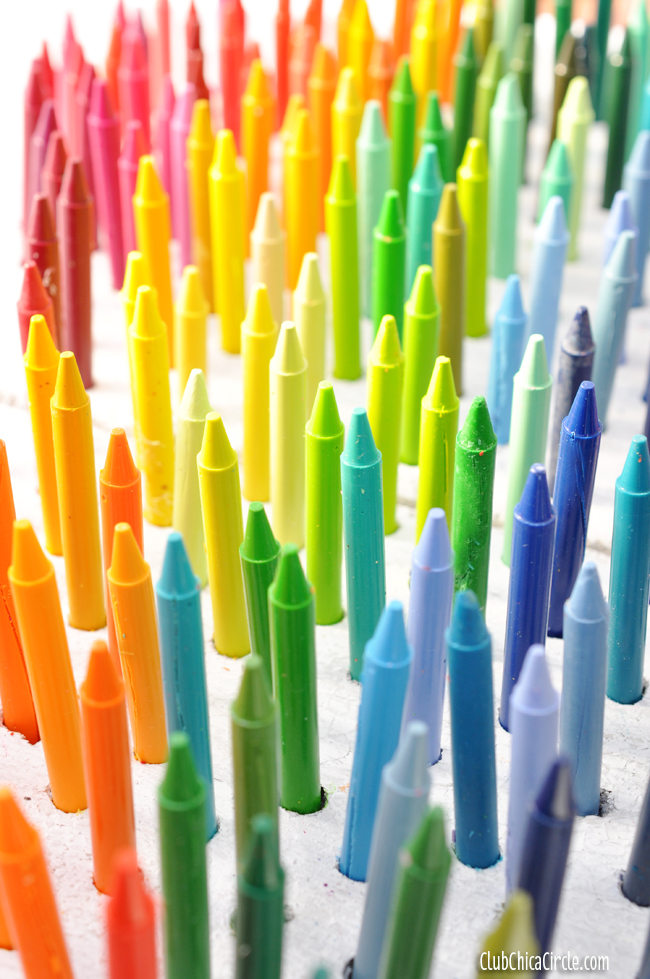
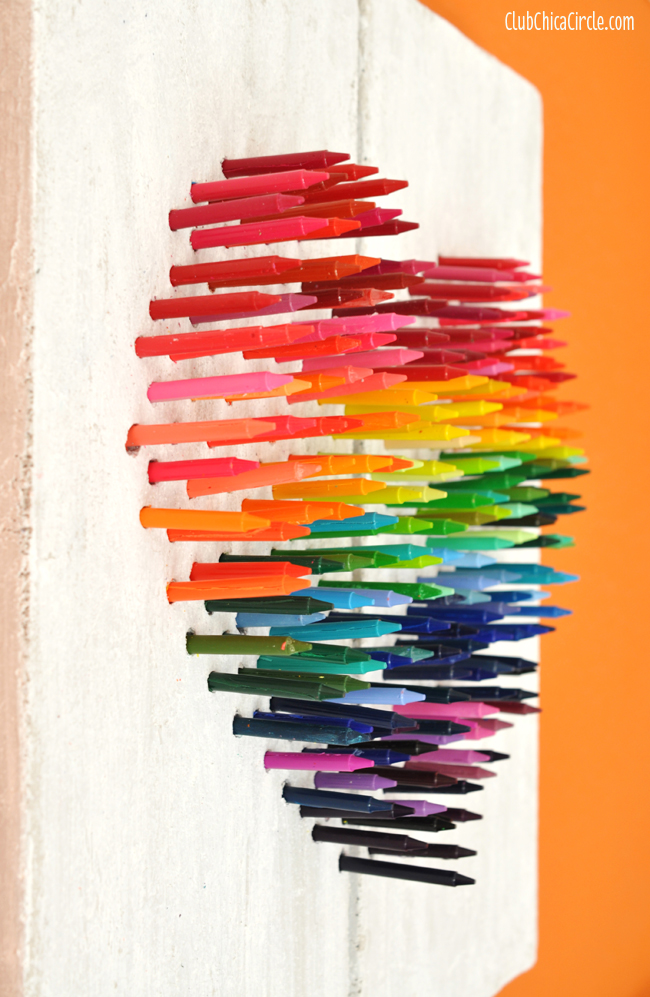
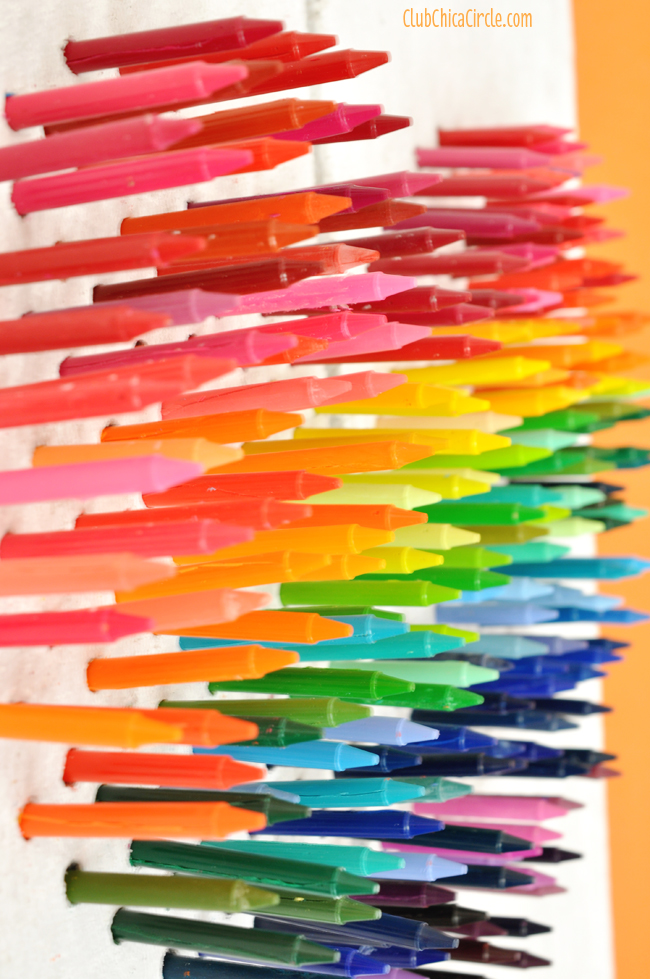
And I love the dimension of the crayon wall art.
I think the heart crayon wall art looks great from the front…
… and from each side.
So pretty!
I LOVE, LOVE, LOVE the new addition to our bedroom wall decor.
So fun and easy to make!
As part of the Make It: Fun Team, this post is sponsored in part by FloraCraft. As always, ALL photographs, ideas, and opinions are my own.

