This post is brought to you in part by Sculpey and Blueprint Social. All images, ideas and thoughts are completely my own.
I’ve got another great Mother’s Day gift idea for you. Yesterday I shared a pretty Mother’s Day frame idea with homemade enamel dots, and today we are getting crafty with Premo Clay.
Clay is a great craft material to work with, and the possibilities are enormous for what you can create with it. I was so thrilled to get the opportunity to work with Premo Clay and try out their Sculpey tools with the clay to create something. I haven’t worked with clay much, and it may look intimidating. This is truly high-quality oven-bake clay that you can get some really beautiful and professional results with. And the Sculpey tool set lets you do a variety of things with your clay from cutting to shaping to adding texture, to name a few.
Working with clay is easier than you think. And once I got started, I couldn’t believe how fun it was.
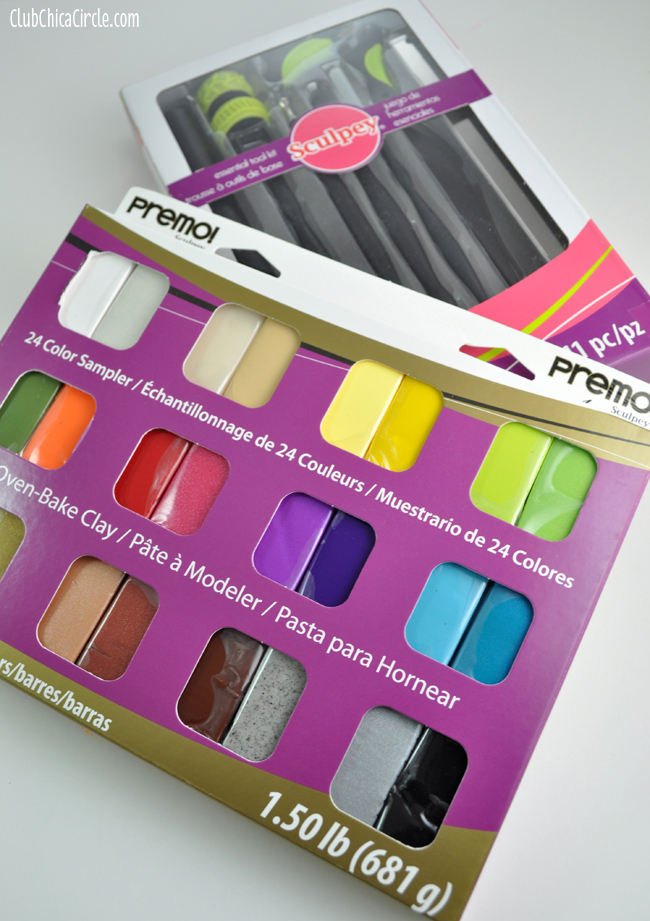
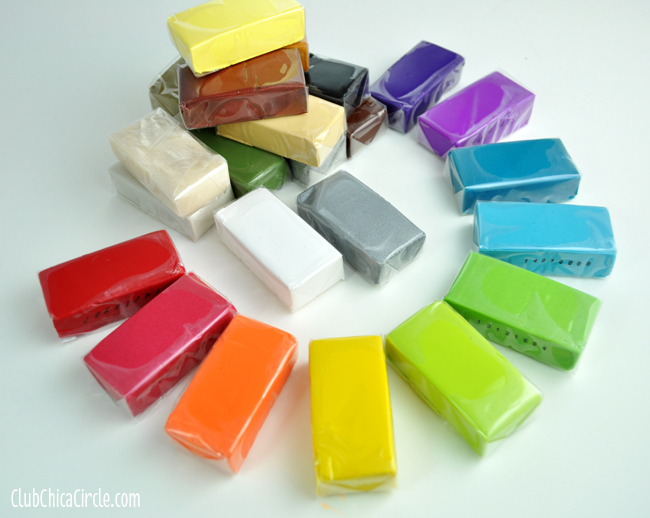
First of all, I mean, just look at these vibrant colors! And I know I just received one of sample color packs. There are much more to choose from.
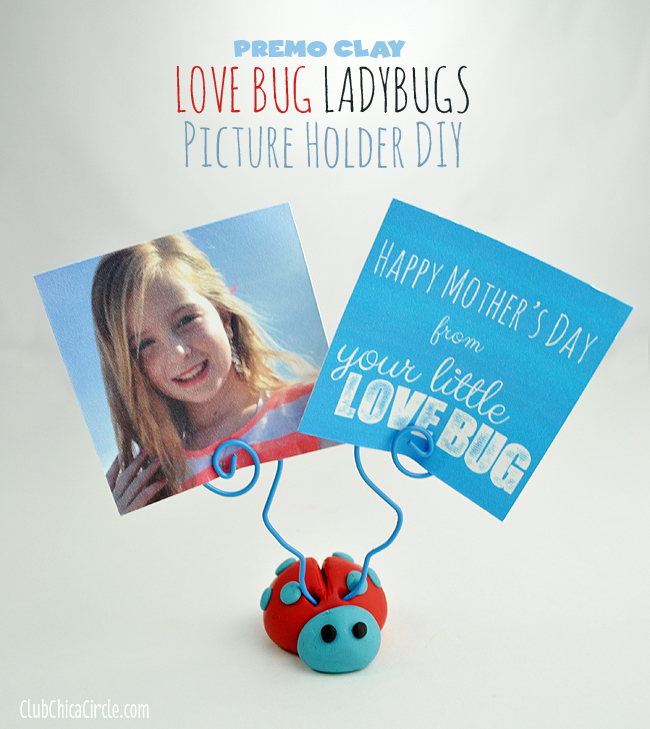
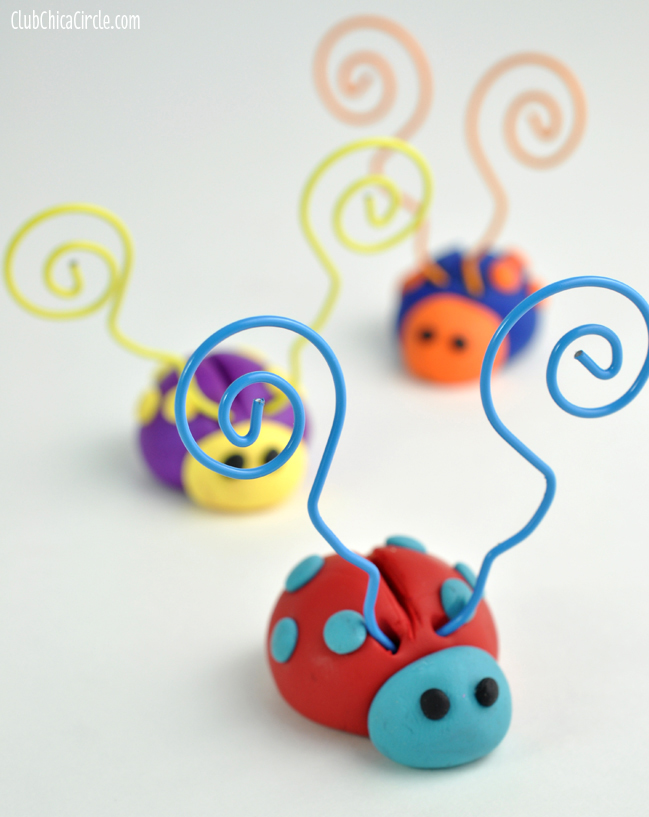
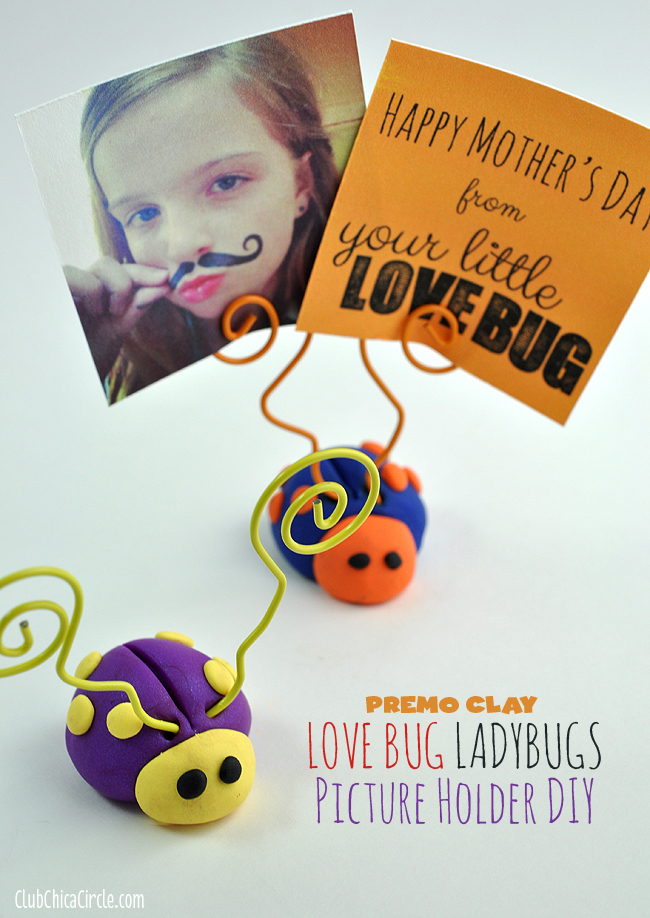
I wanted to create a fun and easy Mother’s Day gift idea – something colorful and functional and easy enough to show my tween how to make. I decided on LOVE BUG Ladybug Photo Holders as my crafty clay project.
I set up “a clay station” for each of us to work on. Premo Clay isn’t messy to work with, but I wanted to make sure my clay stayed “clean”. I used a flat plastic tray that I found at IKEA as my clay work space.
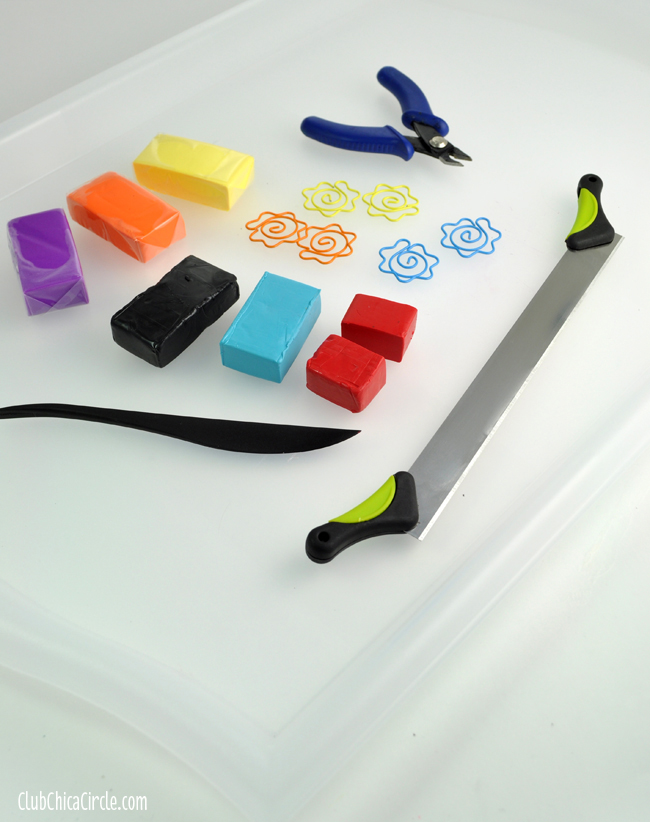
These are the supplies I used to make my LOVE BUG Ladybugs:
- Premo Clay (for each love bug I used two bright contrasting colors and black)
- Sculpey blade tool and the shaping tool
- Circular paper clips
- Wire cutters
I know ladybugs are normally red and black, but my world and imagination is a little more colorful!
The first thing when you unwrap one of your clay blocks is to soften it up. Once you knead it a couple of times on your surface it softens up nicely, but not too much that it won’t hold a shape. It actually is the perfect consistency to add any details to, or make really smooth depending on what you are creating.
First, I cut off 1/3 of a clay brick for the ladybug body and molded it into a ball. And then I cut off about 1/4 of a clay brick in my contrasting ladybug color and formed one medium sized ball and 6 tiny balls. These become the head and spots on my ladybug. Then I may two even smaller sized balls from the black clay for the ladybug eyes.
Pressing my largest ball shape for the body onto my surface, I made a kind of dome shaped piece of clay. Then I did the same with the head and pressed it into my ladybug body on the front.
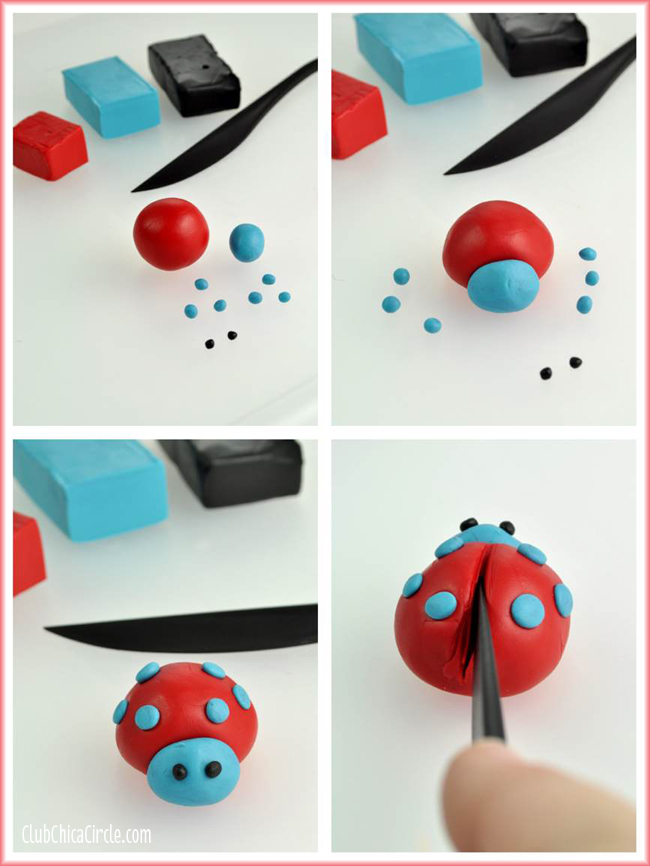
I added the colored dots on the ladybug’s back and pressed them down, and added the two black eyeballs in front.
Then I used the shaping tool to create a crevice or line down the back of my ladybug. I smoothed out any areas with the tool and my fingers.
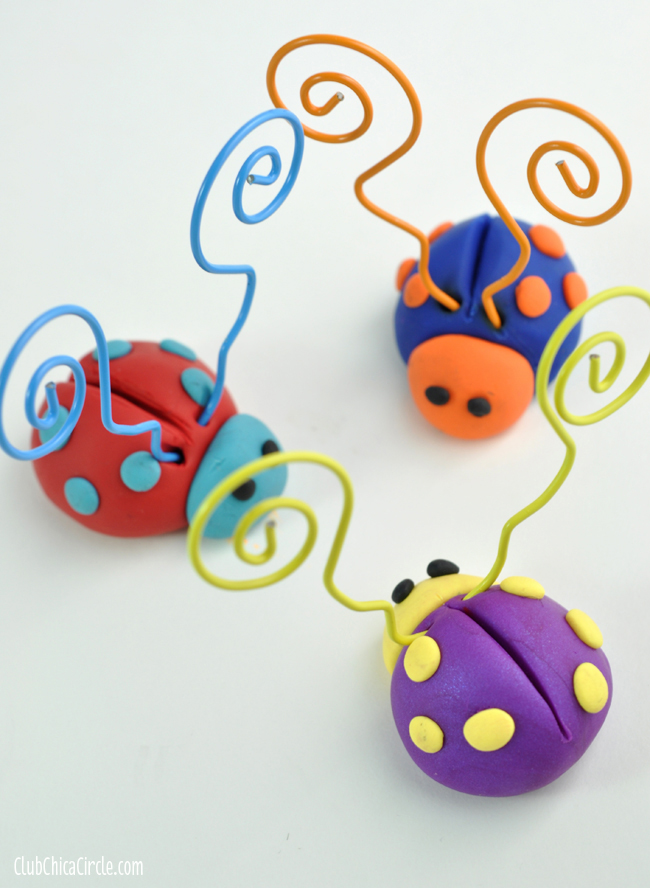
Now to add the ladybug antennae – also the part that will act as a picture holder. These swirly paperclips work perfect for that.
To make the picture holder antennae, first I unwound my paper clip leaving only the middle swirl. This makes for a really long antennae, so I used a wire cutter to cut off some of the excess.

I placed each “antennae” just behind the head into the ladybug body, one on each side.
Then they were ready to bake! To harden your pieces, you need to bake at a low temp oven and the time varies for each piece. The rule is about 30 minutes baking time for every 1/4″ of thickness.
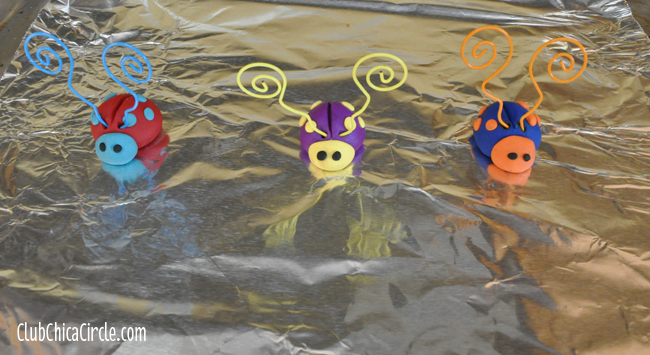
I baked my ladybugs for 1 hour on an aluminum foil lined baking sheet in a 250 degree oven.
When they came out, I let them cool, and they were ready to “play”!
I created some cute Mother’s Day LOVE BUG gift tags to go along with my ladybug creations.
You can grab you own Love Bug Tags Free Printable Tags here.
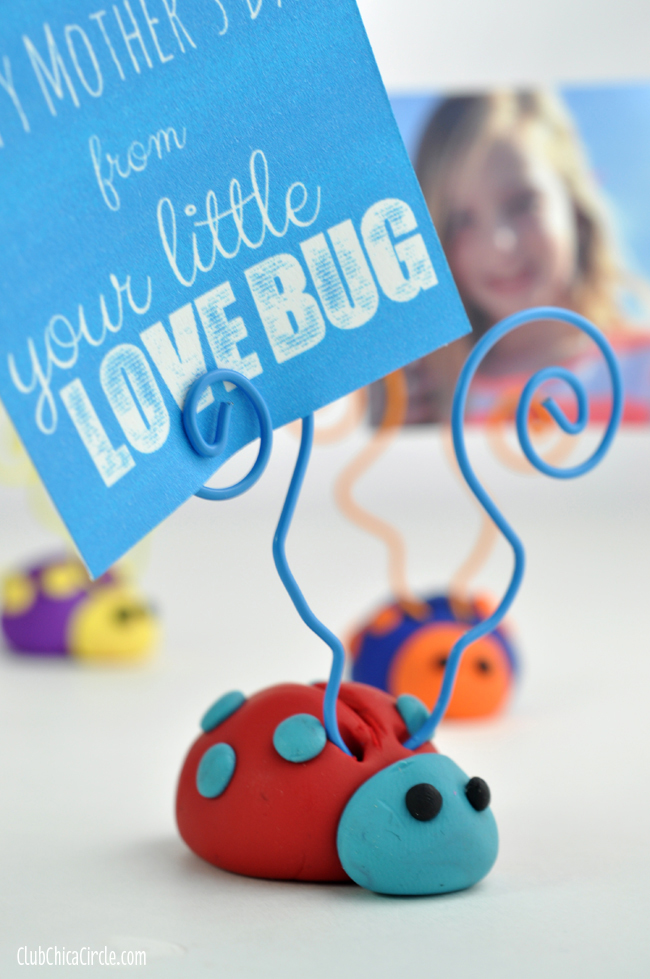
Each tag is 2″ x 2″ and I cut some of my favorite Instagram pictures of my girl to go along with the tags.
Use the paper clip antennae to clip on your own gift tag or picture.
They make the perfect kid-created homemade Mother’s Day gift idea!
Connect with Sculpey and get more great crafty inspirations on Facebook, Twitter, Pinterest, and on the Sculpey blog.
And, for even more inspiration and craft ideas, check out what some of my fellow bloggers have created with Premo Clay.
Happy Crafting!
If you liked this post, and want more, you can subscribe to be on our mailing list here, and make sure to get your free Cupcake Toppers Printables for Every Occasion.
Feeling social? Follow ChicaCircle on Facebook or Twitter, and follow me on Pinterest or Instagram.
This post is brought to you in part by Sculpey and Blueprint Social. All images, ideas and thoughts are completely my own.


5 comments for “LOVE BUG Ladybugs Picture Holder DIY with Premo Clay”