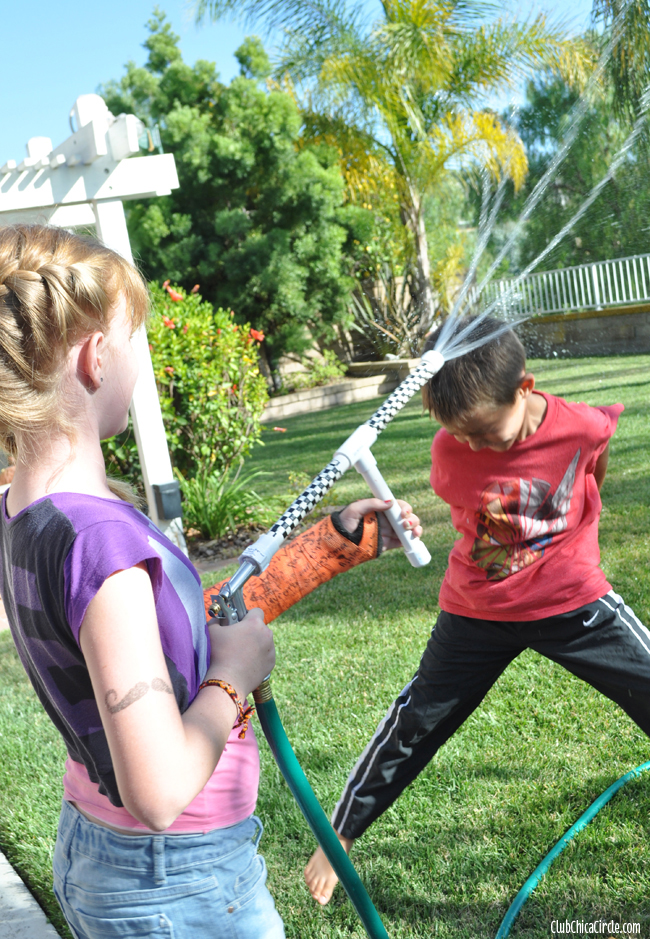
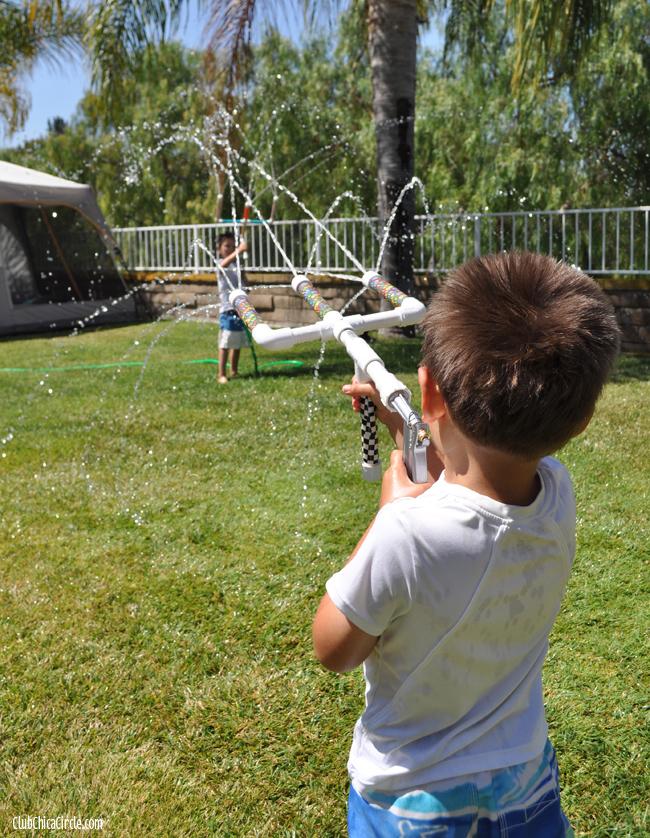
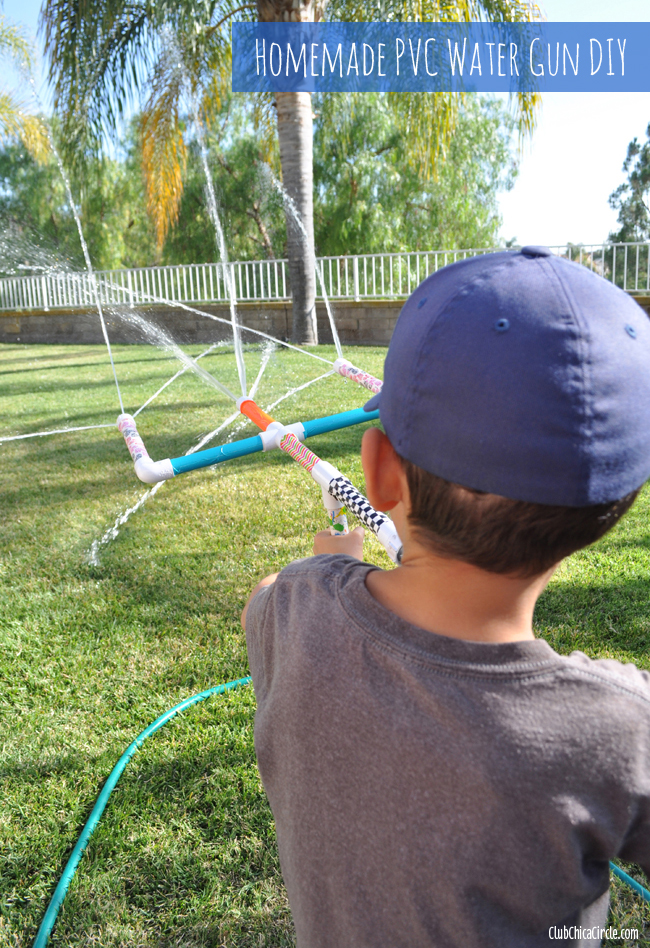
Can you tell we have been having a little fun this summer? I love this picture of my daughter testing out her homemade PVC water gun on our willing participant.
It has been super hot here in Southern California lately, and these homemade PVC water guns have been keeping us cool!
First of all, I need to give credit where credit is due. This is actually a craft that my husband initiated and managed with the kids. He was inspired by one of his good friends who recently posted this tutorial on the Instructables site. I simply caught the family fun on camera, and provided the materials to decorate and customize the water guns. We made our water gun construction a family fun craft project!
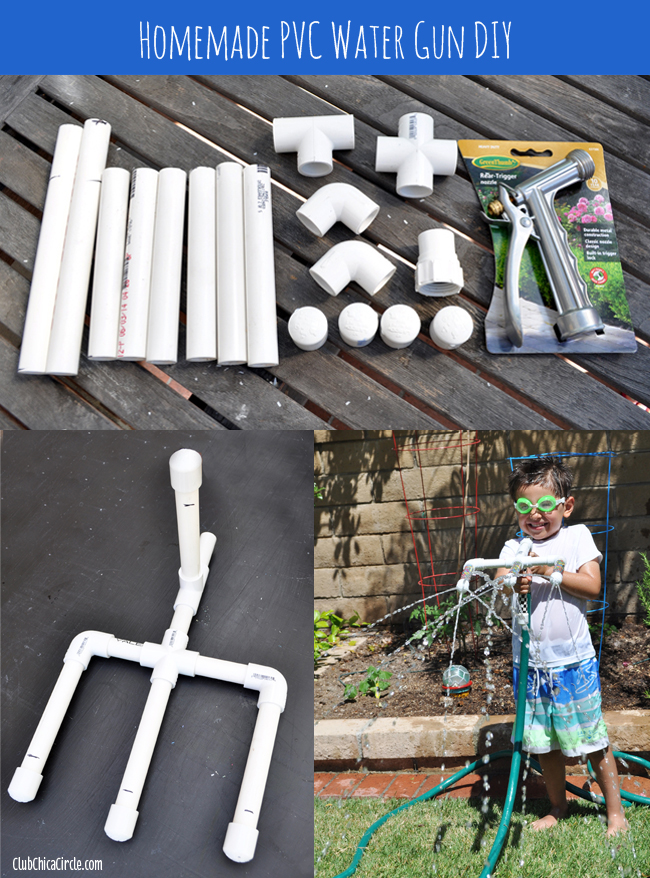
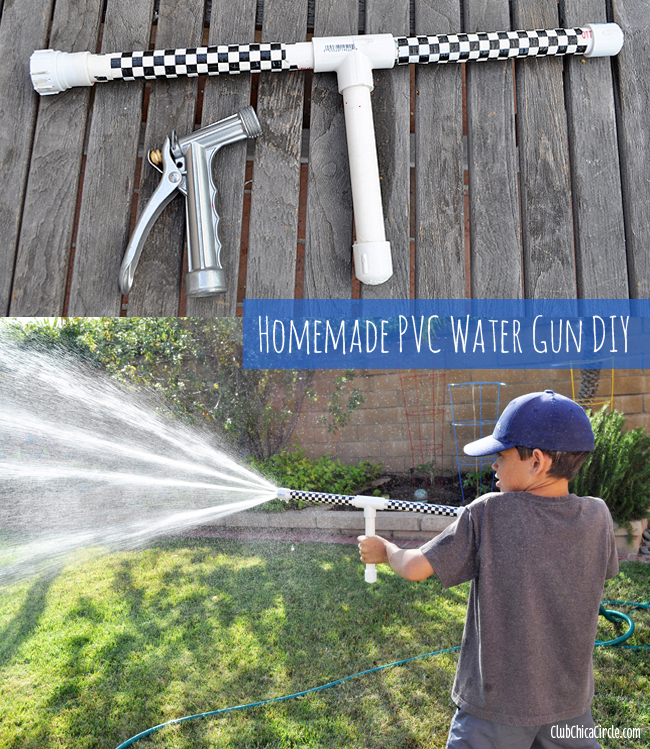
We made two different water gun designs—the three pronged version and the long, but powerful, straight shooter one pronged one.
The supplies you will need for the three pronged PVC water gun are:
- PVC pipe (Schedule 40 1/2″ pipe usually comes pre-cut in 2 and 4 foot lengths)
- 1 “t” slip connecter per water gun (the one that looks like a “T”)
- 1 cross slip connector (the one that looks like a plus sign)
- 2 corner slip connectors (the ones shaped like an elbow)
- 4 1/2″ slip caps
- 1 garden hose 1/2′ threaded garden hose connector
- Basic garden hose nozzle
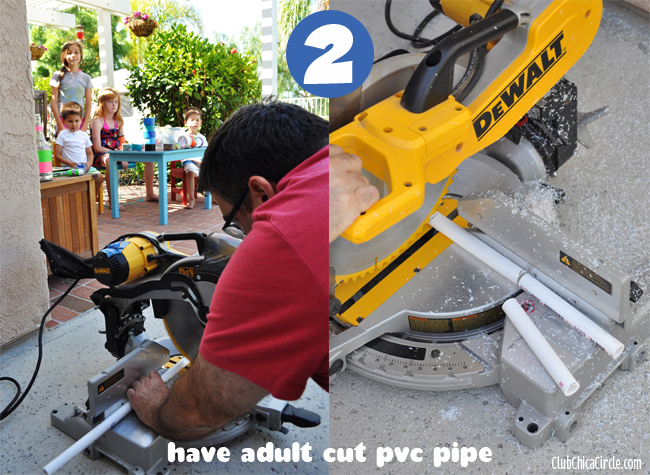
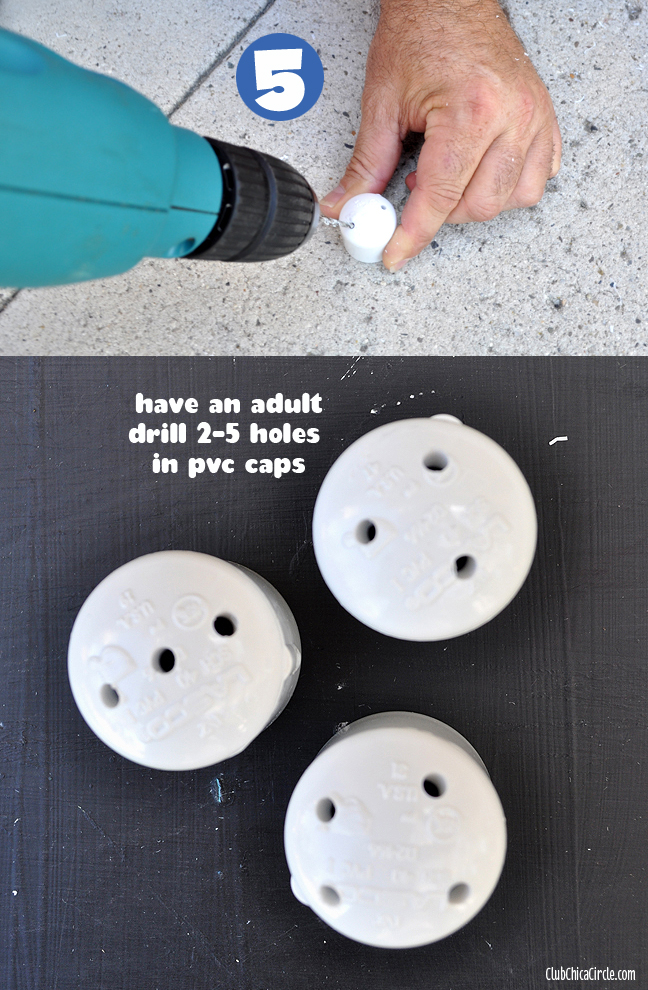
We also used our DeWalt hand saw to cut the PVC pipe and a hand drill with a 1/8″ bit to drill water holes in the caps. Note: this step should be handled by an adult.
Optional: to personalize our PVC water guns, we used my collection of various decorative duct tapes.
And for permanent adhesion of the pipes to their fittings, we added PVC all-purpose cement or glue.
For the one pronged water gun you will need:
- PVC pipe (Schedule 40 1/2″ pipe)
- 1 “t” slip connecter per water gun
- 2 1/2″ slip caps
- 1 garden hose 1/2′ threaded garden hose connector
- Basic garden hose nozzle
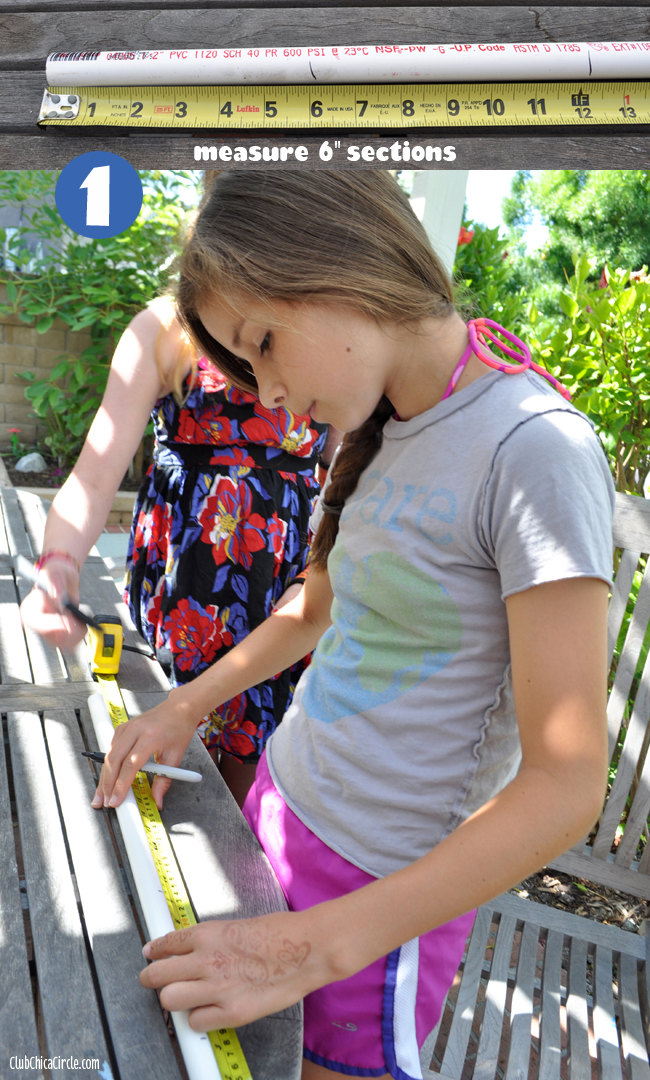
Step 1 – Measure 6″ sections on your PVC pipe. (We used 6″ sections on the 3-pronged design, and a couple 8″ ones on the 1-pronged version)
Step 2 – have an adult (wearing safety glasses) cut sections of pvc pipe while any kids wait patiently away from the saw.
The pvc pipe is easy to cut on a saw, but keep in mind that the plastic shavings do get everywhere.
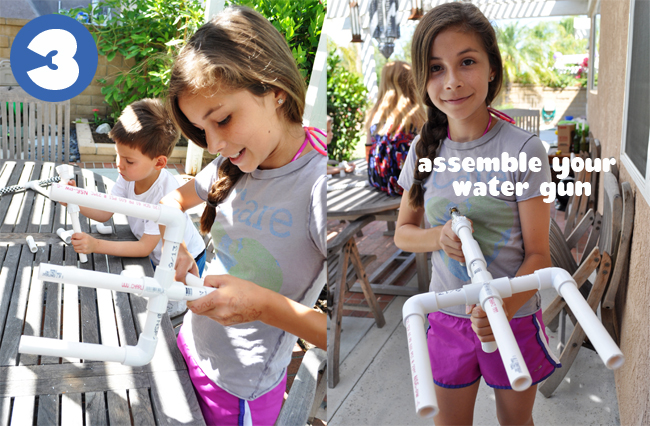
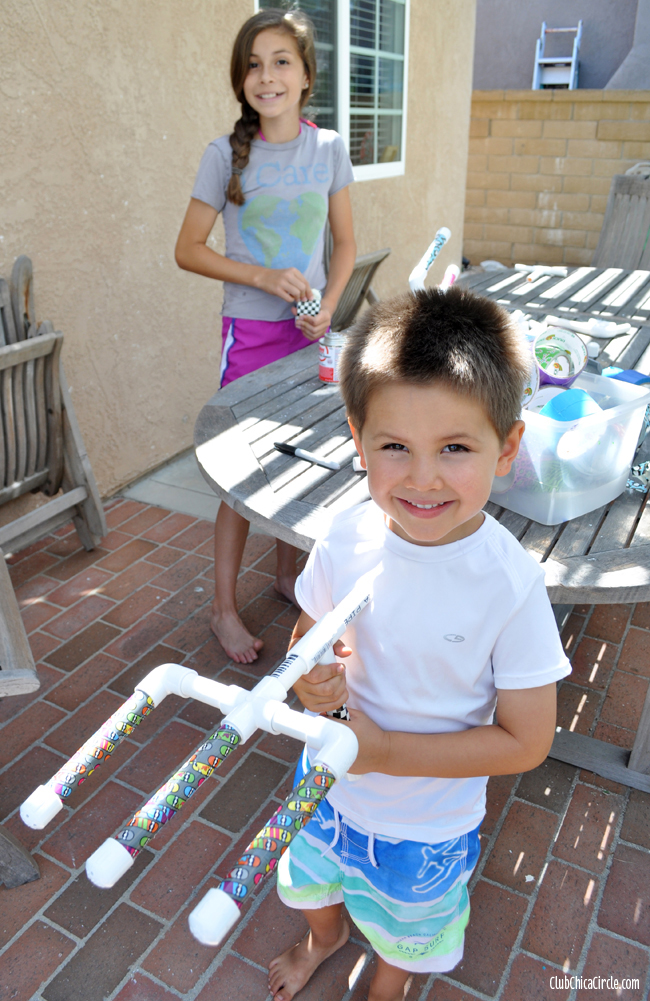
Step 3 – once you have all of your pieces cut, assemble your water guns. It is kind of like putting together a fun puzzle. The older girls helped the younger boys. The pieces should fit together easily and snuggly. We found each fitting was a little different, so my husband made sure each one was put on tightly, or we used pvc cement to glue them together.
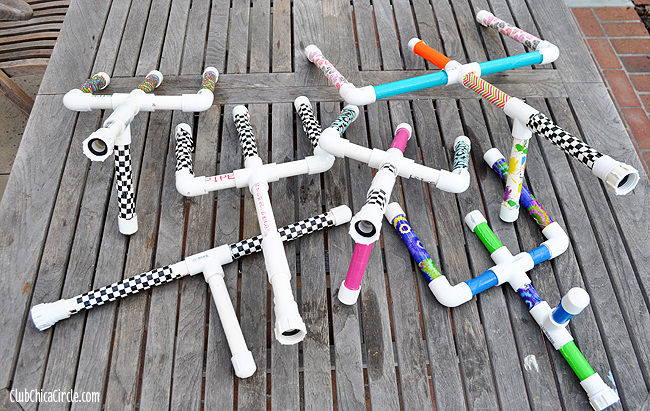
You can look at the photos as reference, but basically we designed where water was going to spray out, and created a handle on each to hold it and keep it steady.
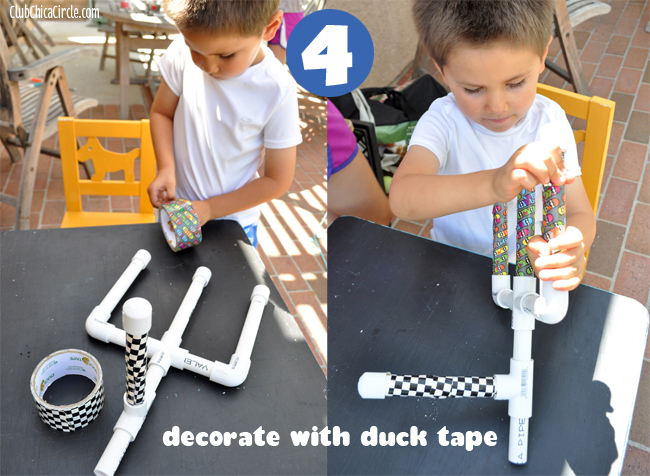
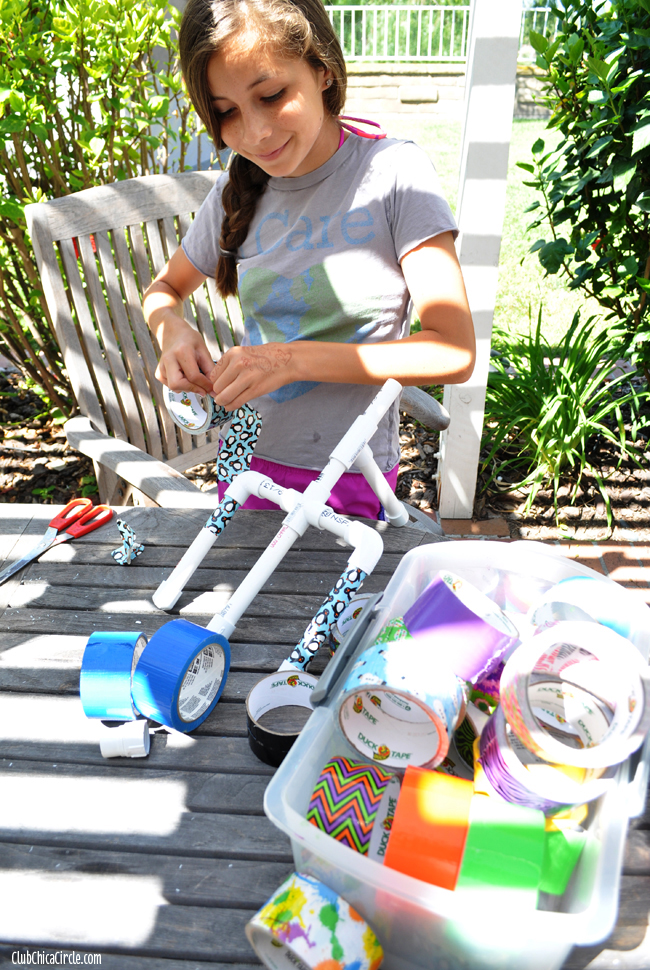
Step 4 – decorate your water guns with decorative Duck tape. This was my favorite step! It also helped differentiate whose was whose. We made enough water guns so each kid constructed their own.
And yes, I do indeed have a collection or large bin of Duck tape!
Step 5 – have an adult drill holes on the top of each pvc cap. You can do as little or many as you want. Keep in mind that this is where the water will be coming out of, so each one will have it’s own water spraying effect.
Last step is to place the caps onto your finished water gun.
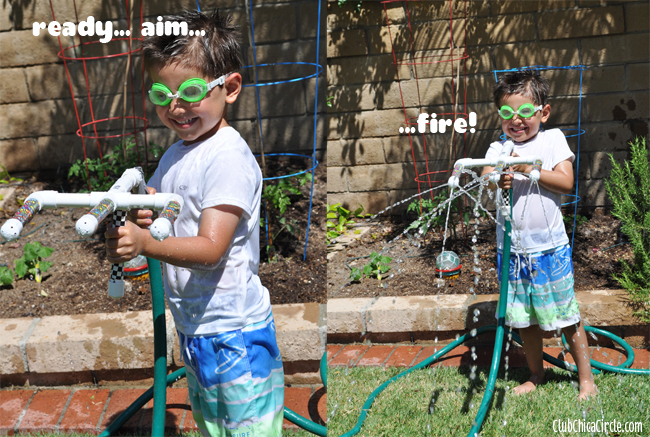
Attach the hose connector to the garden hose nozzle and hook up to your hose.
Then, ready… aim… fire!
We have two hoses in our backyard, so we took turns having two-on-two water gun fights, while the other kids ran in between the sprays of water.
After a day of crafting and water fun – this is our new PVC water gun collection!
Honestly, it was truly a fun family craft, that got every one in the family involved!
We found that the 1-pronged water gun was the most powerful and got you the most soaked, but the 3-pronged design was super cool too!
Stay cool and happy crafting!



1 comment for “Homemade PVC Water Guns DIY”