I seriously love this time of year, when the weather starts turning cooler and the leaves start turning beautiful colors. Not to mention, it’s the best sleeping weather ever when you can be all snugly and cozy in under the comforter in bed with the cool night air coming in through an open window. Fall is also one of my favorite seasons to find craft materials right outside my door.
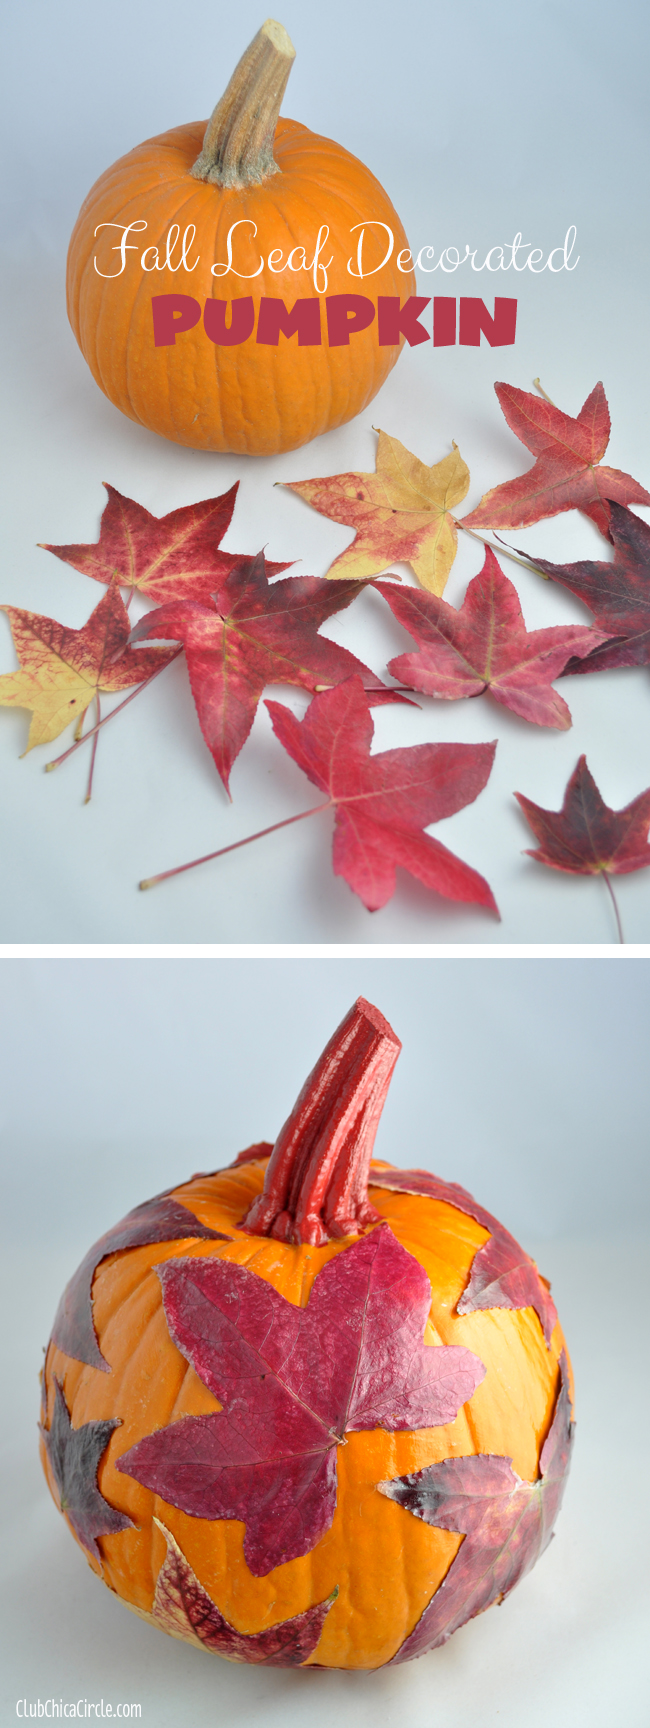
I’ve already been crafting with pine cones, and today’s post is an homage to Fall leaves. It’s also time for another pumpkin decorating idea that doesn’t involve any carving, as promised. Last week it was zentangles. This week, it’s decoupaged Fall leaves.
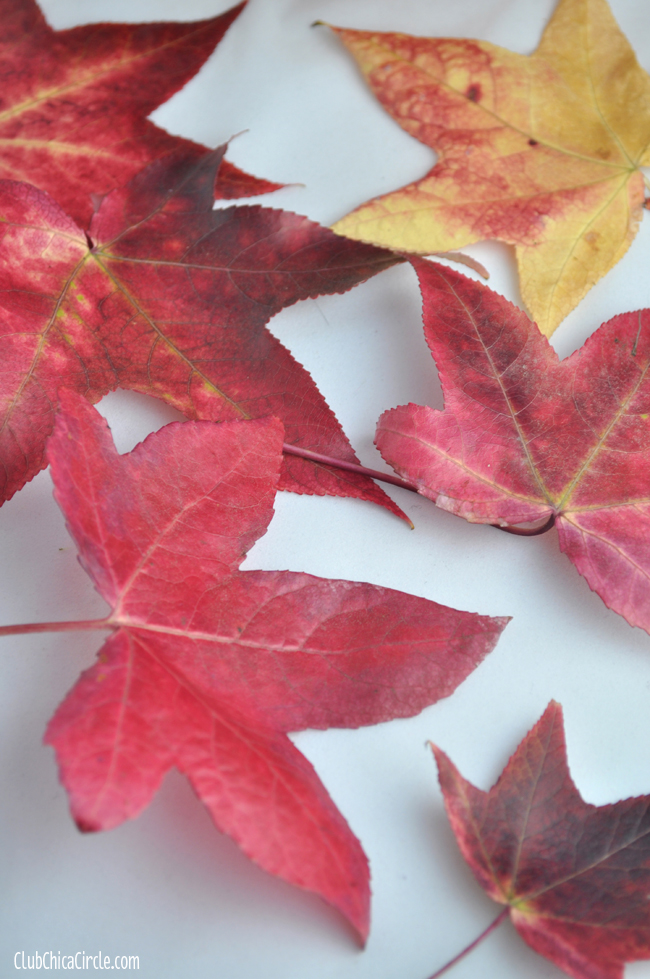
First instruction— go for a walk and collect as many pretty Fall leaves as you want.
The best time to do this is first thing in the morning when the dew is still burning off. I find that the leaves that are still moist, and have just recently fallen off the branches are the best to work with. I have found that after the day’s sun has gotten to them, they are already too dried out to craft with.
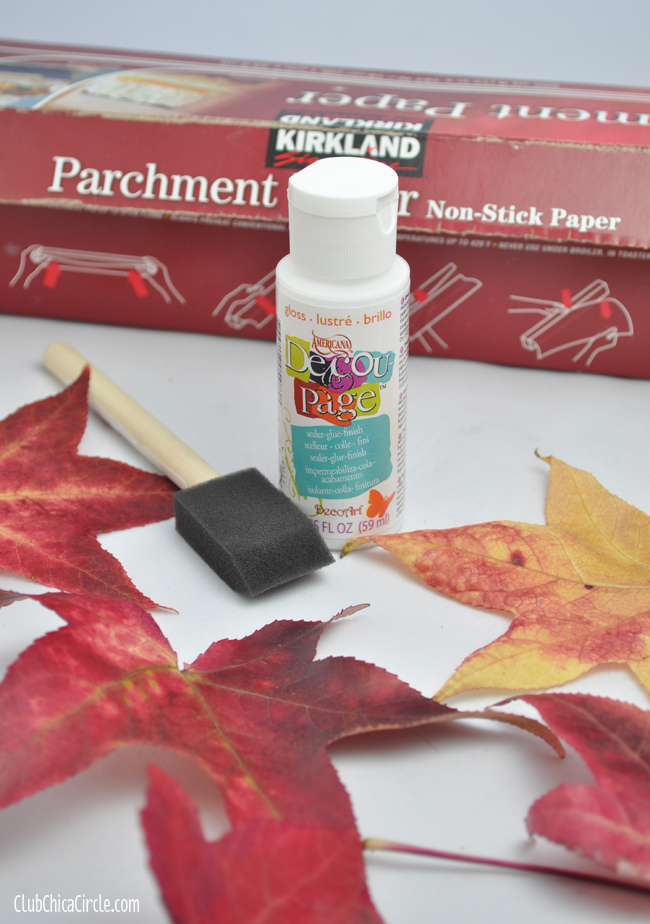
The supplies you will need to get started are Americana Decou-Page, a sponge brush, and some parchment paper.
Now you need to prep your leaves. Dry off your leaves if they still have any morning dew on them.
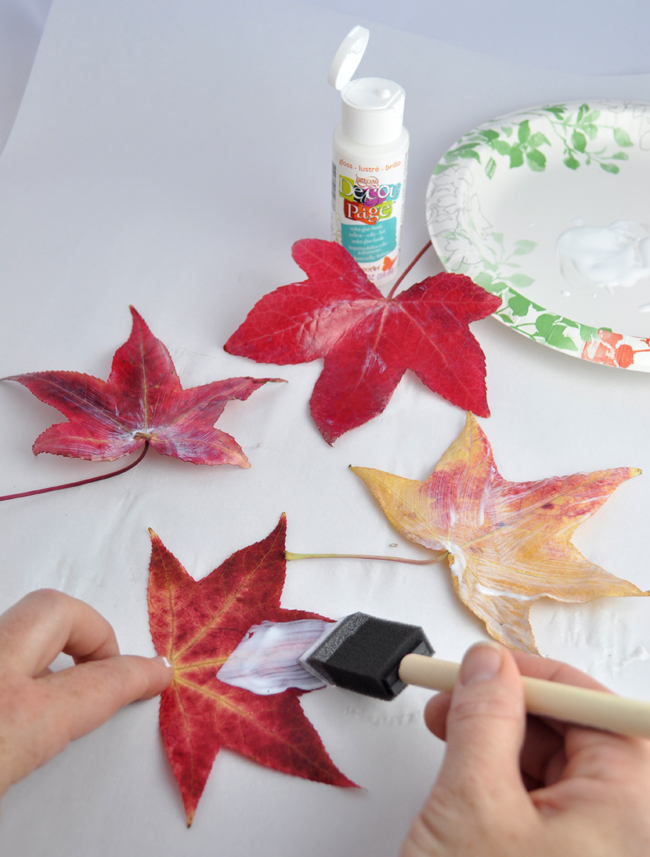
Then, carefully hold down each leaf at the stem and coat the top of your leaves with the decoupage. Make sure your leaves are on the parchment paper so that they won’t stick to your surface.
By coating the top of the leaves, you are locking in some of the moisture and creating a lovely glossy sheen on top as they dry. It also gives the Fall leaves some stability and strength so they don’t crumble when crafting with them.
Let them dry completely. TIP: Once they are dry enough, you can flatten them by putting another sheet of parchment paper on top of them, and placing a book on top. This makes them easy to craft with as you attach to your pumpkin.
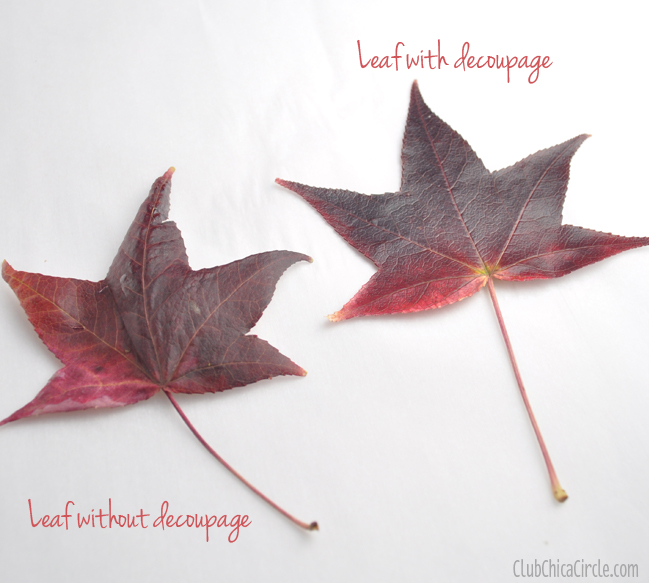
If you leave them untreated, they eventually shrivel up and loose their color. See image below as example.
Now it’s time to attach your leaves onto a pumpkin.
I tested out two different ways to apply the leaves onto the pumpkin.
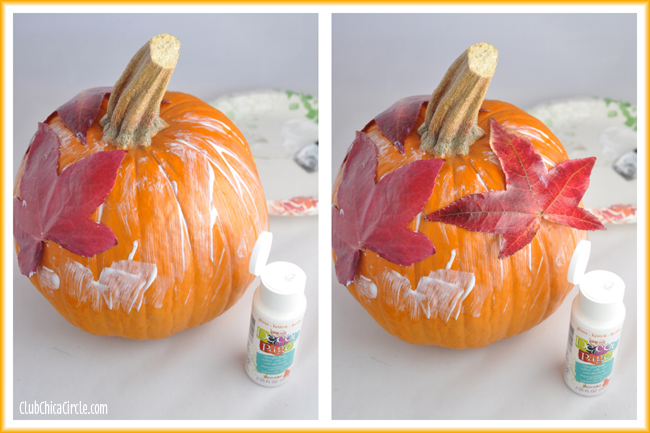
Option 1: place a coat of decoupage on your pumpkin and onto the back side of you leaf. Press the leaf on top of the pumpkin and hold down until the glue grabs and the leaf stays put.
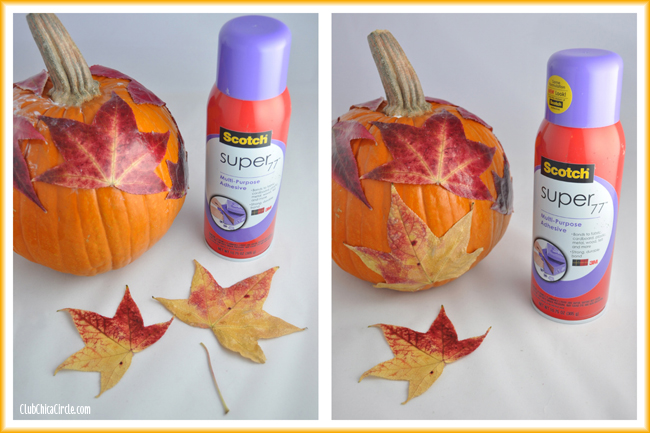
Option 2: (and the one I found worked the best) is to use some spray adhesive. This worked quickly, and wasn’t as messy as the first technique. I sprayed the back of the leaf with a little spray adhesive and then arranged onto my pumpkin.
Also note, I found it easier to take the stems off of the leaves first before applying.
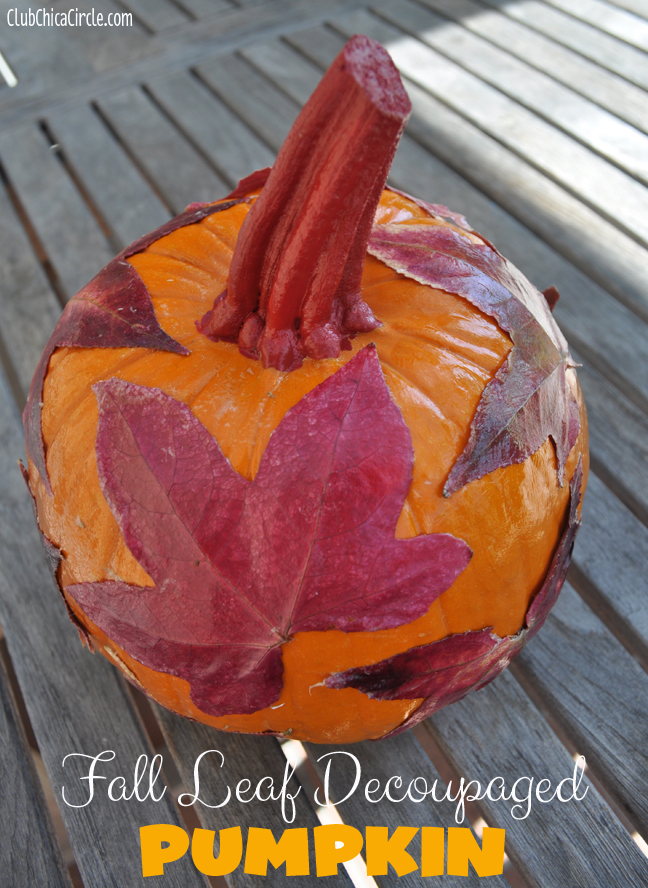
I arranged my leaves in a random pattern around the pumpkin, almost like a puzzles.
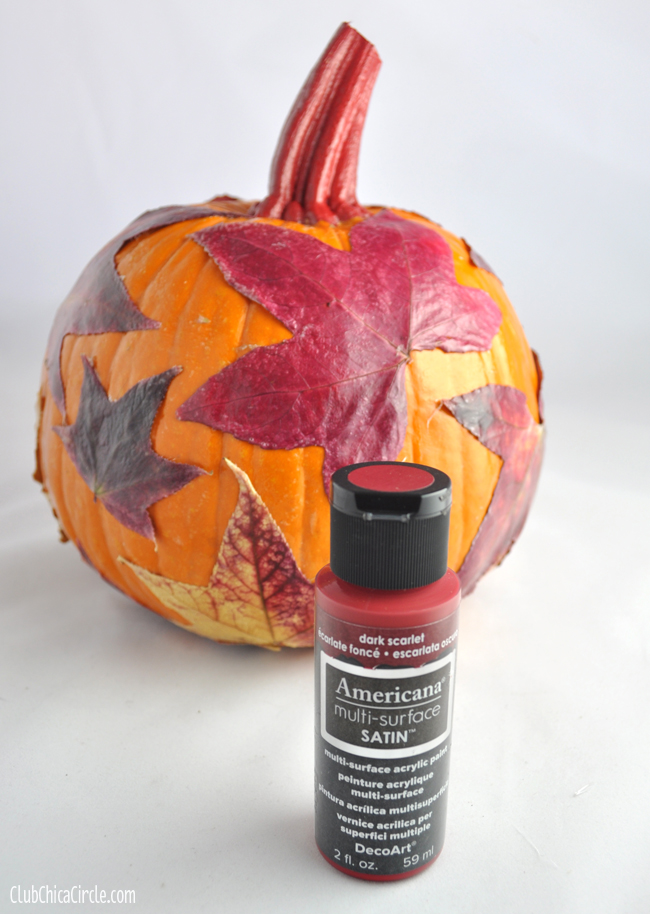
Then to finish I carefully added another layer of decoupage all over the whole pumpkin, and painted the stalk a beautiful rusty red color.
I used Americana Multi-surface in Dark Scarlet. Love this paint! It covers a multitude of surfaces really well.
I think it turned out so beautiful. This would make a beautiful Fall centerpiece. You are going to want to keep this pumpkin way past Halloween.
Imagine how this would look on a white pumpkin. This would make a great Thanksgiving home decoration.
So go for a nature walk, and get crafting!
Happy Friday!
As a member of the DecoArt core blogger team, this post is brought to you in part by DecoArt. All thoughts, crafts, photographs, and ideas are my own.
If you liked this post, and want more, you can subscribe to be on our mailing list here.
Feeling social? Follow ChicaCircle on Facebook or Twitter, and follow me on Pinterest or Instagram.



3 comments for “Fall Leaf Decoupaged Pumpkin Decorating”