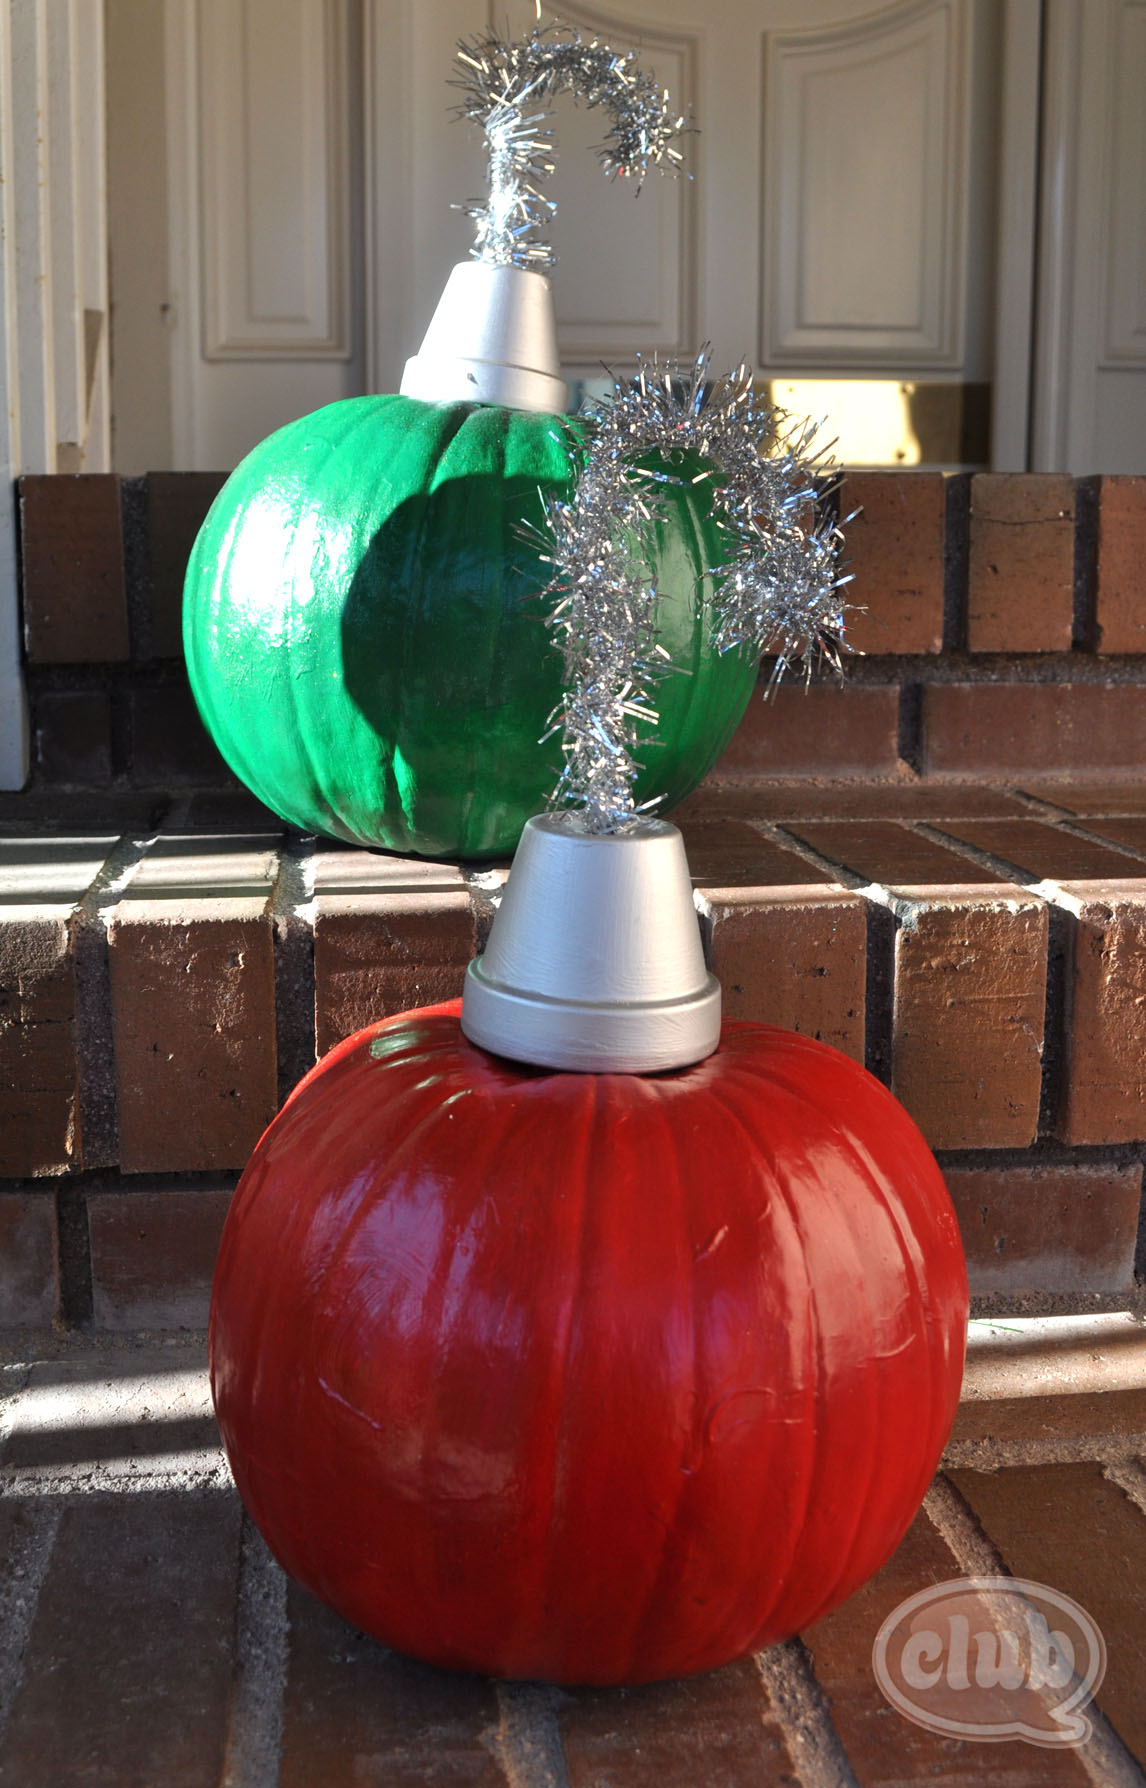
My tween and I got a little creative building snowmen this past week. In Part 1’s post of our snow paint adventures showed how we were experimenting with creating snow paint by combining Elmer’s white glue and shaving cream. I couldn’t resist trying this on two pumpkins put together to make a cool snowman decoration for our front door. If you remember last year, we re-purposed our Fall pumpkins and turned them into Christmas ornaments.
This year we had some really large ones and medium sized ones that I thought would make perfect snowmen when put together. My tween and I did a little “finger painting” with the snow paint concoction on the outside of the pumpkins. Okay, it was actually more like “hand painting”. Good thing, it is easily hand washable with soap and water seeing that it is truly only shaving cream and school white glue.
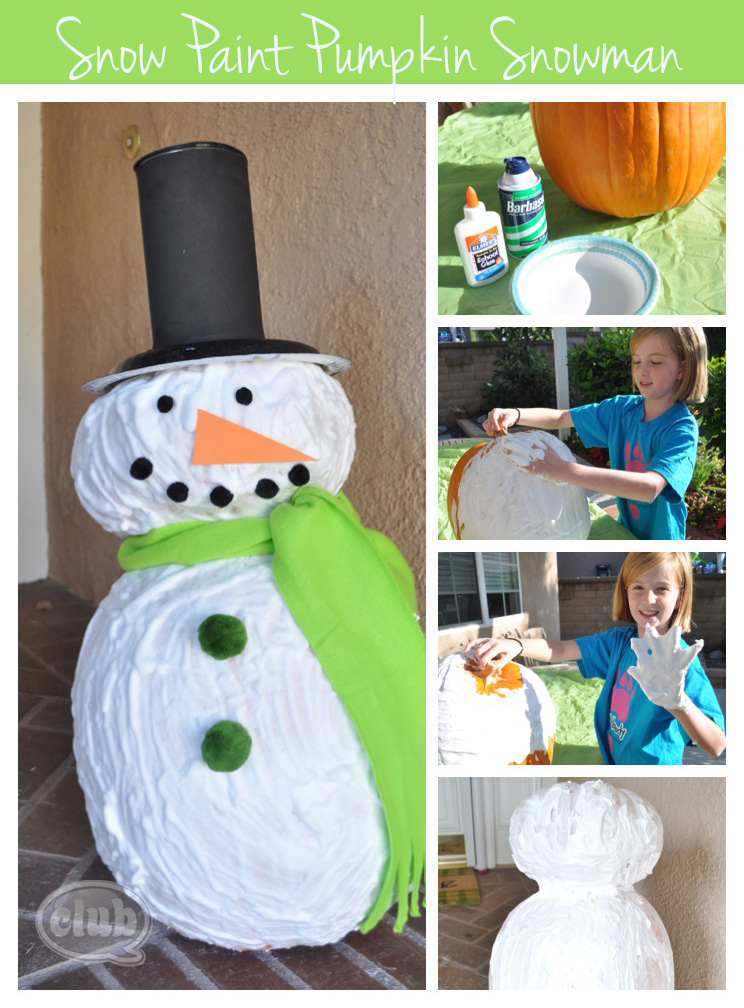
The snow paint concoction consists of roughly mixing an equal ratio of white school glue and shaving cream together.
A couple things to consider if attempting your own snow paint snowman:
- The snow paint does take awhile to dry. If displaying your snowman outside, make sure it is in a covered place away from the outside elements of rain or snow. It will break down with water since it is made of water soluble ingredients.
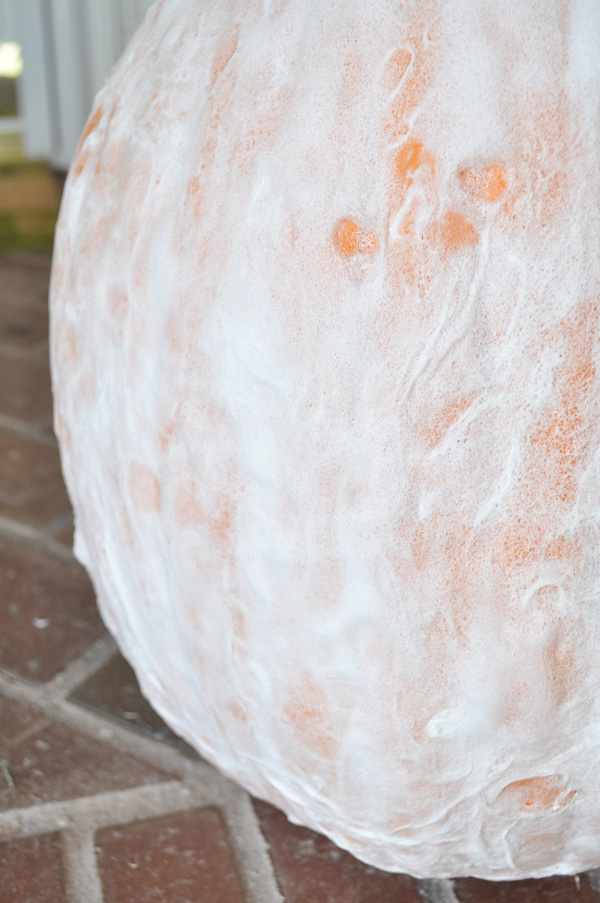
- Also, you will need to apply 2-3 layers of snow paint on your pumpkins because it will dry up as the foam evaporates some. See the closeup picture below after 1 layer has dried after a few days. Just like real snow, snow paint will “melt” or deflate over time.
- If I did the snow paint pumpkin again, I would paint the pumpkins white first, so when the shaving cream mixture did dry a bit, the orange of the pumpkin wouldn’t show through as much.
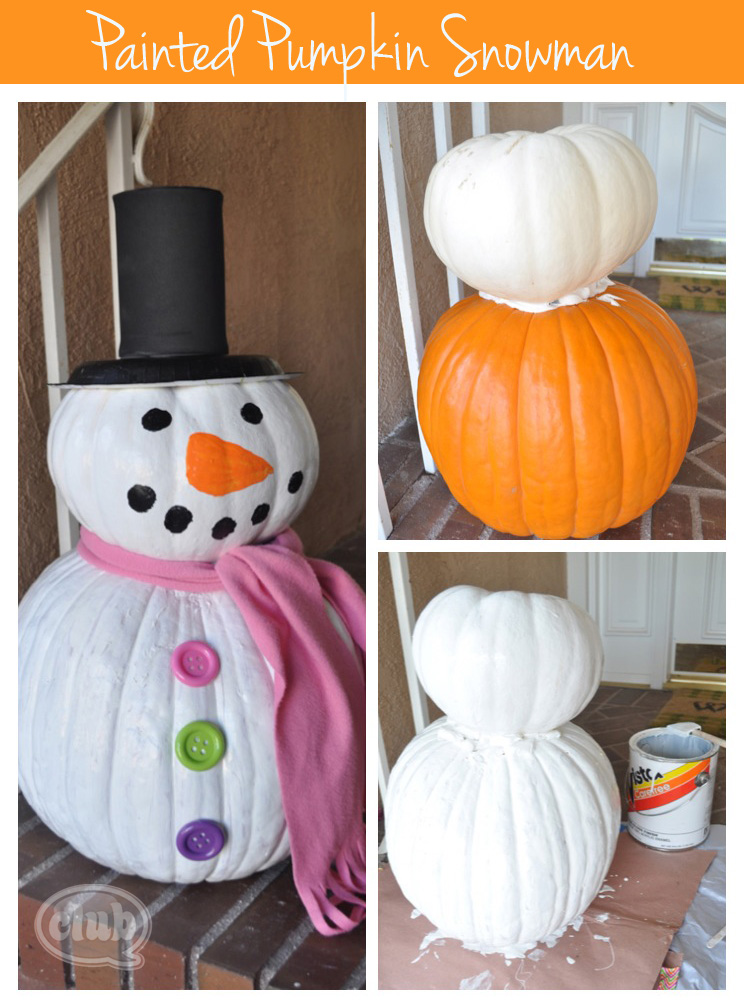
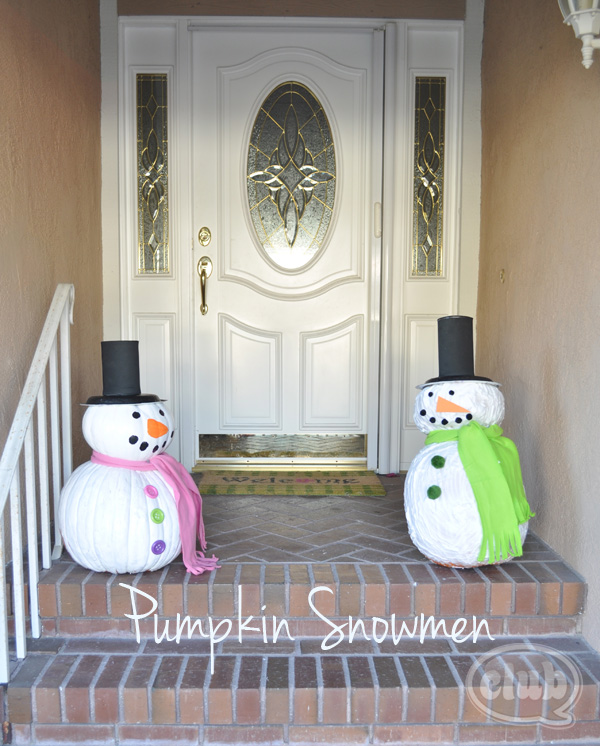
After making a snow painted pumpkin, I wanted to do a painted one for comparison. I placed two pumpkins together again, and used white caulk to secure them together. Then I used some extra white house paint that we had in storage to cover the pumpkins with. The rest was just decorating and accessorizing. On both pumpkins, I used some of my daughter’s old scarves. I painted on snowman faces with black and orange acrylics paints, and glued big colorful buttons onto the front of the painted pumpkins. For the snow painted pumpkins, I used white glue to attach different sized pom poms for the eyes, mouth, and belly, and finished by cutting out a triangle shape for the nose from an orange foam sheet.
For the hats, I covered recycled coffee canisters with self-adhesive foam sheets, and glued them onto large paper plates that I had painted black.
Here are the two versions of painted snowmen in all there glory as they usher you into our front door step. Which one do you like?
My tween voted for the painted one. I do like how clean it looks, but I love how the snow paint one feels too. I like the pair of them. = )
Happy crafting!
If you liked this post, and want more, you can subscribe to be on our mailing list here.



3 comments for “Crafty Adventures in Snow Paint – Part 2”