If you liked this post, and have tried your own melted bead bowl, you will love this great DIY to create these colorful melted bead ornaments! If you have a tween, chances are, you have a bucket of meltable beads (like Perler Beads©) sitting around. The concept of melting the beads together in a design is the same, but with this technique, the results are more artistic and a little bit like your own melted bead art experiment. Every ornament is unique and depending how each bead melts, the end result is always cool and colorful.
First, place metal cookie cutters on a cooking sheet that has been covered with parchment paper. Spray the cookie cutters with a little non-stick spray to help them not stick after melting.
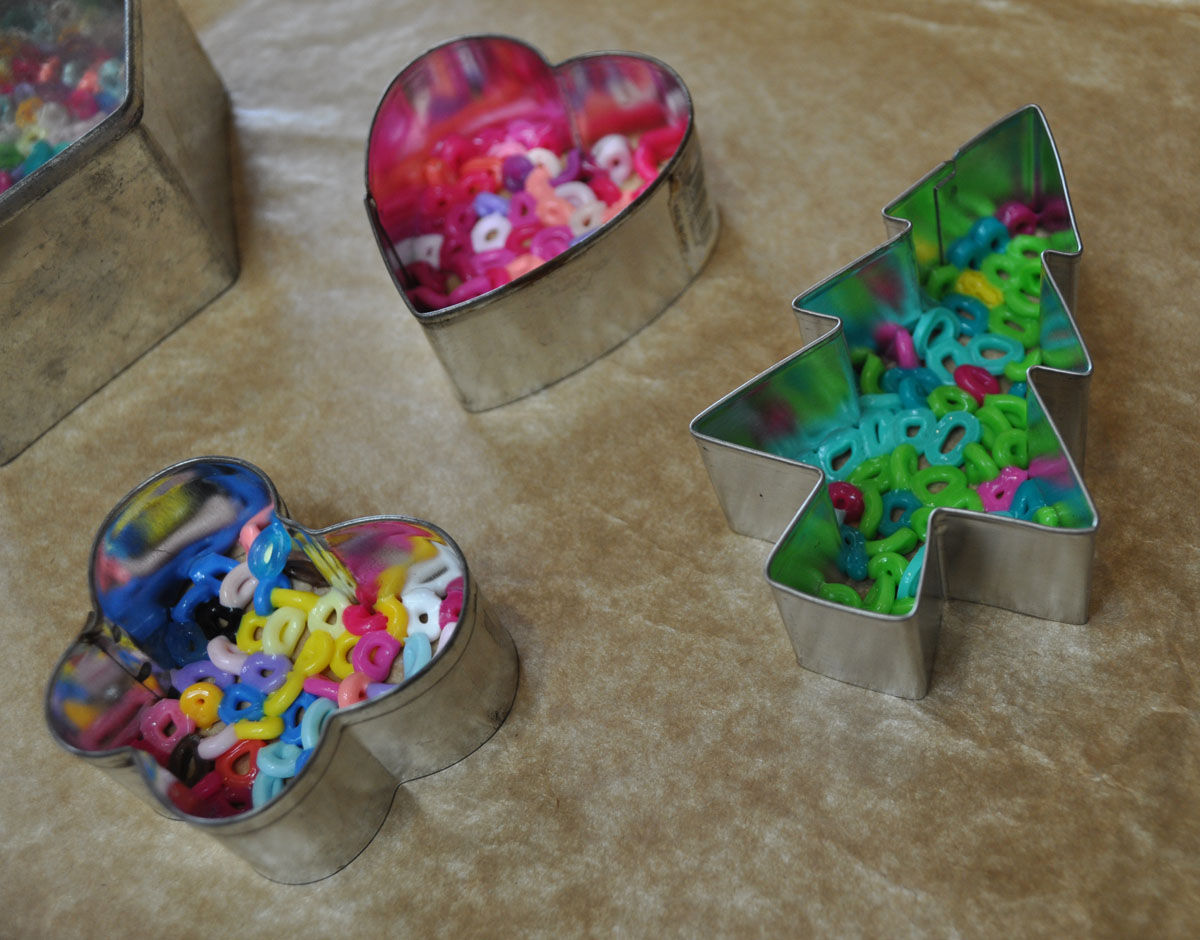
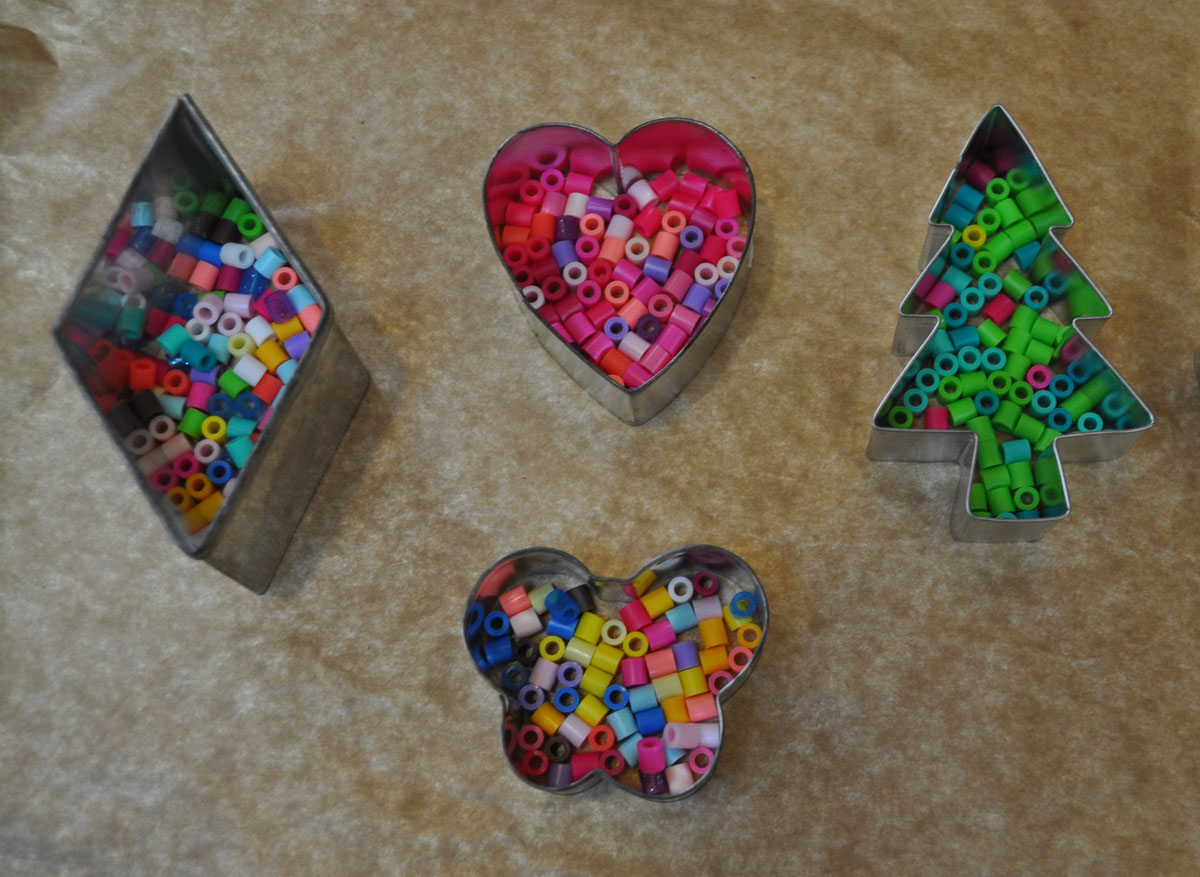
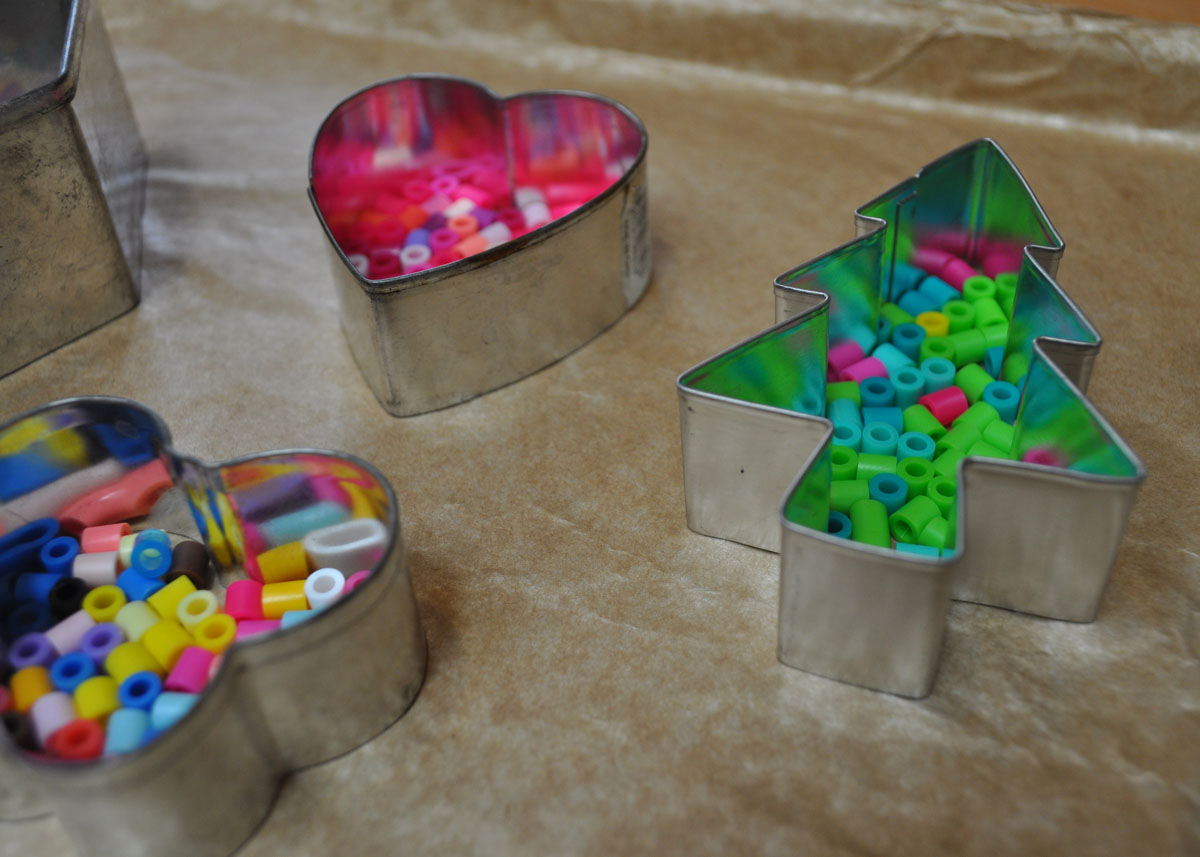
Arrange your meltable beads in ONE layer on the bottom inside of each cookie cutter. Push the beads in place if you need to make one layer.
Then place them in a preheated oven at 400 degrees for about 10 minutes.
This is before:
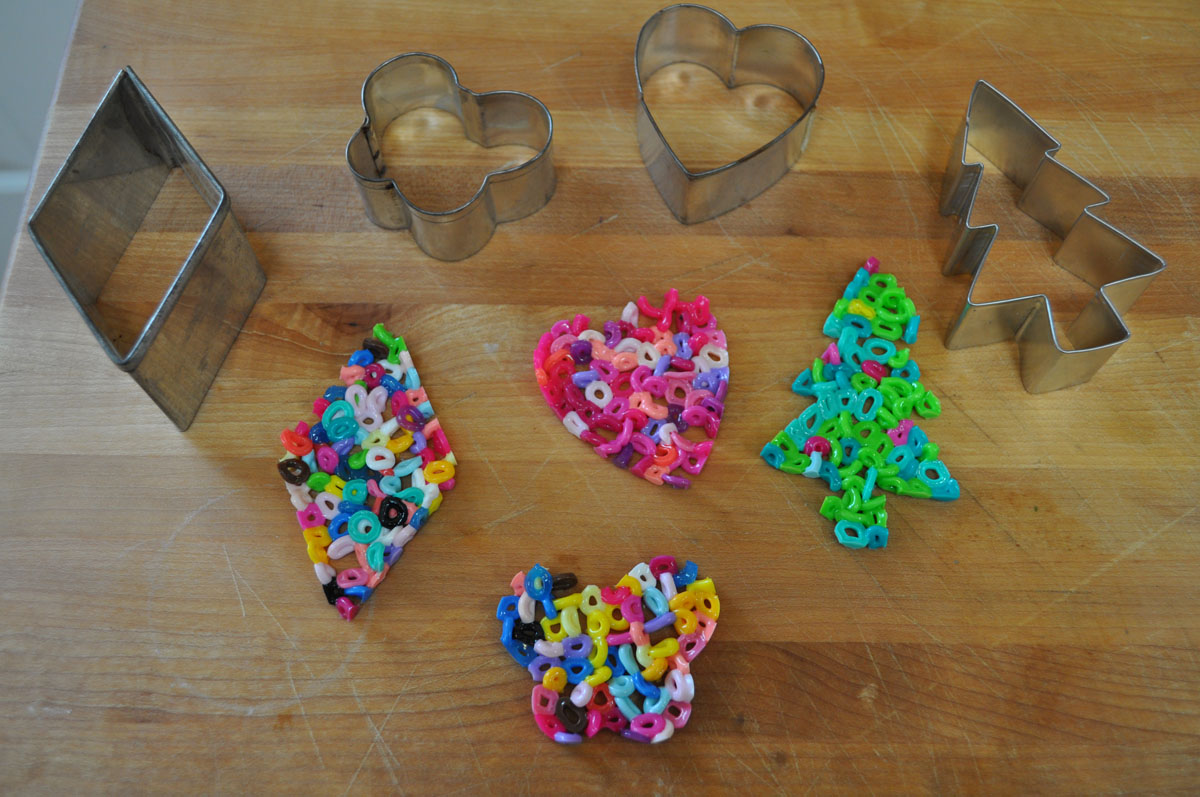
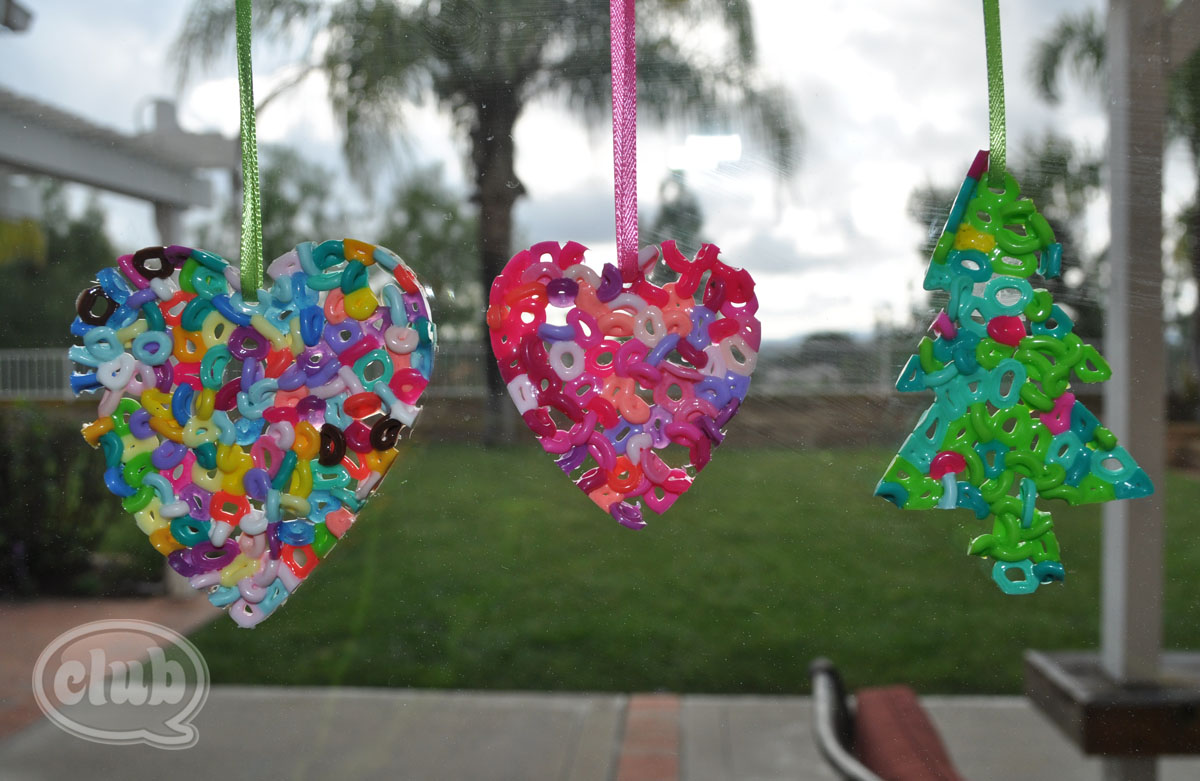
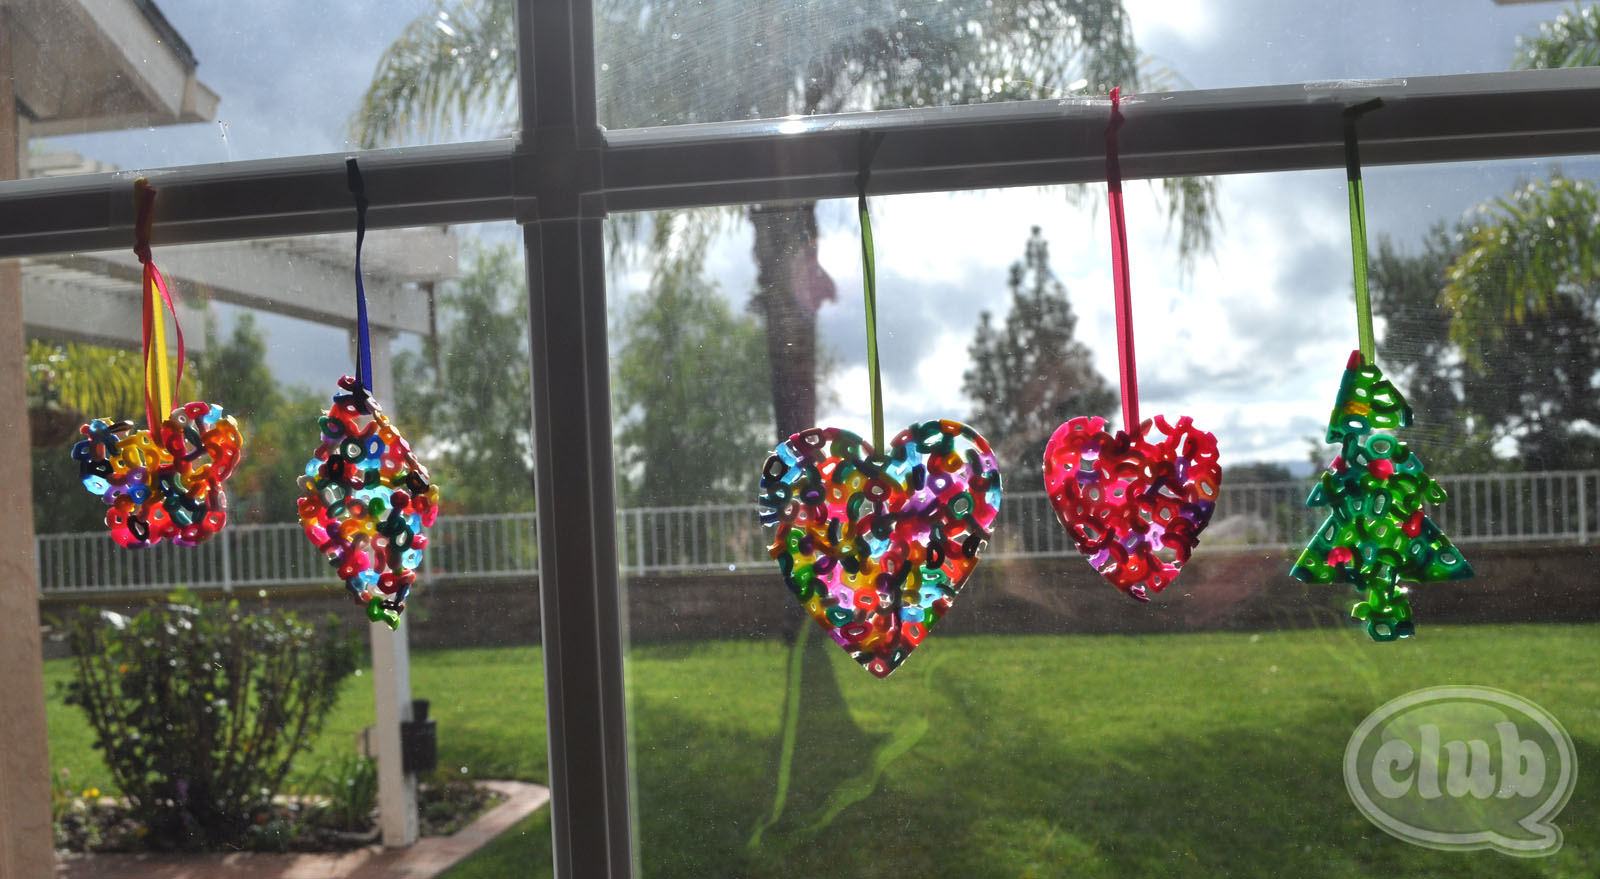
And this is after:
 Let them cool, and then punch them out of each cookie cutter.
 I then strung a 1/8″ wide ribbon through one of the top holes of the beads to hang. These would look great hanging on a tree or wrapped on a gift with a pretty bow. The colors and the way the light looks when it goes through them, I had to hang them on one of our windows. Lovely!
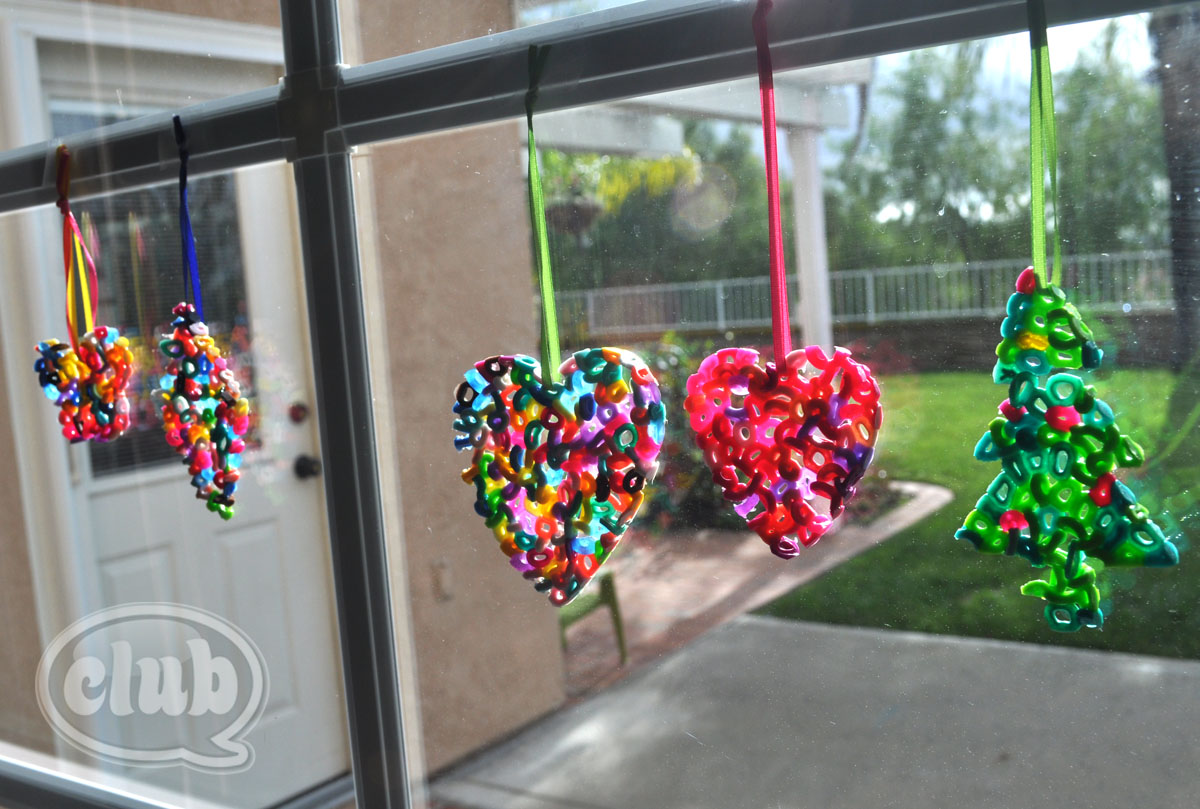
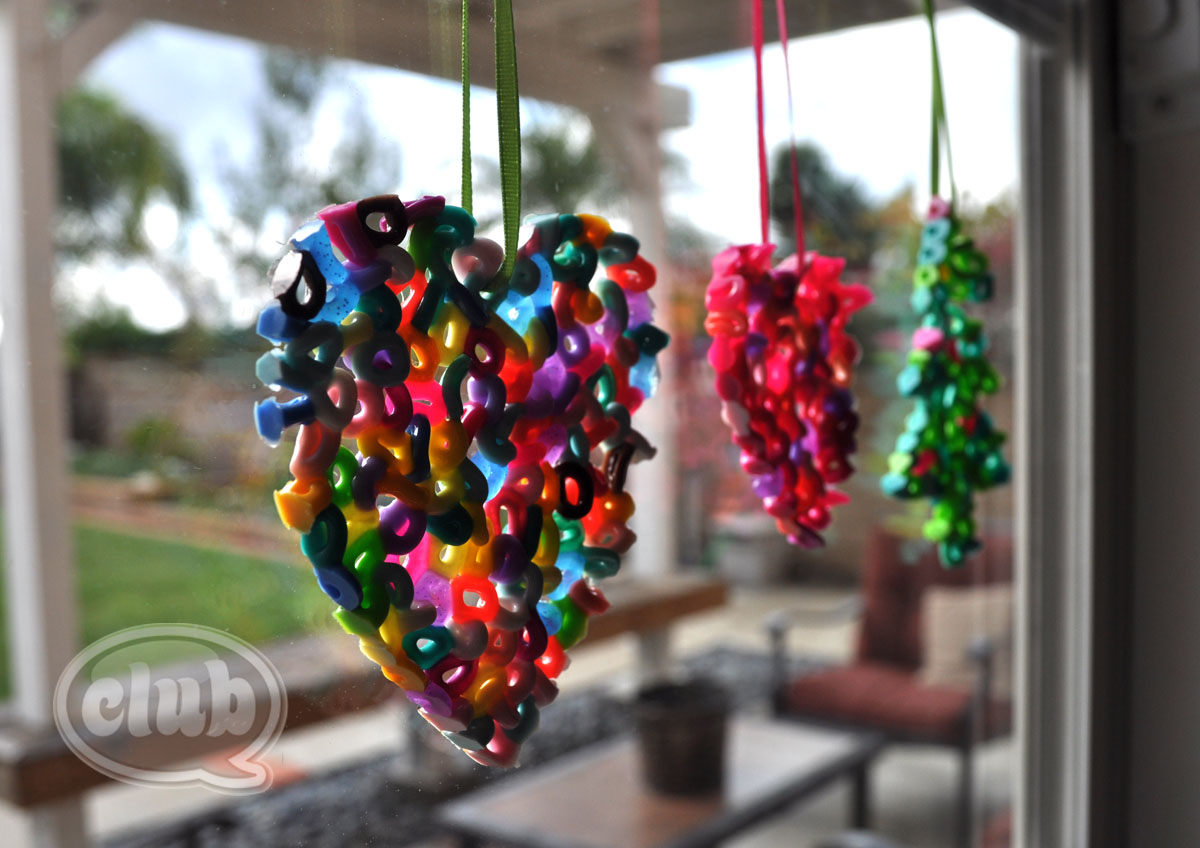 You can tailor the colors for each ornament, but you get just as satisfying effect by randomly picking a handful of beads and seeing what colorful melted creation you get. For instance, I put mostly green beads with a few colored beads in the Christmas tree melted bead ornament on the right. I used a palette of pinks in the middle heart ornament and a random sampling in the heart ornament on the left.
This would make a great homemade teacher’s gift, or a fun craft activity for a girl scout meeting. Whatever you choose, I hope you have as much fun as my tween and I did.
Check out the DIY video on how to make your own melted bead bowl too. Happy melted beading!



29 comments for “Melted Bead Ornaments DIY”