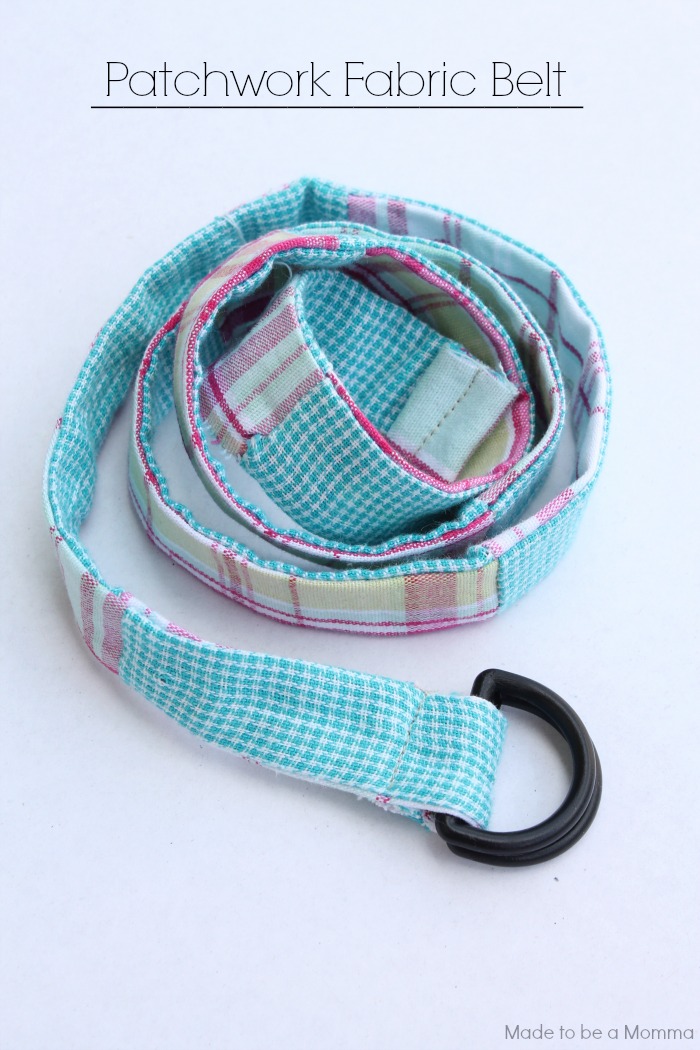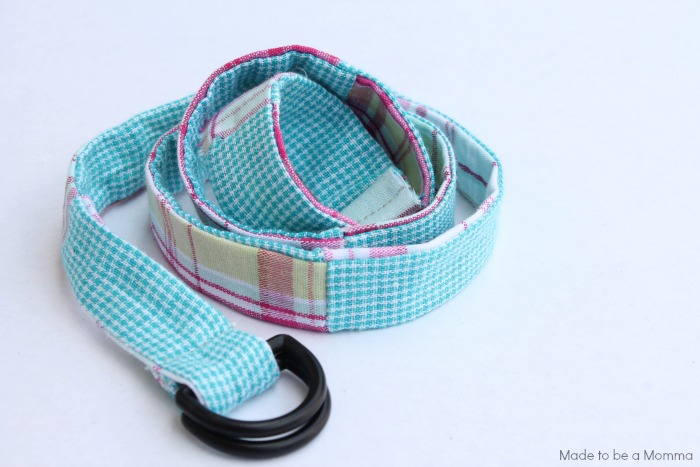
Hi Friends! It’s Katie from Made to be a Momma here again sharing another super simple sewing project! I love the look of belts! It add a fun pop of color to any outfit! One of my favorite ways to wear one is on my high waist! It looks so adorable on little girls! This belt was made to fit a child but you can easily make one for yourself as well! All you need is some D-rings (found in your local craft stores) and fabric! Measure your waist (or wherever you want to wear the belt) on yourself or a child. Take that number and add 15 inches.

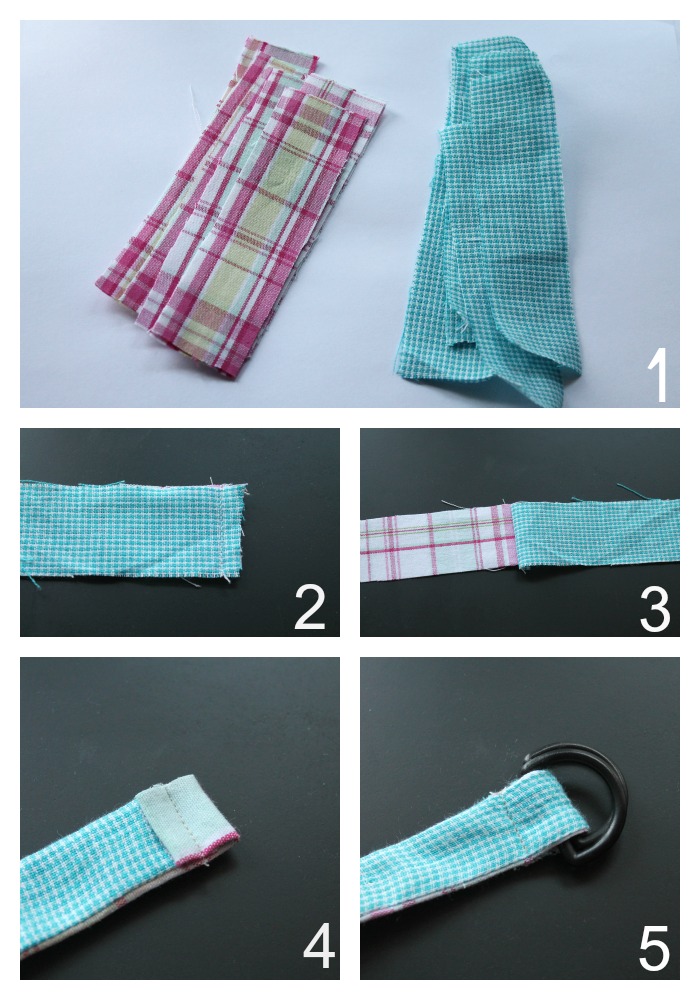
1. Cut out either two long pieces of fabric that is the measurement of your waist plus 15 inches. I cut out 12 pieces of fabric and sewed them together to make a patchwork type look. Make your fabric pieces as wide as the D-ring you purchased. Mine was 1 inch wide.
2. If doing a patchwork design, lay one of your strips of fabric right sides together with your first piece. Sew the edge.
3. Open your two pieces and repeat until all of your strips have been sewn together. Take your now two long pieces of fabric and lay them right sides together. Sew down both sides. Using a safety pin, turn your belt right side out.
4. Fold over one of your sides twice and sew in place.
5. Repeat step 4 on your other side this time making sure you add the d-rings.
Enjoy your new belt!!

You can also find Katie here on Facebook / Pinterest / Instagram / Twitter / Google+


1 comment for “Patchwork Fabric Belt DIY”