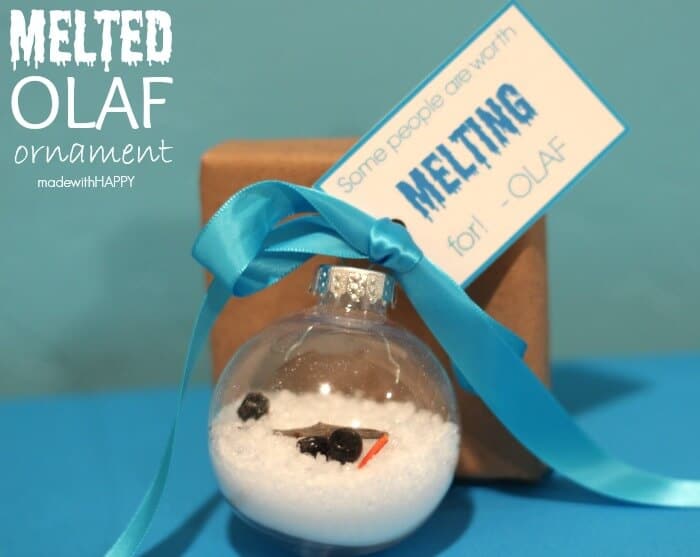
Hello. Its Alli here from Made with HAPPY. Today we’re sharing a fun and simple ornament craft you can do with your little ones that will have them belting out Frozen even more then they already have.
 Here is how we made them.
Supplies:
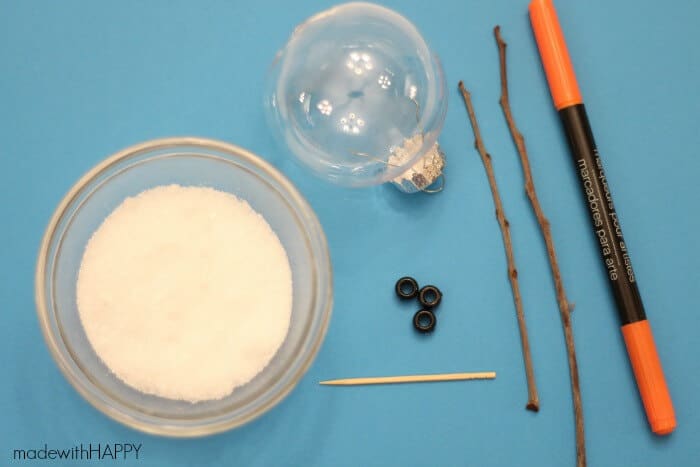
- One plastic ball ornament – plastic always better for the kids
- 1/4 Cup Epsom Salt
- Two Small Branches
- 3 Black Pony Beads
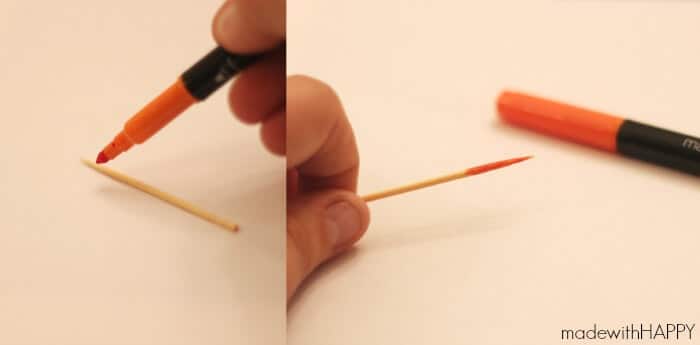
- A Toothpick – If you have an orange toothpick, awesome, if not, easily use an orange marker to color the tip.
Directions:
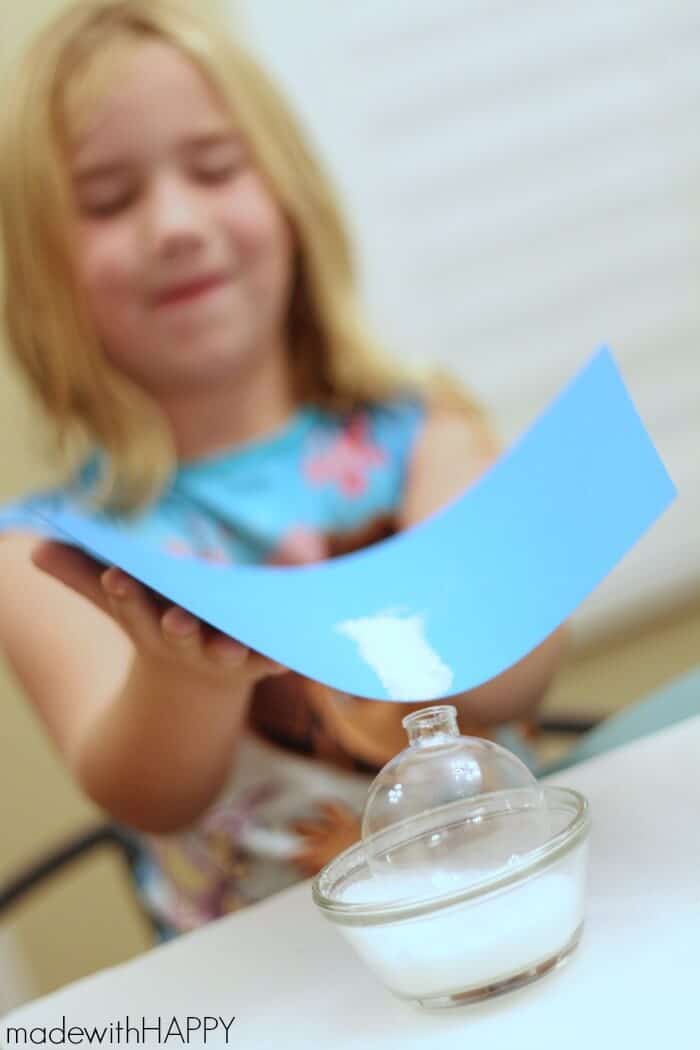 Using a piece of paper, pour the salt onto the paper and funnel it into the top of the ornament. Fill approximately half up.
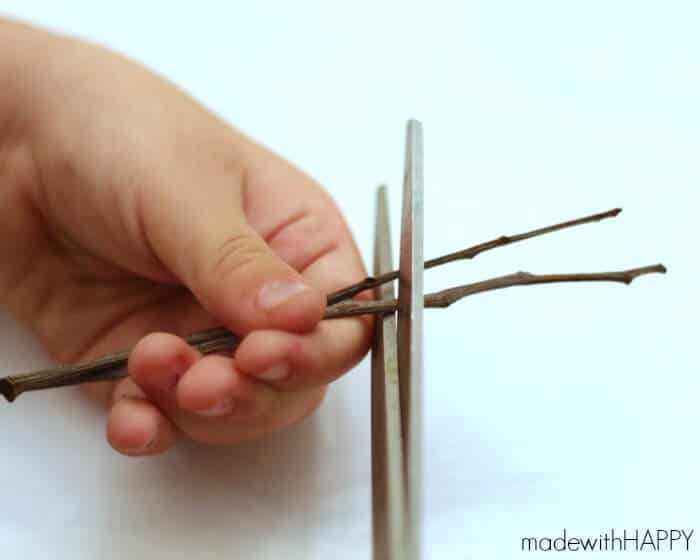 Cut your branches (olaf arms) down to size. Note, you want the length to be short enough to fit inside the ornament, but long enough to resemble arms.
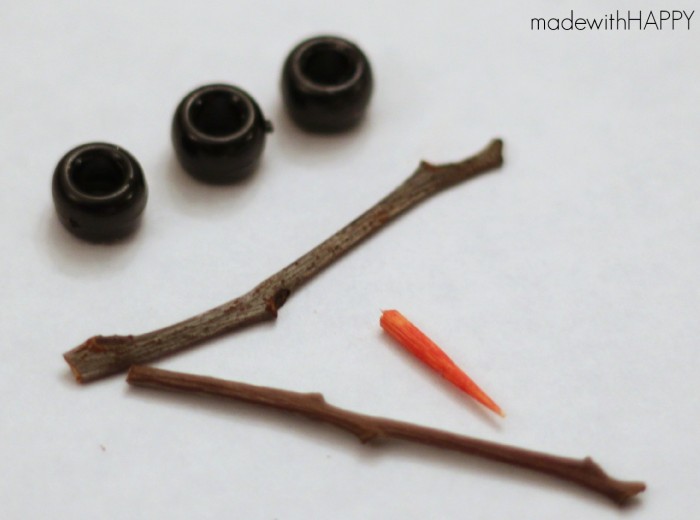
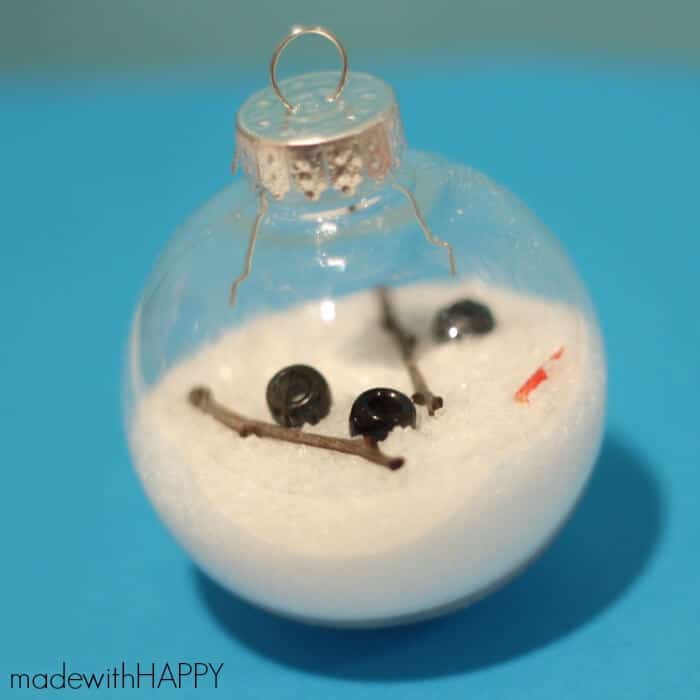 Then simply add Olaf’s buttons, arms and nose to the top of the salt. Viola, Melted Olaf.
I also made a cute printable gift tag for you to add to your ornament.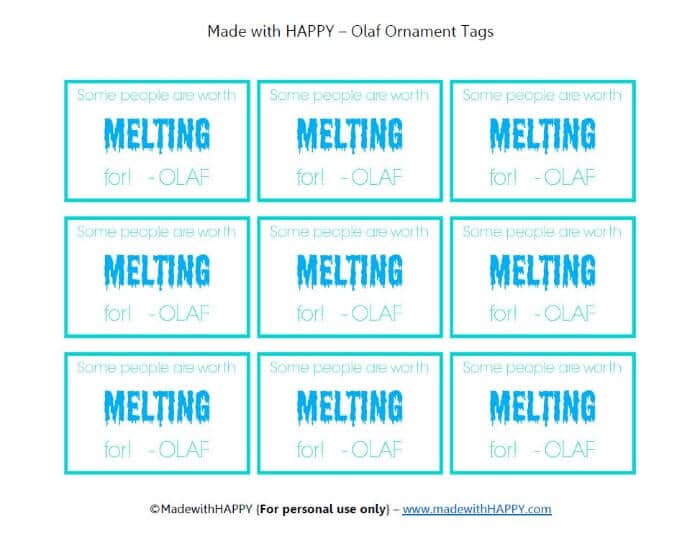 Click here to download and print.
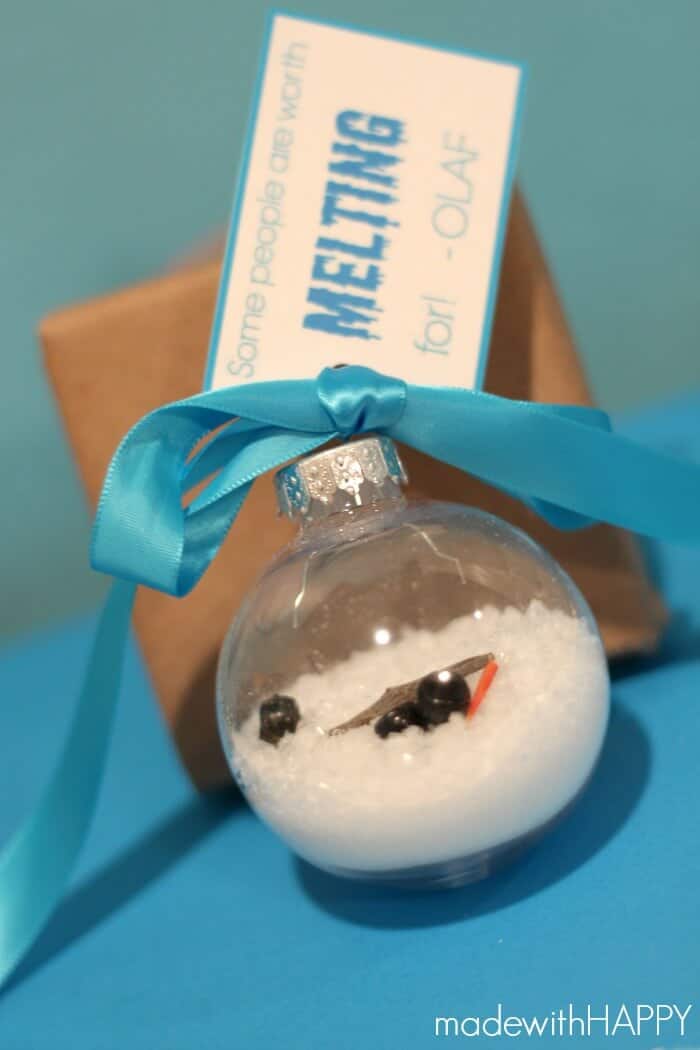 Happy Crafting!
~~~~~~~~~~~~~~~~~~~~~~~~~~~~~~~~~~~~~~~~~~~~~
You can also find Alli here on Facebook, Google+, Instagram, Pinterest or Twitter.


2 comments for “Melted Olaf Ornament DIY”