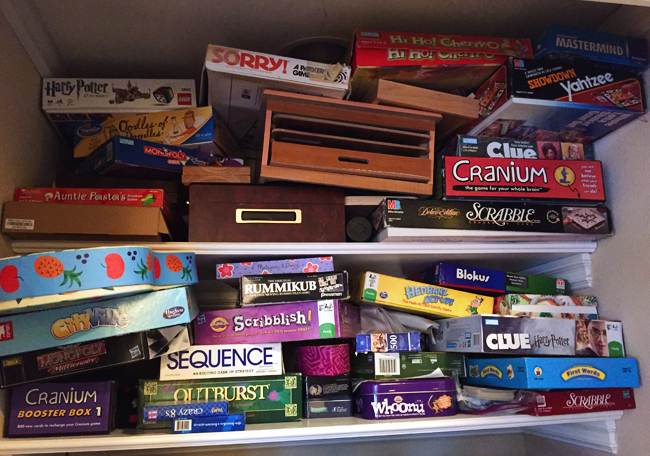
Do you have a board game shelf or closet?
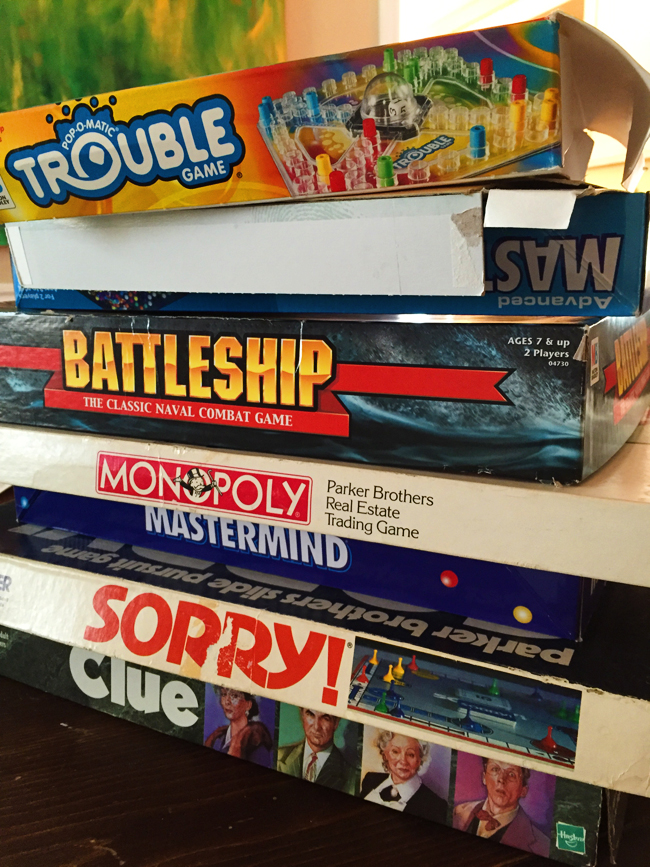
Does yours look anything like ours did?
EEK!
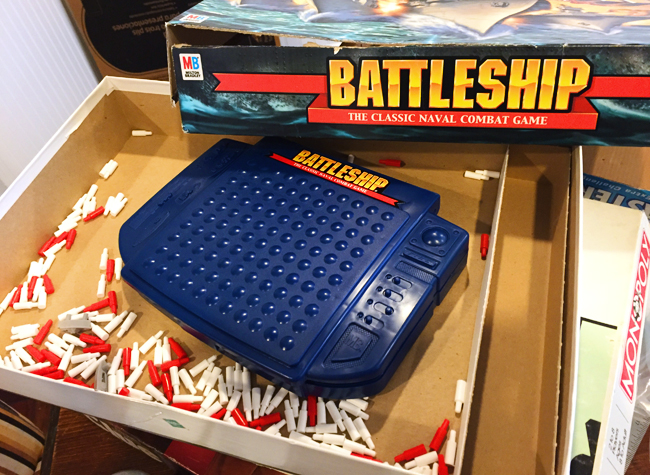
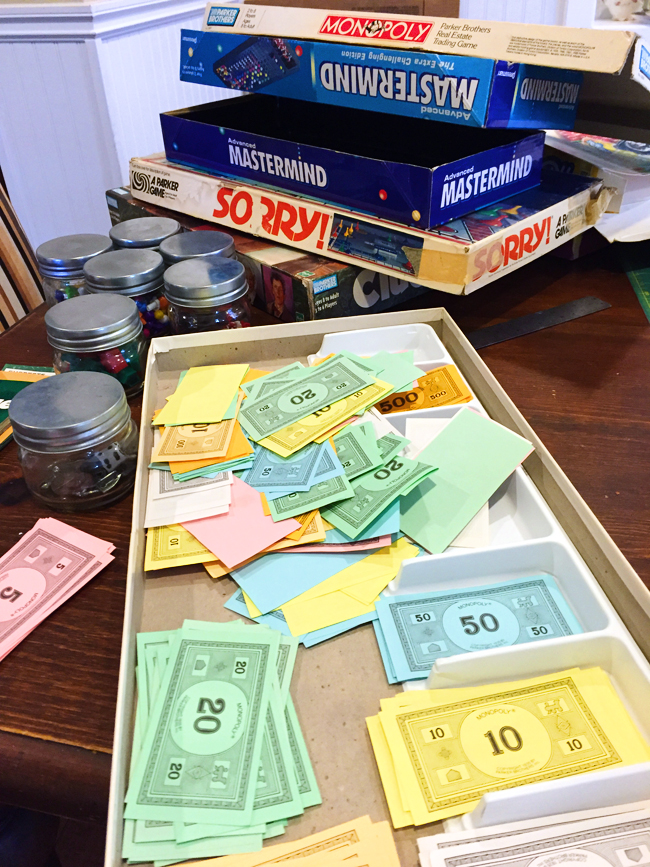
And then when you want to play a game and open up the box, does it look anything like this, with pieces strewn about?
Are old boxes falling apart and everything unorganized that it takes some of the fun away from family game night?
Guess what, I may have the perfect solution for you!
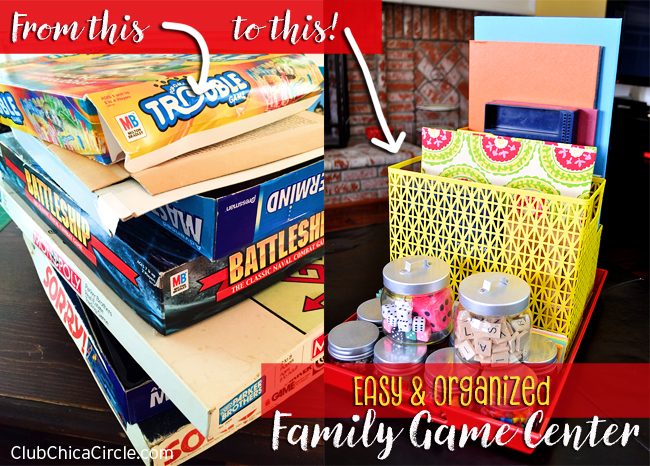
Today’s post isn’t a craft idea, but a crafty way to transform a pile of messy games into a easy and organized family game center!
I took some of our favorite family games and created a pretty, organized and super-functional game center.
Here is what you will need:
- binder
- plastic sleeves
- jars or small containers
- serving tray
- file organizer bins
- rubber bands and/or binder clips
Here’s how I created an organized family game center:
- I gathered all of the game instructions and organized them into one pretty binder using plastic sleeves. If any instructions were missing, I simply found them online and printed them out. Most games will have pdf’s available for print simply by doing a simple google search for them.
- I separated and organized all of the game pieces into jars. I found these at my local Target, but you could also find little jars at Michael’s or IKEA.
- Then I housed and organized all of the game boards in bins that I found in the stationery aisle of my local Target as well. These bins were meant for files or desk organization, but they are the perfect size for various game boards.
- Whatever didn’t fit, I secured with rubber bands or binder clips – for instance, Monopoly money and game cards.
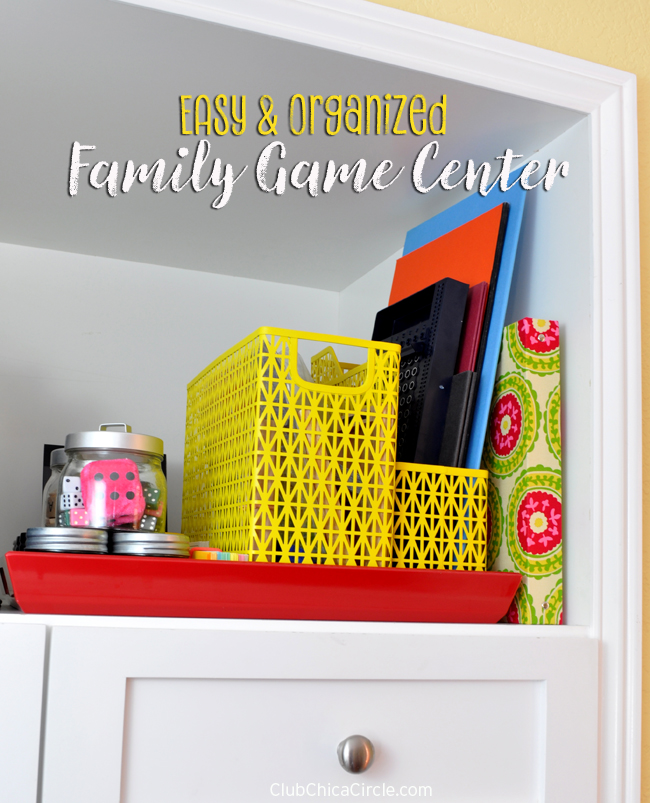
- Finally, I organized it all on one large serving tray.
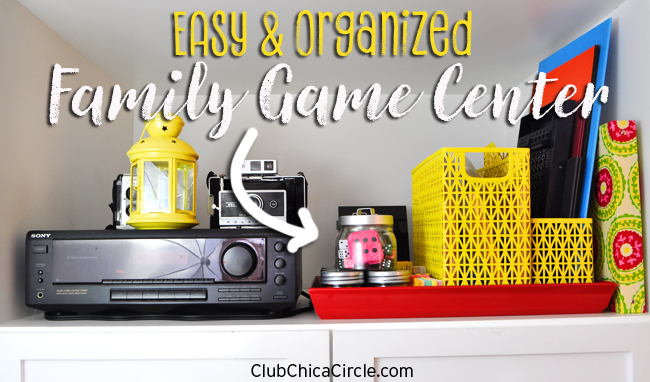
Instead of hidden in a closet, I found a corner in a cubby next to our stereo where we had an instant game center.
I coordinated the colored of the bins, binder and serving tray to make a really pretty and cool family game center.
I love how it saves room, looks great, and is truly interactive and easy to find all of our favorite games.

