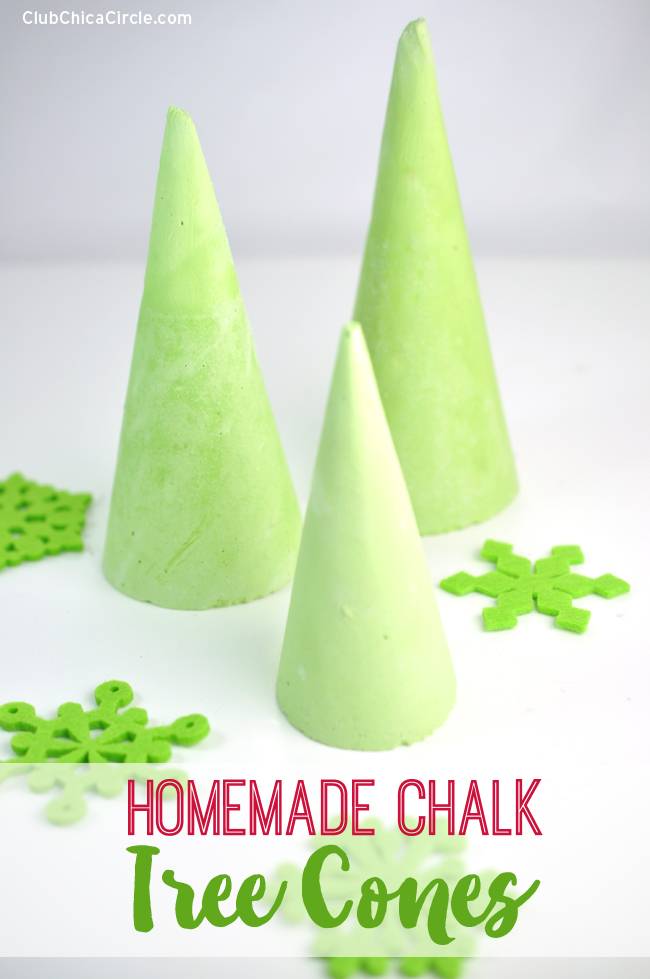
Looking for a super easy and fun family craft idea that also looks great as a holiday decoration? Check out how cool these homemade chalk tree cones are!
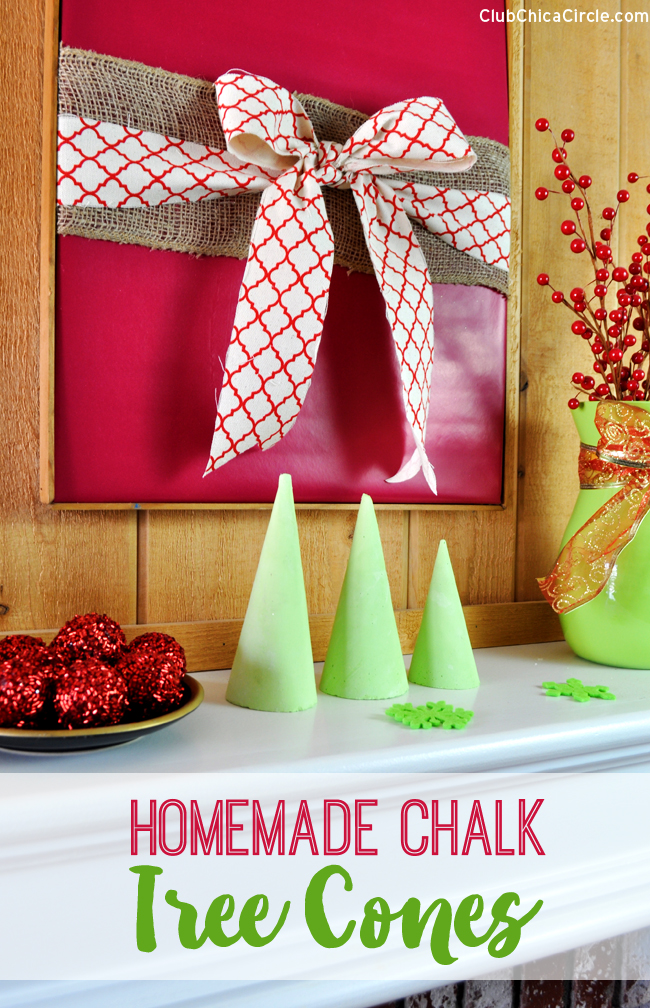
These look fabulous on our mantel.They are modern, yet cool and crafty.
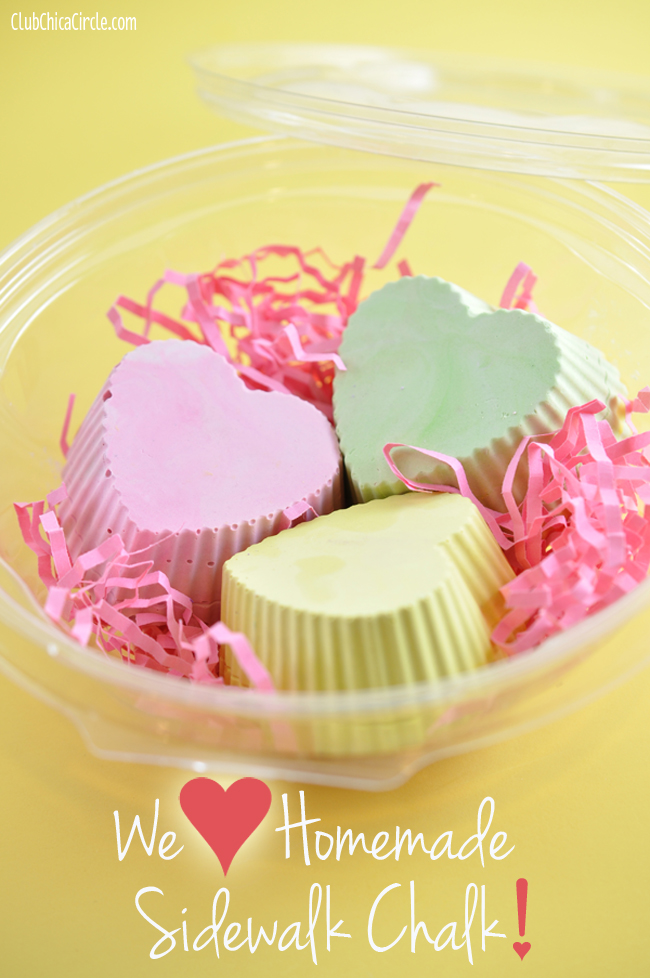
I’ve made homemade chalk before for Spring in fun shapes, but this time I wanted to make modern colored green chalk trees.
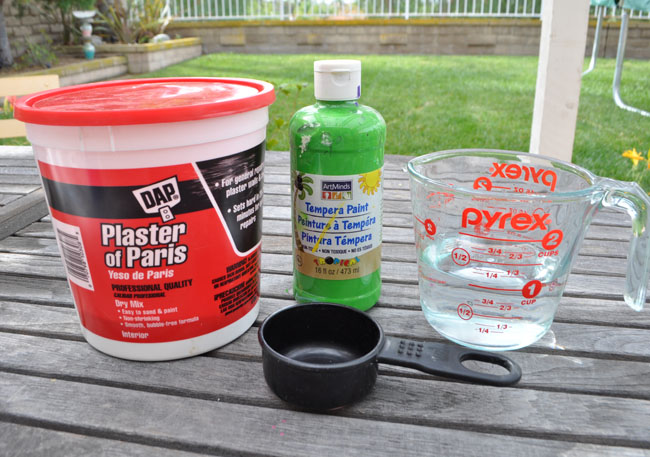
Here is what I used:
- Plaster of Paris (I found mine at my local Michaels)
- Green tempera paint
- Water
That’s it—3 ingredients!
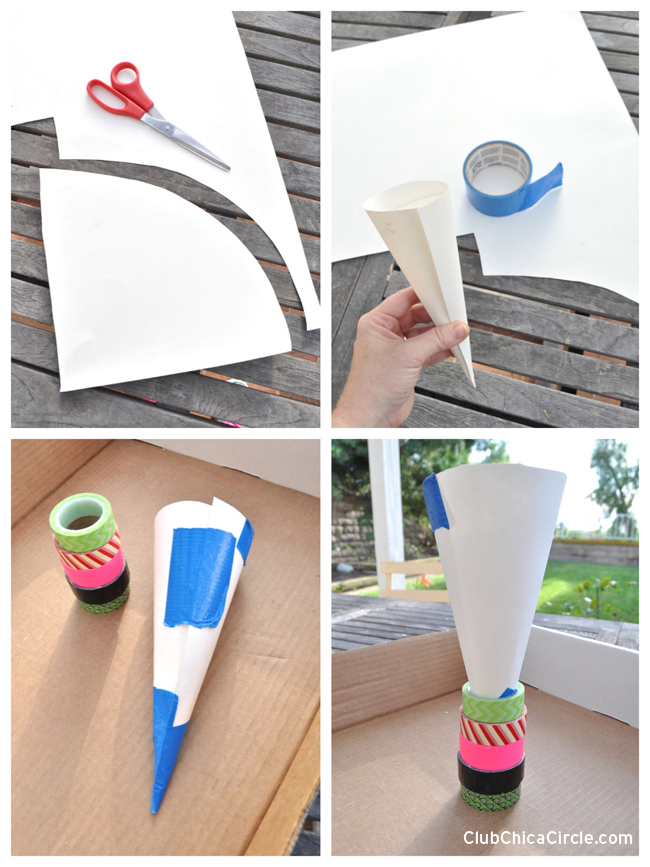
Next, I needed to make a template for my tree cones.
I used a sheet of posterboard, duct tape, and scissors. First, I cut a shape that looked like a 1/4 of a pie shape. Then, I twisted into a cone shape and secured it with duct tape. I secured the pointed end and seam. And then before I used my paper cones, I needed to make sure it could stand upright. I used 5 rolls of washi tape as a makeshift stand. = )
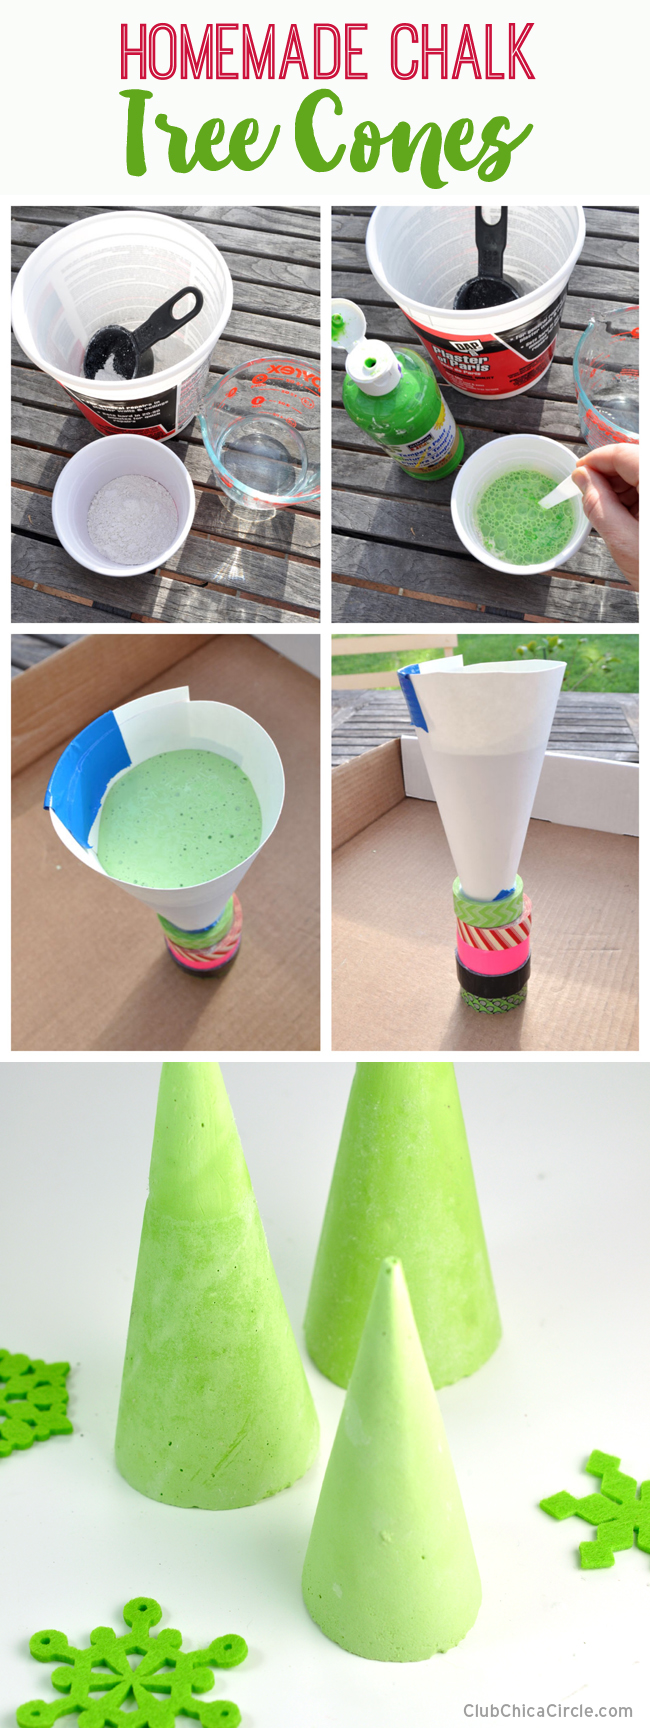
Now, it was time to concoct my chalk mixture. Plaster of Paris is really easy to use. With a 2:1 ratio with two parts Plaster of Paris and one part water. I used approximately 1 cup of Plaster of Paris to 1/2 cup of water, and I used a couple squirts of green tempera paint to color my homemade chalk.
I stirred my concoction in disposable cups until all the color was incorporated. Then I poured my mixture into my paper cones. It took a couple of hours for my chalk to harden before I peeled away the paper cone for each.
Voila—pretty homemade chalk tree cones!
And the best of all, not only are they cool and fun holiday decorations, if you live in an area that doesn’t have snow on the ground, these festive decorations can actually be used as chalk! No joke!
Have fun making your own chalk trees.

