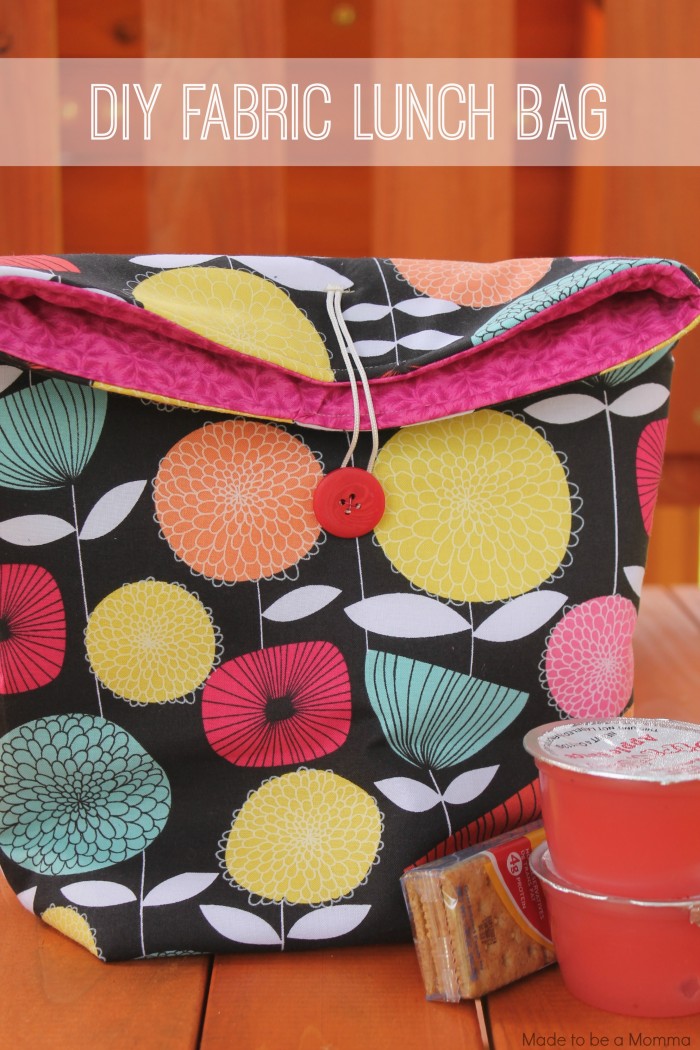
Hi Club Chica readers! It’s Katie from Made to be a Momma again. Today I am sharing my last post of the summer! Its been fun hanging over here! I wanted to share a super simple and fun tutorial for a simple fabric lunch bag! It’s the perfect back to school project!

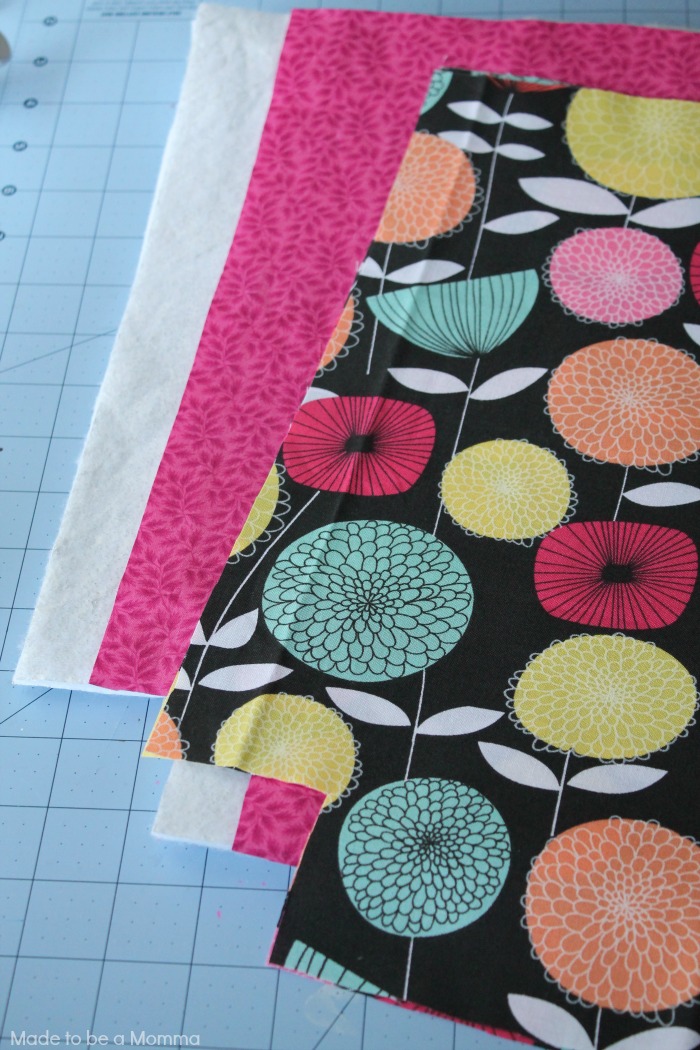
First you will need to cut out two main pieces of fabric, two lining fabric pieces and two batting pieces that all measure about 10 inches by 12 inches. Cut out a 3 inch square out of the bottom of each piece.
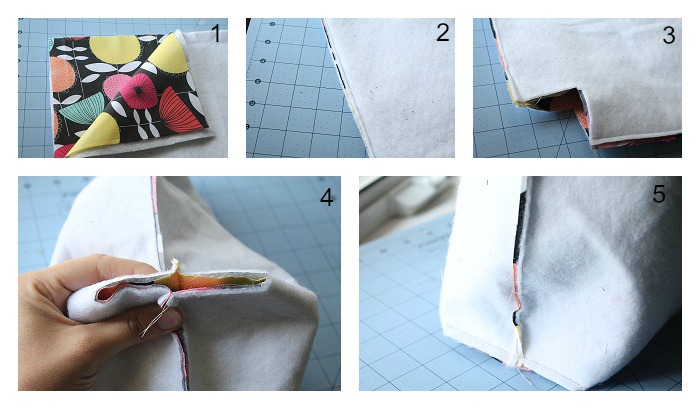
 1. Lay your two main fabric pieces right sides together with the batting on the outsides of the fabric.
1. Sew down both sides until your reach the square. Sew the bottom of your bag.
3. Place your fabric pieces together so your square lays flat.
4. Sew it closed.
5. You should know how a box shape. 
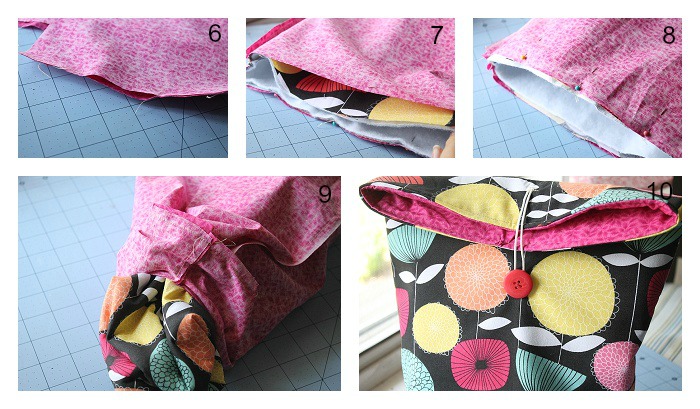
6. Repeat steps 1-5 for the lining piece except you need to leave a three inch gap in the bottom of your lining.
7. Insert your main piece into your lining piece making sure the right sides are together.
8. Pin your pieces together and sew across the top.
9. Pull your bag through the hole in your lining. Sew your opening closed.
Your done!
Happy Crafting!
You can also find Katie here on Facebook / Pinterest / Instagram / Twitter / Google+


1 comment for “DIY Fabric Lunch Bag”