Ever since I came across this pin on Pinterest, I knew I had to try it this crafty experiment. If you mixed Elmer’s Glue and shaving cream together, would it truly make a cool snow paint that still dries puffy? I’m always up for trying new things, especially when it comes to crafting, and with the holidays around the corner, what a perfect time to be adventurous.
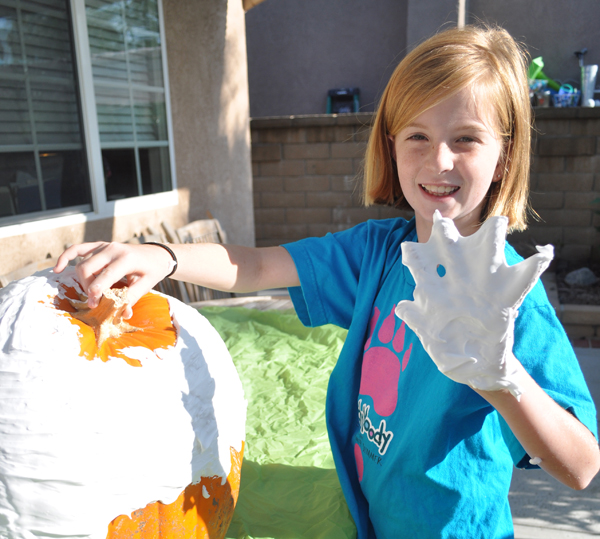
I grew up with snow in the winter as a child. And I have many fond memories of growing up when the snow outside was the perfect height and the winter temperature was just warm enough to play outside (in head-to-toe snowsuits of course) and dig tunnels or build snow forts in our front yard. Raising my tween in Southern California, she hasn’t had that much exposure to snow. But I still love building snowmen – I just am doing it with a little craftiness this time. Below is my teaser for part 2 of this post. = ) stay tuned….
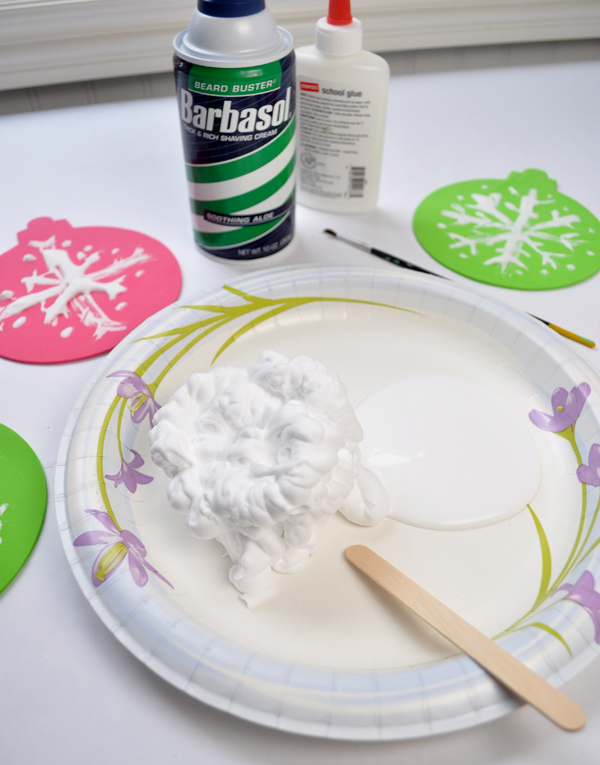
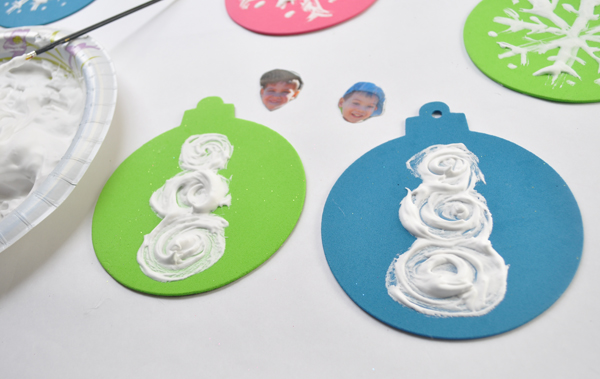
For now though, back to “Adventures in Snow Paint” Part 1. This truly was a crafty experiment. I would have never thought to mix shaving cream with white school glue, but that is where this adventure begins. I mixed about a 50/50 ratio of glue to shaving cream on a paper plate using a popsicle stick to mix.
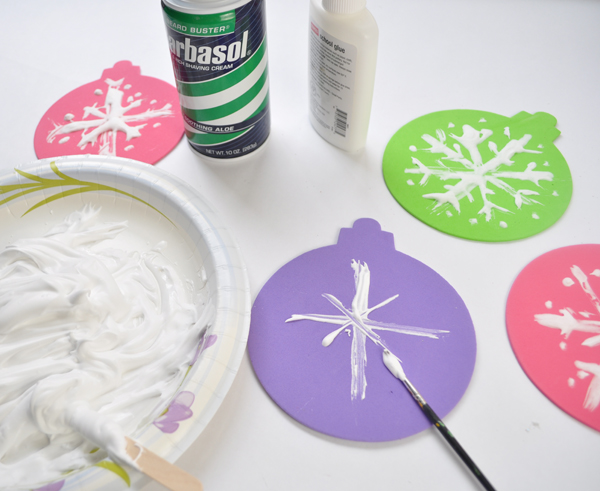
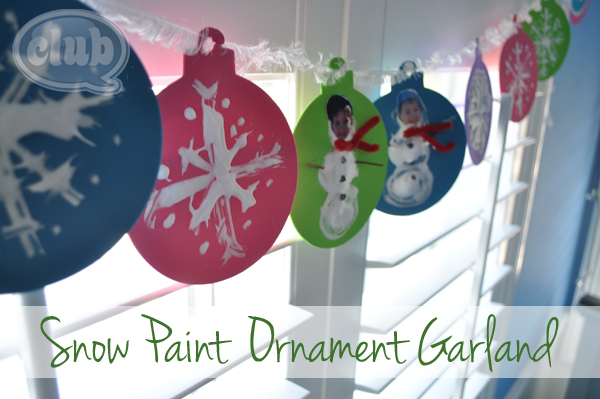
Then with a small paintbrush, I painted snowflake designs onto colored ornament foam shapes that I found at my local craft store.
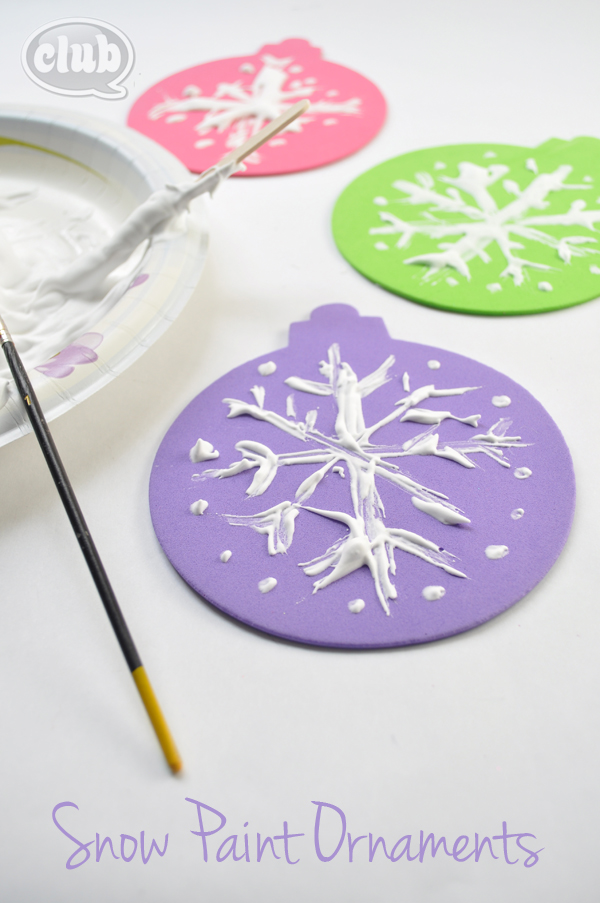
The snowflakes are almost 3-D on the ornament shapes. You will not get perfect snowflakes from this technique, but it will look like a fresh giant snowflake has just landed on your ornament. The coolest part is that it does indeed dry puffy, and feels soft to the touch when dry.
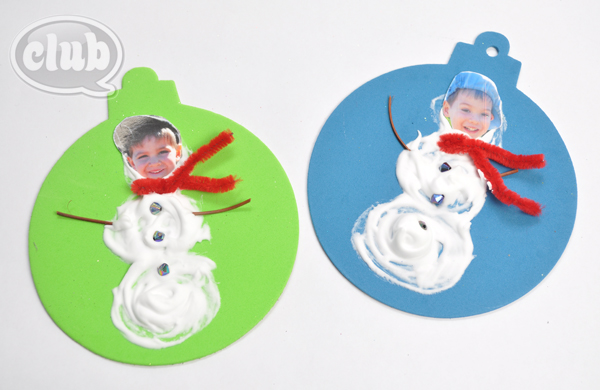
But, I couldn’t stop there. For a little fun, I printed out recent pictures of my nephews and trimmed out just their heads. I “snow painted” a snowman shape on two foam shapes and created little mini snowmen.
Then, I placed their cut out heads at the top, added pipe cleaner scarves, black beads for coal, and little sticks for arms. Hee-hee, I just want to eat them up they are so cute!
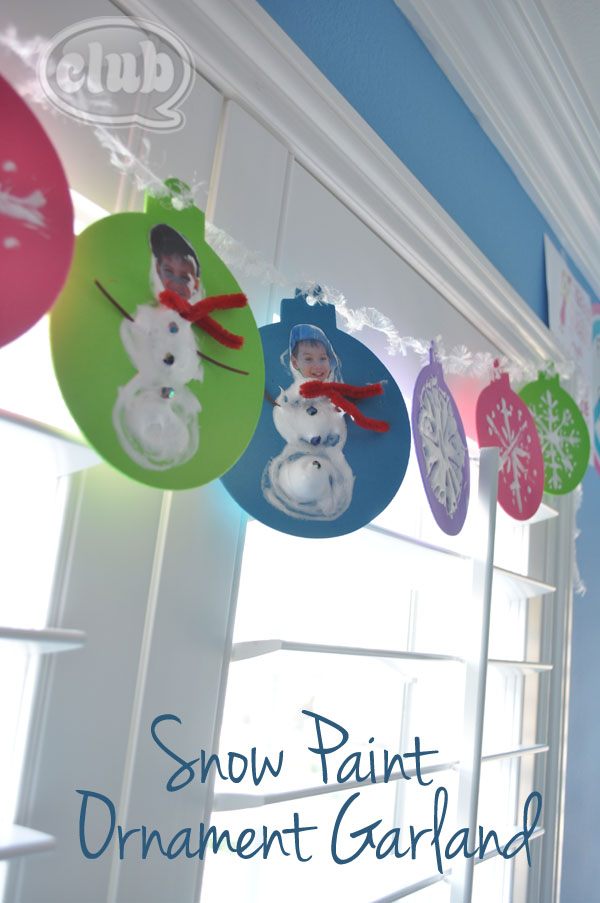
Then, I punched holes at the top and strung them onto some cute fuzzy white yarn. It made a perfect festive hanging garland for my tween’s room.
Lovely! Have fun making your own “snow paint”. Happy crafting.
Stay tuned for snow paint part 2… = )
If you liked this post, and want more, you can subscribe to be on our mailing list here.



8 comments for “Crafty Adventures in Snow Paint – Part 1”