I was thrilled when I was recently asked by DecoArt to try out one of their new products. Chalkboard paint is all the rage in the crafting world, but I had never heard of a clear coat that can be used on many different surfaces. The Clear Chalkboard Coating can be applied on top of painted surfaces without changing the color. Imagine the possibilities!
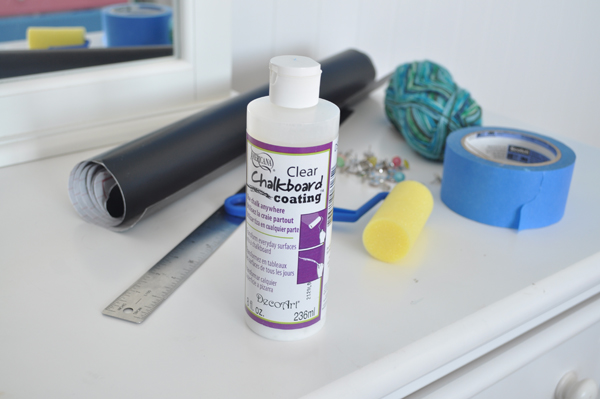
My first project I tried was to create a wall calendar for my tween’s room. She already has pretty colorful walls, so I thought the Clear Chalkboard Coating was a great way to create a chalkboard coating with changing the color of her pretty blue wall. I grabbed my bottle of Americana Clear Chalkboard Coating from DecoArt, painters tape, a roller sponge brush, and a ruler. For the completed wall craft, I also grabbed some cute push pins, ribbon, and chalkboard contact paper.
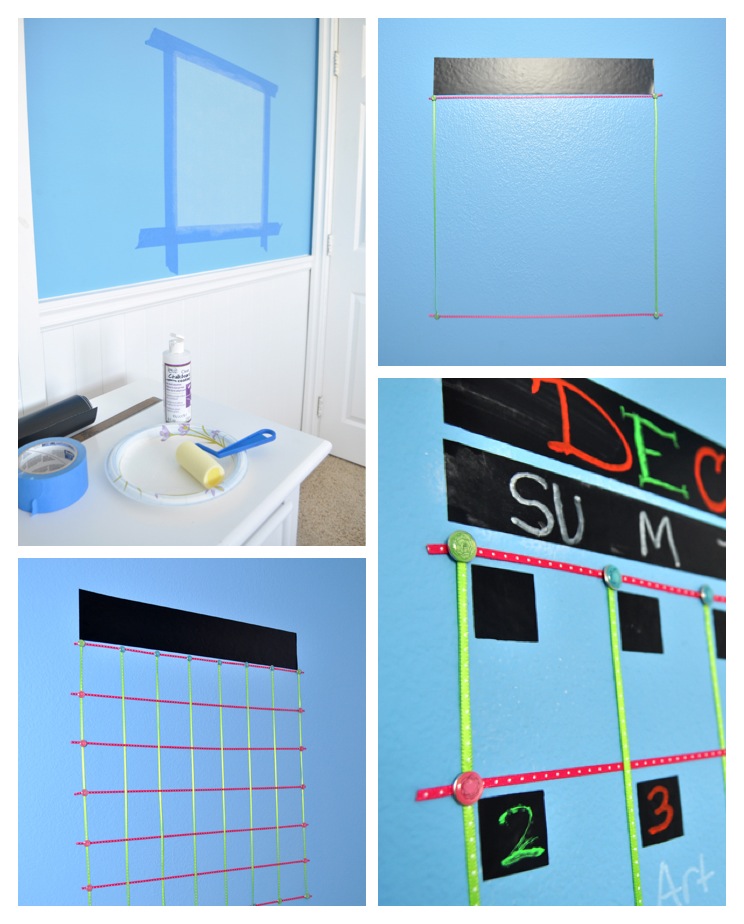
Then I measured and sectioned off the area for the chalkboard calendar. I used painters tape to make a clean edges, and applied the Clear Chalkboard Coating with the roller sponge brush. The directions on the bottle said to apply an even coat horizontally, let dry for an hour, and then apply a second coat vertically and let dry again. The coating then needs to cure for 24 hours.
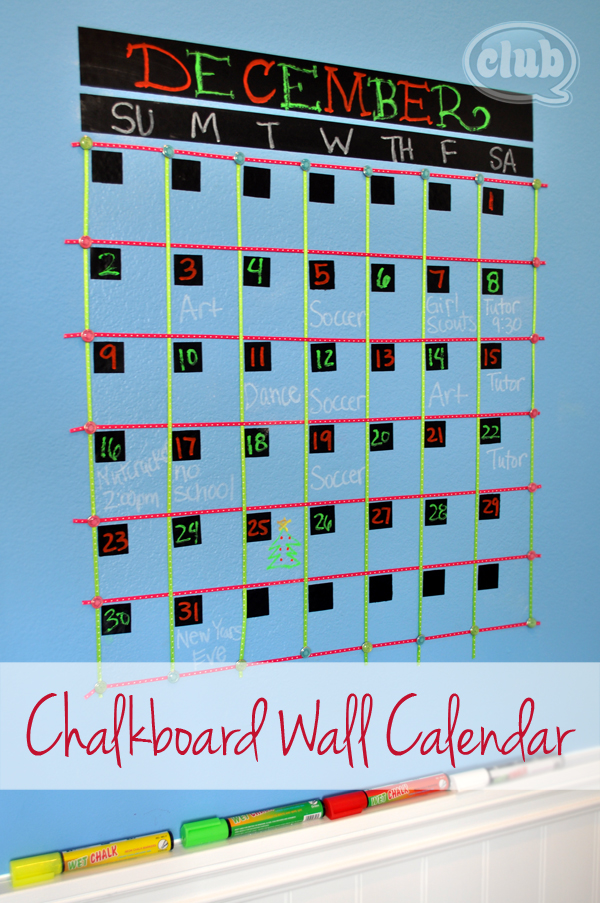
After it was dry and set, I created the wall calendar, by measuring and sectioning off calendar squares with 1/8″ ribbon and securing them to the wall with coordinating push pins. I complemented the wall calendar using chalkboard contact paper to create a month box, day of the week box, and number squares which I applied directly to the wall.
We used wet chalk markers to fill in the calendar, and to make it even more colorful. Keep in mind though, the wet chalk doesn’t come off of chalkboard surfaces as easily as regular chalk does.
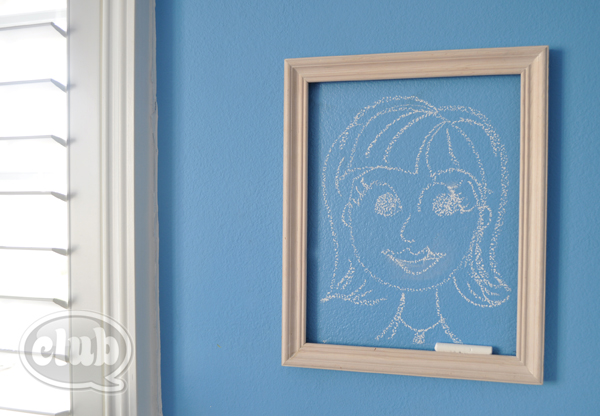
After I finished the wall chalkboard wall calender, I couldn’t just stop there. On another section of my tween’s wall, I painted another rectangle the size of an empty open frame I had on hand. My tween was so excited to be able to draw right on her wall, and I wanted to give her a bigger space than just the calendar walls to work with.
A piece of chalk rests really nicely right on the bottom of the open frame. Now, she can create new art on her wall everyday if she wants to, and it looks like a cool wall decor accessory.
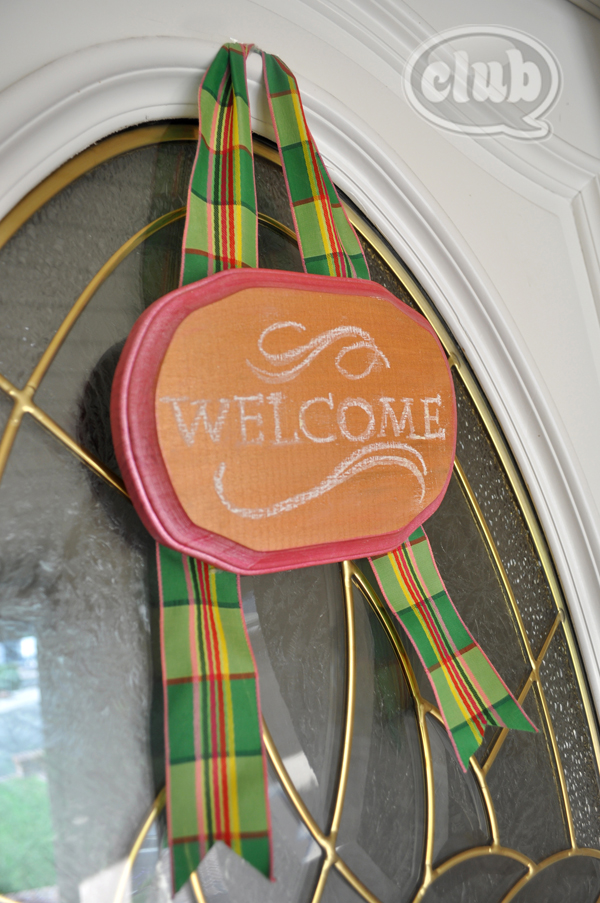
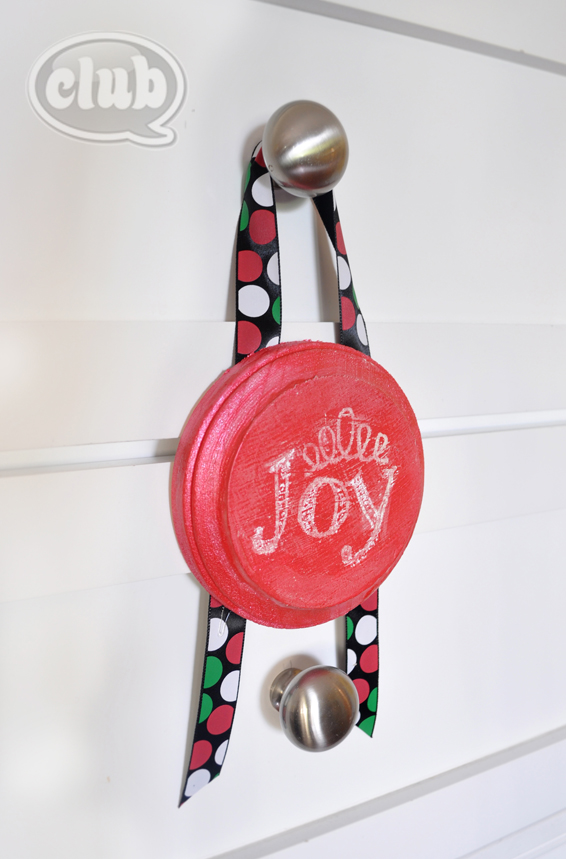
Besides tween wall decor, I wanted to try it on other surfaces than walls. I painted some wood plagues that I picked up at my local craft store. Then applied the Clear Chalkboard Coating right on top after the paint was dry. Voilá! I added some pretty coordinating ribbon to them to complete the door or wall hangers craft. I love that I can customize and change them as I please.
I made a welcome sign for our front door:
And I made a cute holiday inspired wall hanger for indoors:
I found this really cool tutorial on how to make fancy chalk lettering on Pinterest, and it worked out perfectly!
Thanks DecoArt for letting me try out this cool craft material. Two thumbs up from me!
If you liked this post, and want more, you can subscribe to be on our mailing list here.

