Hello everyone! I am so happy to be here again sharing another craft with you. My name is Marti and I blog over at Sewlicious Home Decor.
Easter is approaching fast and it’s one of my favorite holidays because I love everything bunnies!
So today I wanted to share with you a tutorial on how to make a cute bunny embroidery hoop.

For the supplies you’re going to need:
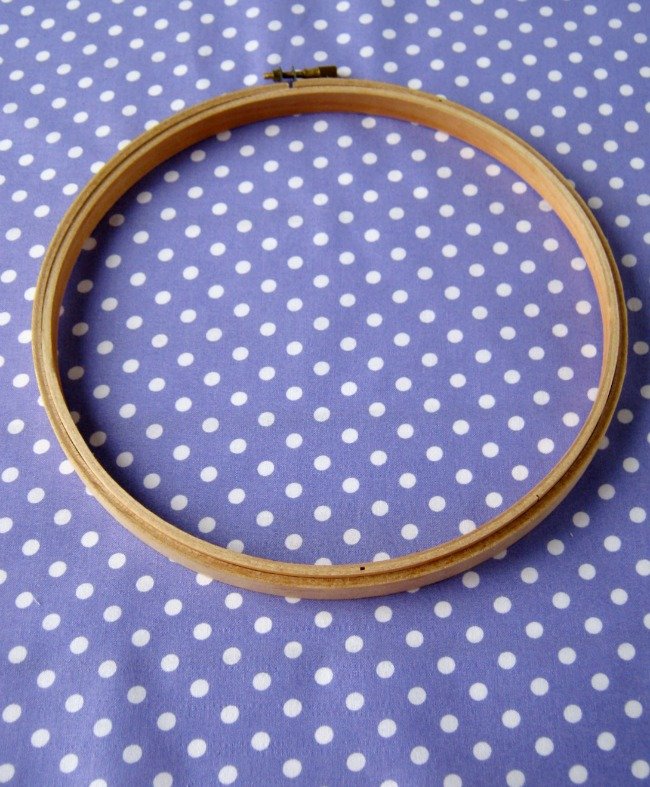
1 Embroidery hoop
Fabric-2 Contrasting colors
A bunny cookie cutter or template printed off
Lace
Pellon double-sided fusing
Hot glue gun
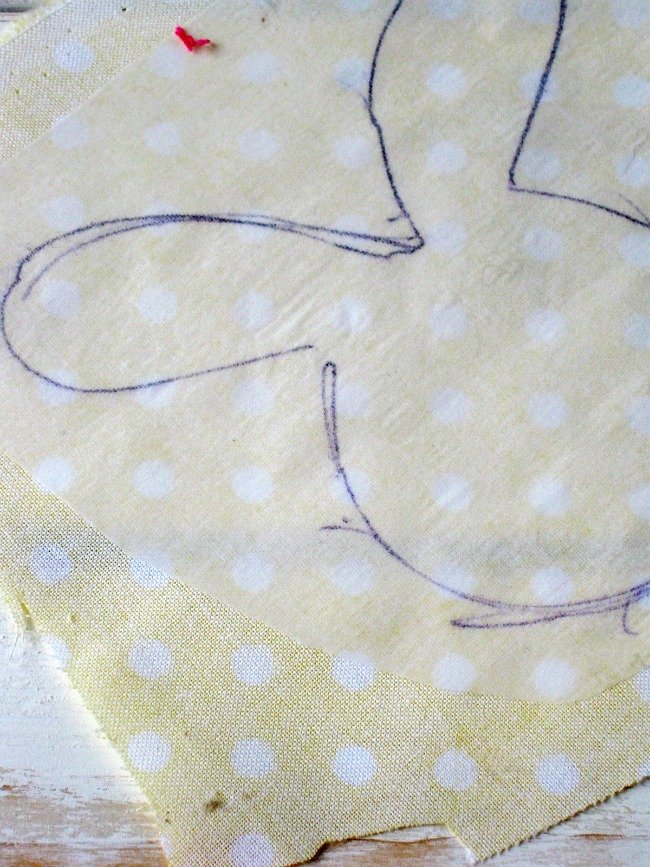
Trace your bunny on the wrong side of the fabric.

Iron the wrong side of the fabric to the Pellon fusing. Your Pellon fusing will have one side that is paper. Place the Pellon onto your fabric so that the paper is facing up and iron over the paper to adhere the fabric to the Pellon.
Cut out the bunny after your have ironed on the Pellon.

Place your hoop on your contrasting fabric. Cut out a square allowing a couple of extra inches on all sides.
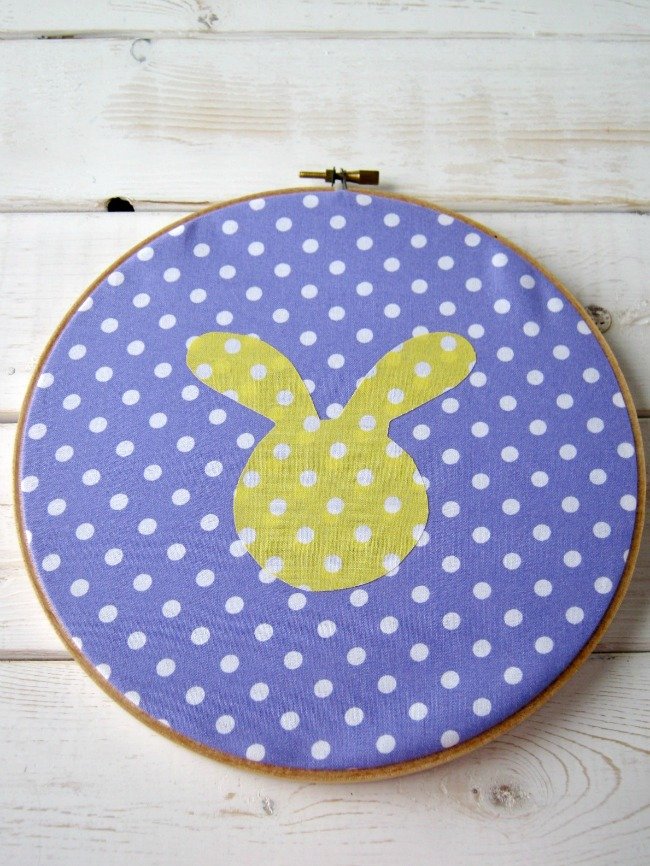
Find the center and peel off the paper of your Pellon adhesive and iron over the bunny so that is will adhere to the center of the contrasting fabric.

Now take your bunny to your sewing machine and sew a zigzag around the edges of the bunny.
Or…If you forget this step and already have assembled your hoop you can still place hoop and all under the sewing machine to sew the zigzag….like I did! LOL
Pick up any extra thread by sliding a hair roller onto a lint roller!

Separate your hoops and place your fabric over the larger hoop then secure it in place with the other hoop.
Cut off the access fabric.
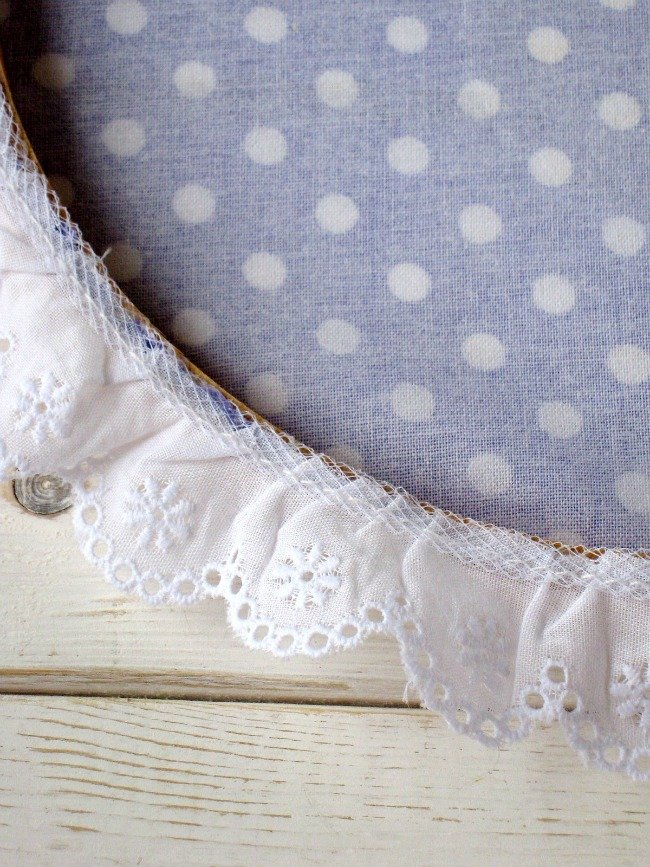
Hot glue your lace to the edge of the hoop.
Until you have glued on the lace all the way around the hoop.

Add a ribbon on top and a white pompom to the bunny and you are done!

Here’s a few other Easter projects you may enjoy!
It was a pleasure being here today!







1 comment for “Bunny Embroidery Hoop Wall Art”