Hey everyone! Give a big warm welcome to Alli Ward, the first in our Fall contributor features!
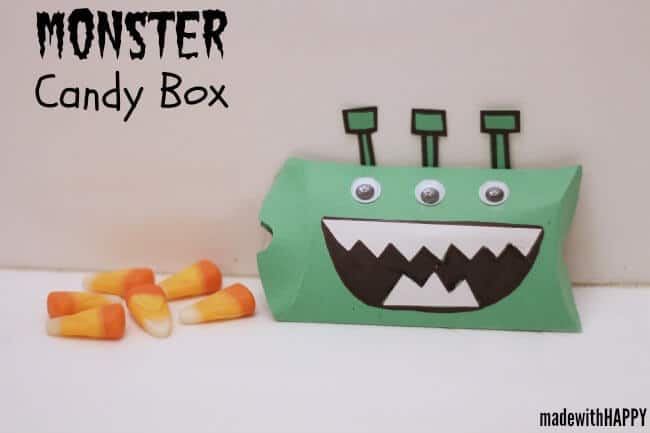
I absolutely love these super cute and easy monster candy boxes! So fun! They would make a great classroom or Halloween party activity or treat box. Love them!
~~~~~~~~~~~~~~~~~~~~~~~~~~~~~~~~~~~~~~~~~~~~~~~~~~~~~~~~~~~~~~~~
Hello! My name is Alli and I blog over at Made with HAPPY.
I so excited and extremely HAPPY to be contributing to Club Chica Circle today.
Today I’m showing you a fun tutorial for these little Halloween Monster Candy Boxes.
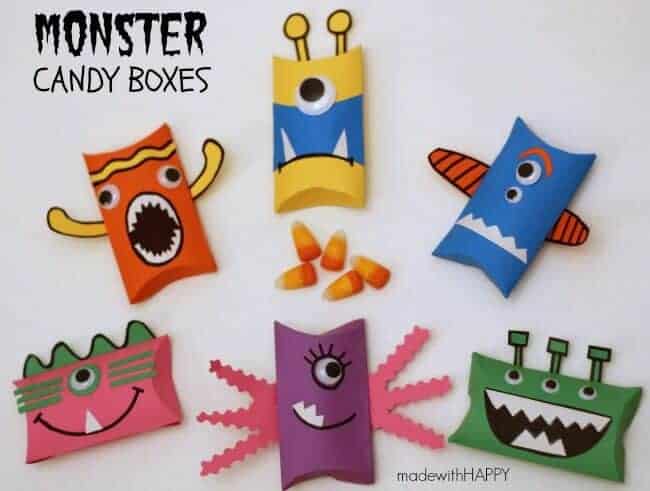
Over the last couple of years, my daughter and I looking for fun creative ways to hand out Halloween candy to her friends. This year, I was looking for a simple and crafty way to create a bag or box with supplies we already had at home. After some wracking of the brain, we came up with these fun little creatures. Here’s how we did it.
Supplies
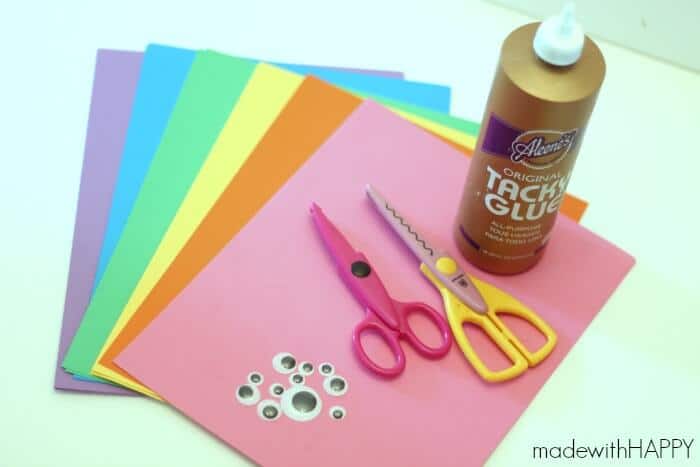
- Colorful Cardstock
- Glue
- Scissors (straight and decorative (optional))
- Googly Eyes
- Black Sharpie
- Candy – for inside boxes
Instructions
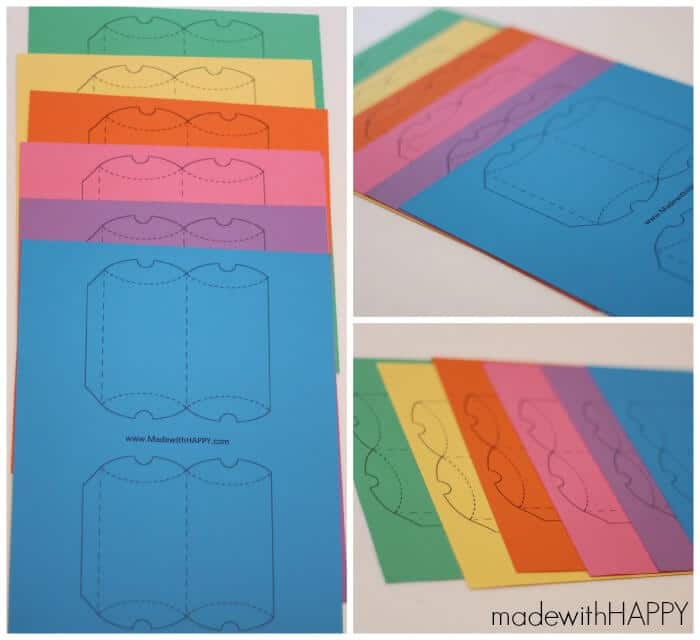
First start with with the pillow box template. I’ve created a simple template that you can find HERE where you can print two small boxes from one sheet of 8.5 x 11 letter size cardstock.
Once you’ve printed out your templates, cut along the solid line. The dotted lines represent folding lines. Just in case its not clear, you will be folding so the dotted lines are on the inside of your box, allowing for a clean outside to decorate.
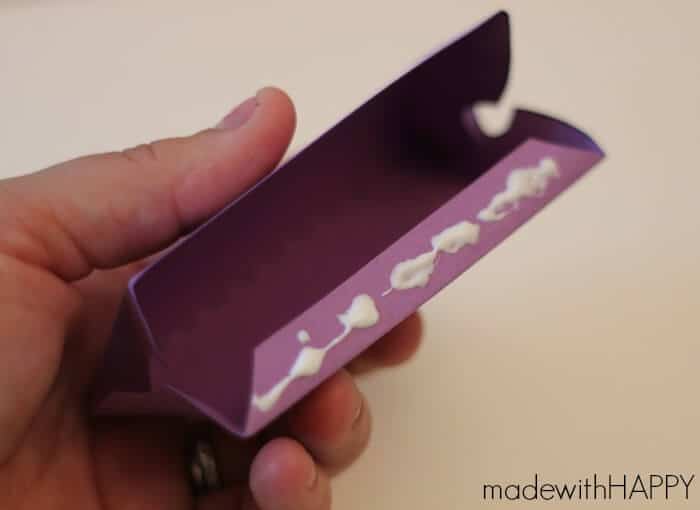
After you have your box folded and ready to go, add a few drops of glue to the side flap that will hold the box together.
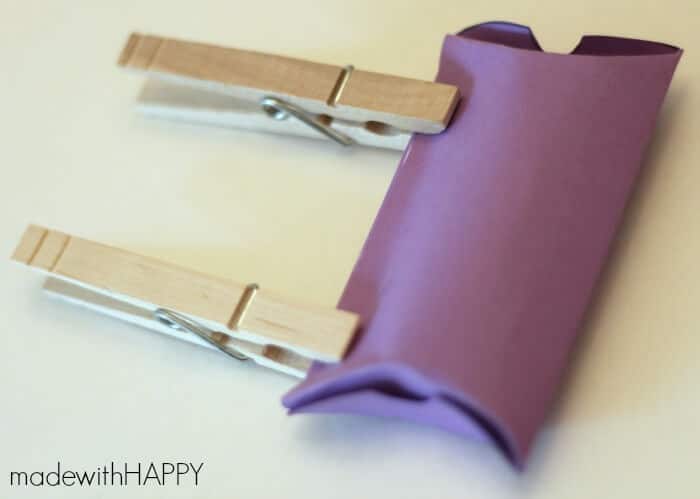
I used a few clothes pins to hold the sides together while the glue dried. After a few minutes of drying, you are ready to start decorating.
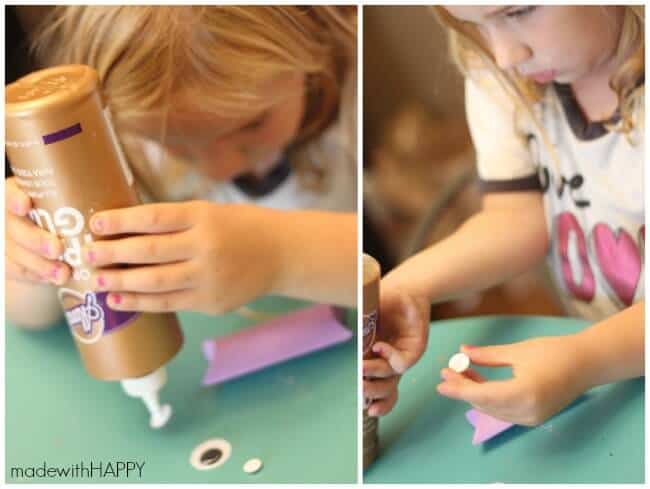
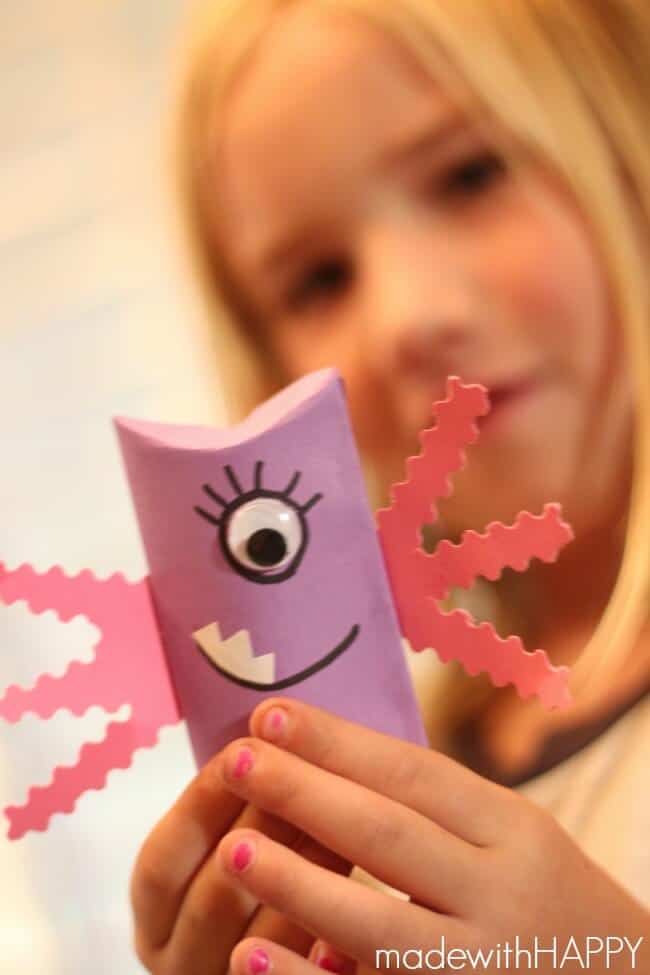
My daughter is 5 years old, so I helped her only with the cutting, but she was great at gluing and decorating.
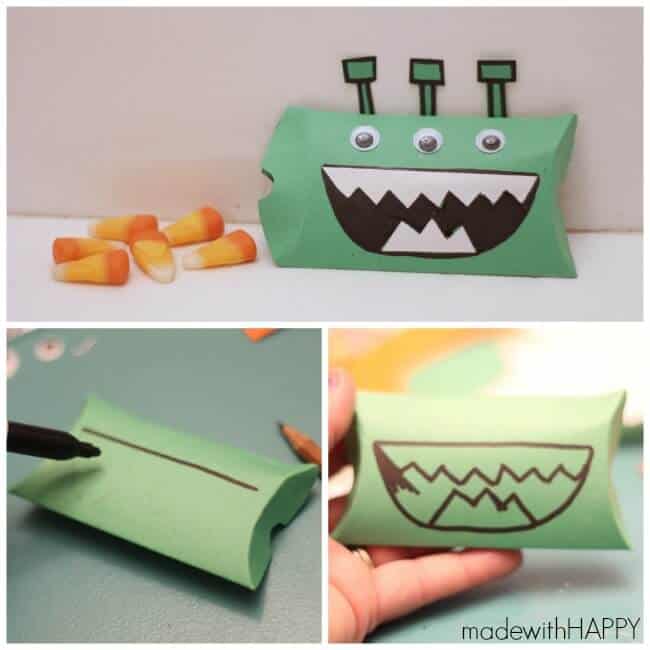
We used remnant pieces of paper left over from cutting the boxes out as well a one piece of whit paper which is fun for the teeth. P.S. I also heart a project with little supplies 🙂
For some of the fun mouths and teeth combinations, I recommend cutting out a fun design first, then using a pencil to outline where you’d like your teeth to be. Once you have that, use the sharpie fill in blank space before gluing the teeth on. Makes for some great expressions.
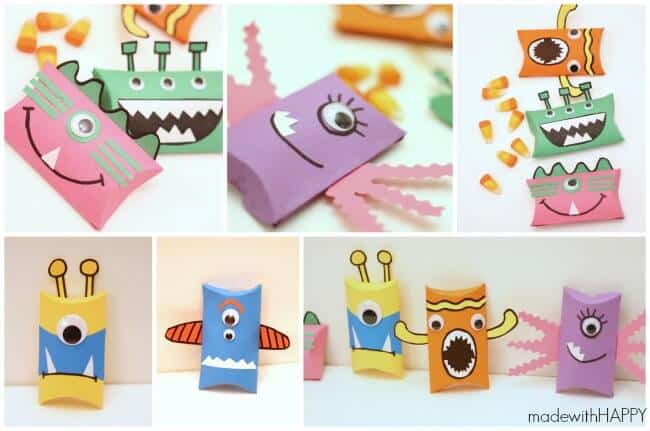
Add some candy and viola, you have yourself some fun little monster boxes that are way more cute than spooky, but fun nonetheless.
This is a great project to let the kids creativity and imaginations go wild. Festive, fun, simple and functional… everything I love about a craft project.
Happy Crafting!
~~~~~~~~~~~~~~~~~~~~~~~~~~~~~~~~~~~~~~~~~~~~~
You can also find Alli here on Facebook, Google+, Instagram, Pinterest or Twitter.



5 comments for “Monster Candy Box DIY with Free Printable”