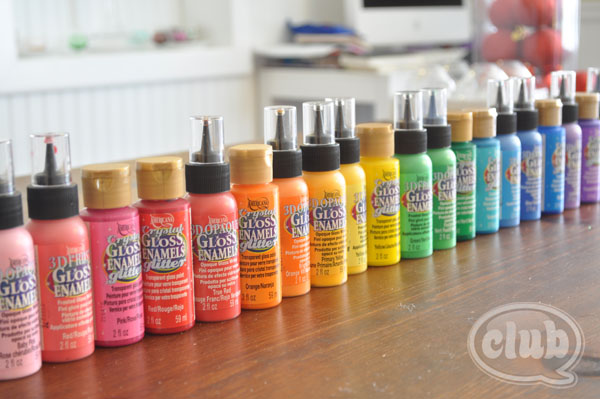
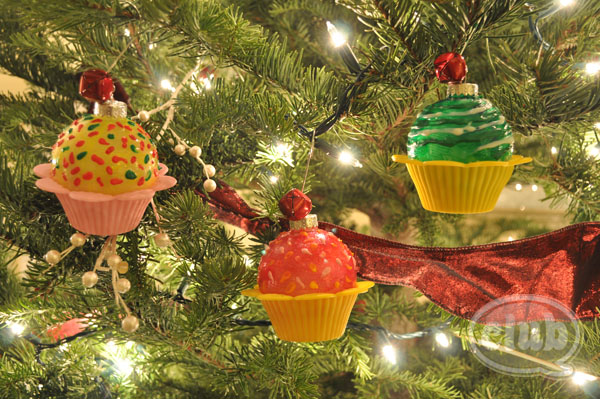
I was delighted when we were asked to join in the Twelve Days of Christmas fun from DecoArt. I jumped at the chance to try some of their new crystal gloss enamel glitter paints and 3D writers. I couldn’t resist making cupcake inspired ornaments using their paints. And since the paints come in so many lovely colors, my tween couldn’t resist lining them up all along the kitchen table in rainbow fashion.
For the cupcake ornament craft, I pulled a few of my favorite colors and of course the very festive red and green to work with. I wanted to make a variety of “cupcake flavors” for these ornaments.
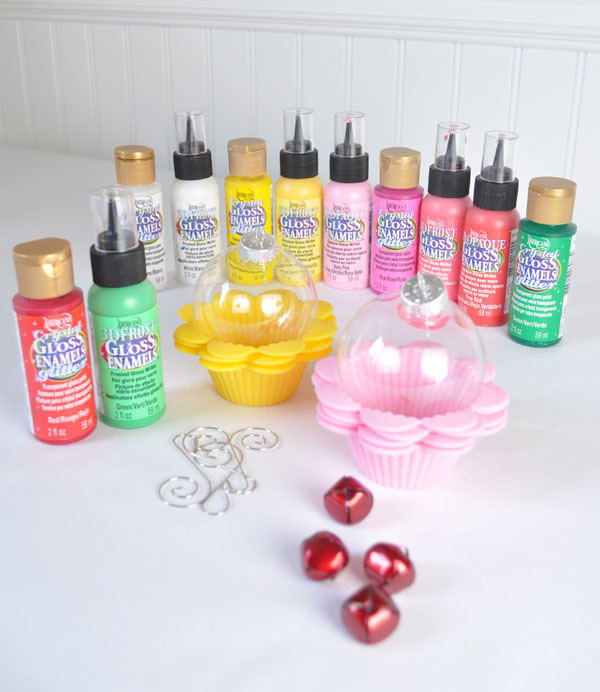
This is what I used to get started:
- DecoArt Crystal Gloss Enamel Glitter Paints ( I used white, yellow, red, pink, and green)
- DecoArt 3D Frost Gloss Enamel Writers which come with the perfect tip to use your paint bottle like a pen (I used white, pink, yellow, red, and green again)
- Clear glass ornament ball
- Silicone cupcake cups (I used these cute flower shaped ones)
- Ornament hooks
- Red jingle bells
I also used small sponge brushes to apply the enamel paint, and a glue gun to attach each ornament ball to the cupcake cup.
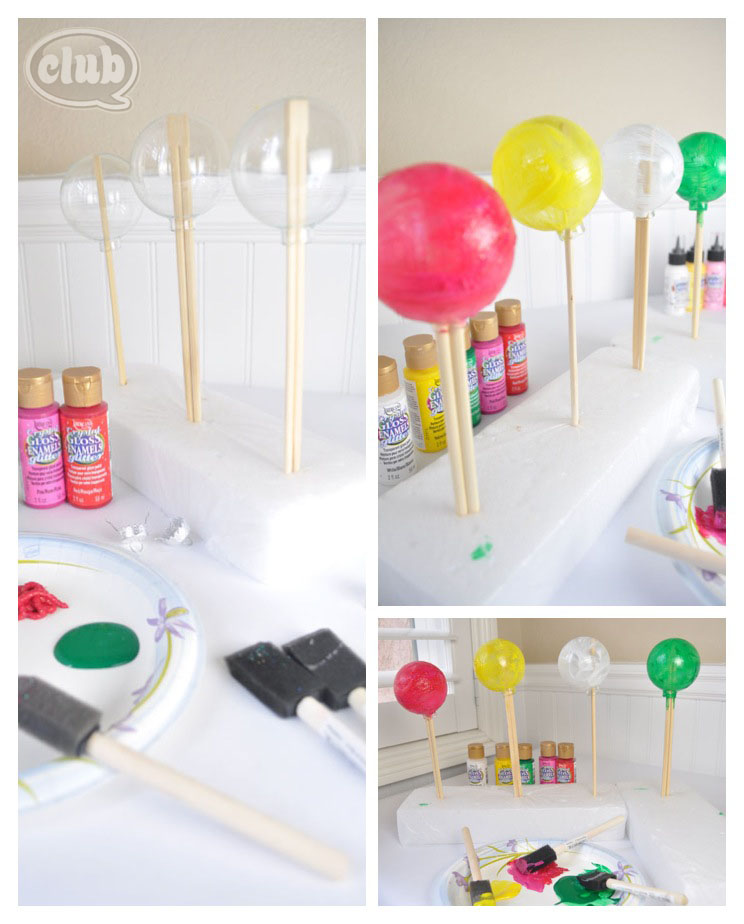
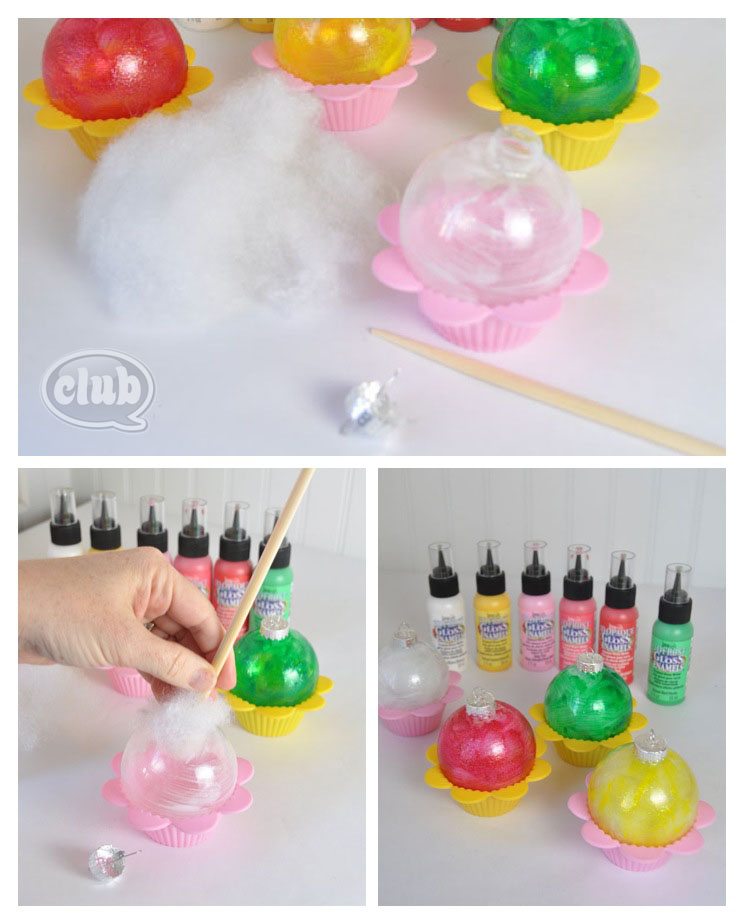
The first step in making your own cupcake ornaments is to paint your ornament balls with one coat of the crystal gloss enamel paints. So as to avoid fingerprints while painting, I rigged up a drying stand by sticking chopsticks into a foam block. I then took the top off of the ornament ball and hung each one upside down one each chopstick. I carefully held the top edge of the ornament (or in this case bottom) while applying a coat a paint with a spongebrush. I painted one white, one yellow, one green, and I swirled the red and the pink together on the last one.
Then you will need to let them dry completely before moving on to the next step of adding cupcake decorations.
After they were dry, I wanted the ornament balls (or cupcakes) to feel more solid so I filled them with batting that I had on hand. The chopsticks came in handy again as I pushed in enough batting to fill each ornament. I then replaced the tops again and placed each onto a silicone cupcake cup. The cups act as a handy stand to hold your ball steady for the next step, and also show you exactly how much ball you have left to add your decorations to.
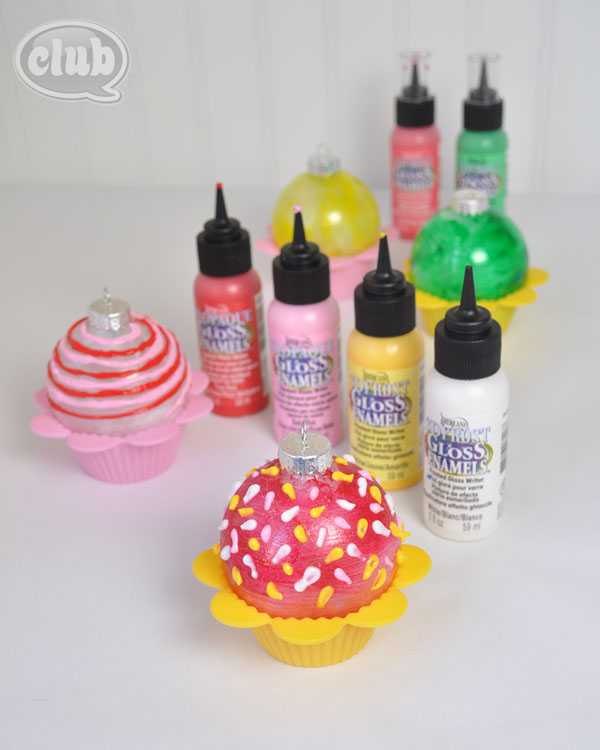
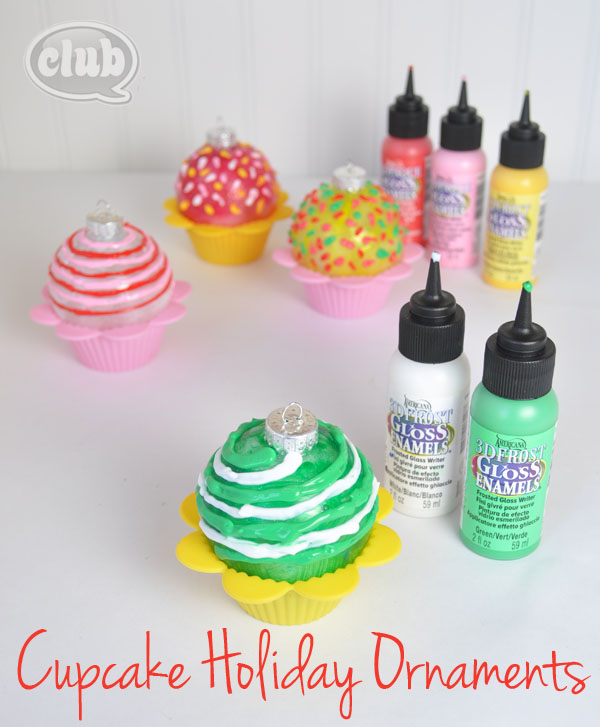
The next step was my favorite part – adding the sprinkles and cupcake decorations. I played around with the colors on each, making swirls on a couple and simple colored sprinkles on the others. I love the 3D effect these paints give, and the tip on the top of the bottle let’s you use it like you would a pen. Now it is time for another dose of patience as you let this step dry completely again.
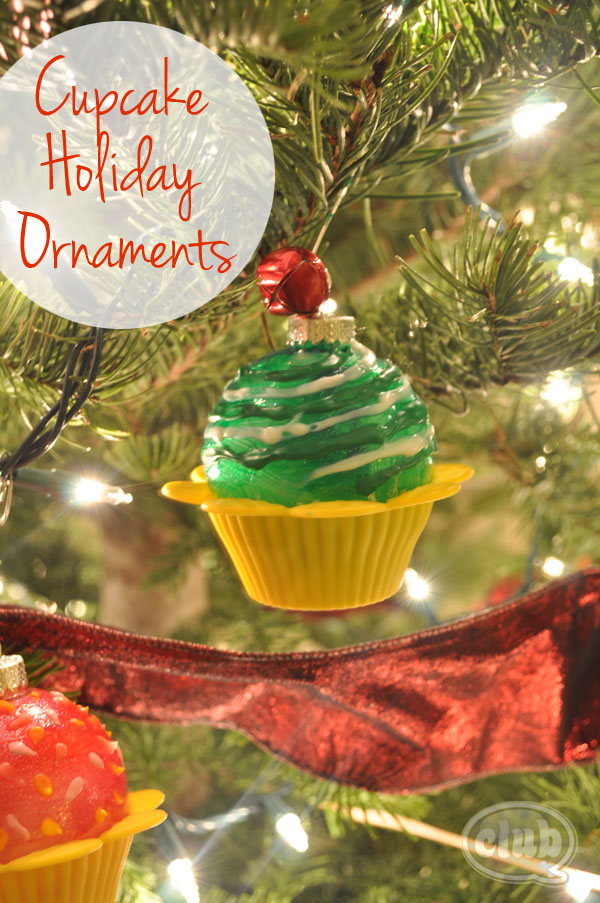
After the decorations were all completely dry, I attached an ornament hanger at the top while also attaching a red jingle bell to act as the “cherry” on top of each cupcake. Finally, I glued each cup to each ornament using a glue gun. I love how these turned out. They look yummy enough to eat and absolutely delectable on a tree!
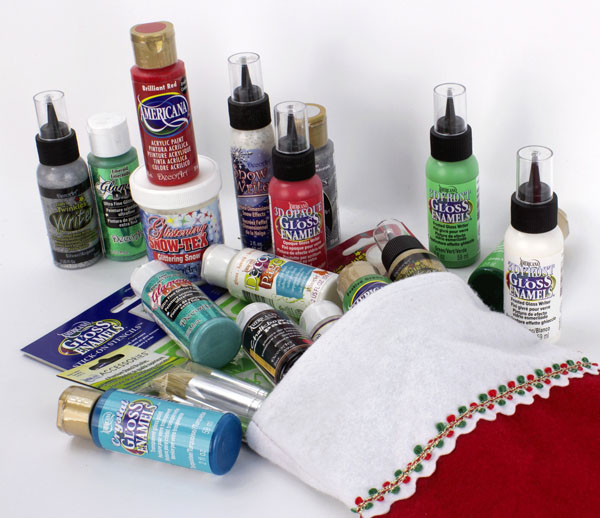
But the real treat is that we are also hosting a giveaway. DecoArt is giving away a stocking FULL of paints and a variety of DecoArt products – perfect to get you started on some of your own crafty projects. One lucky reader will receive this great prize. Contest ends one week from today. Enter below and happy crafting!
a Rafflecopter giveaway
If you liked this post, and want more, you can subscribe to be on our mailing list here.



12 comments for “Cupcake Ornament DIY and DecoArt Giveaway”