Before there were Harry Potter and JK Rowling to inspire our kids to love to read, there was Dr. Suess! The many memorable characters, fun limericks and illustrations in each book that Dr. Suess penned have inspired and made reading fun for many generations.
March 2 is the birthday and a day of celebration to honor the creative man behind some of the most treasured books and quoted lines in children’s literature. Happy Birthday Dr. Suess! We will forever love your green eggs and ham, how the grinch stole Christmas and our hearts, and that crazy cat in a hat!
It’s Craft Lightning time again – this time it’s all about Dr. Suess. If you liked our last two Craft Lightning projects—Holiday Hair Pins or Easy Valentine’s Decor—then you are sure to love this one. For those of you who are new, Craft lightning is a collection of craft ideas that you can do in under 15 minutes (not including drying time), and I’m pleased to be a part of the Dr. Suess edition.
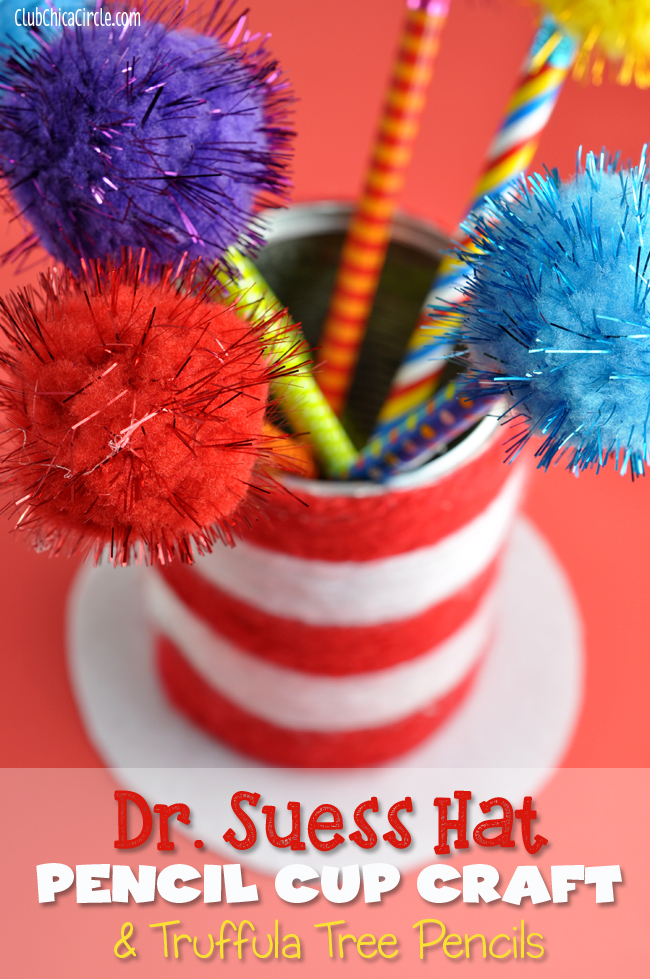
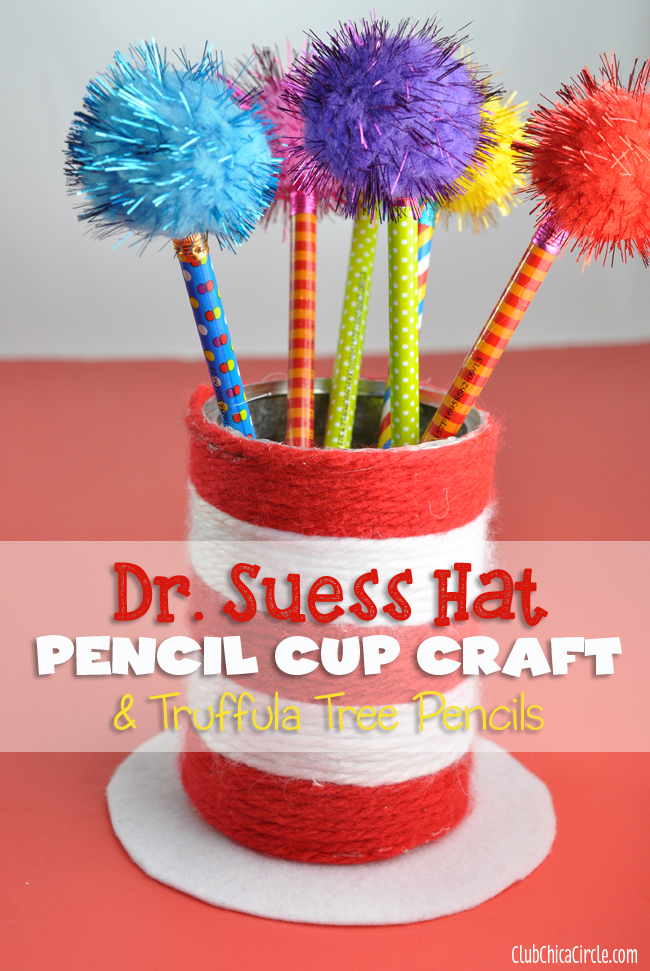
Today, I’m showing you how to turn a recycled aluminum can into a cute Dr. Suess Hat Pencil Cup—and as a bonus—with Truffula tree pencils!
I used the simple wrapped yarn technique on the outside of my can to create the iconic Dr. Suess hat pattern.
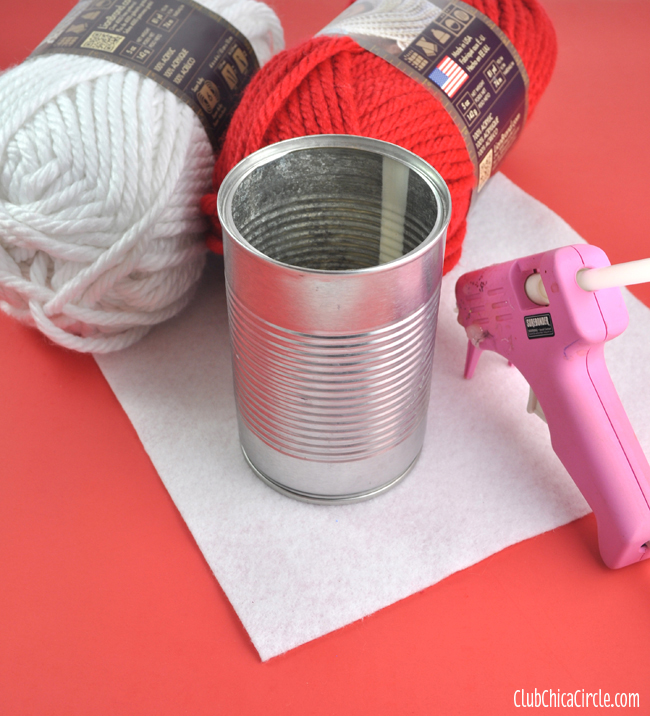
Here are the supplies I used:
- Recycled can clean and dry with label removed
- Red and white yarn (I used thick 5oz yarn)
- White felt
- Glue gun
- Scissors
- Sharpie permanent marker
Here is how I made the wrapped yarn “Cat in the Hat” iconic Dr. Suess hat pencil cup:
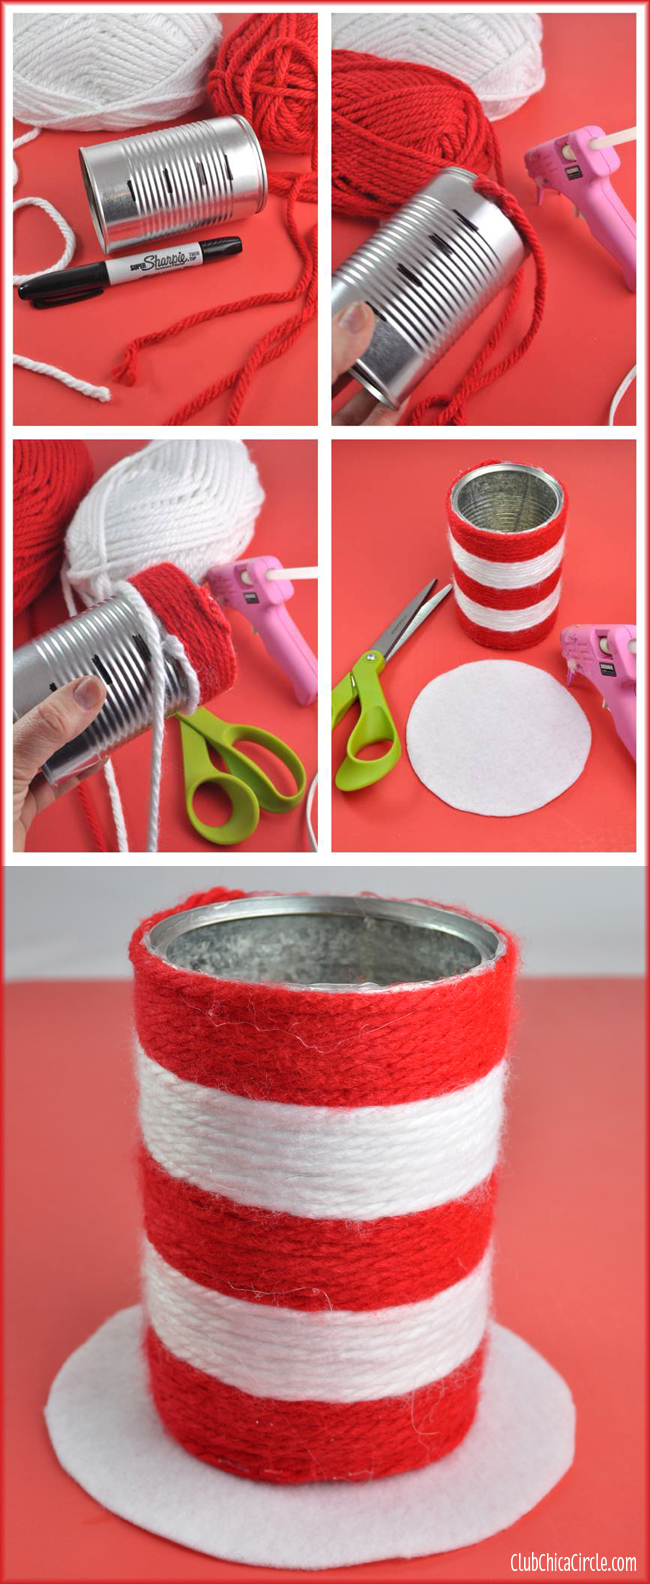
I started by sectioning off my can into 5 equal areas and marked notches on one side of the can with a Sharpie permanent marker. This gave me a guide to designate each colored stripe for the hat design.
Beginning with the red yarn at the bottom of my can, I squirted a little glue and attached the end of the yarn to it. Securing the first row is the most important. Once the glue is dry and the end of the yarn is secure, pull the yarn taut and continue to secure along the bottom of the can.
Then continue to wrap the yarn around the can tightly to form your first red stripe. I used the side of the can that I marked as the “seam side” or where I cut and glued the ends of each color yarn. After securing the red yarn, I started a new yarn wrap with the white and continued alternating colors up the whole side of my can, using my notches as a guide of where to stop and start the next color.
Then, just like the bottom row, I secured the top row with glue all around the top edge. BE CAREFUL if you are using a high temperature glue gun. The glue is hot when applying the ends of the yarn to the glue. You may want to use hot glue gun finger tip protectors.
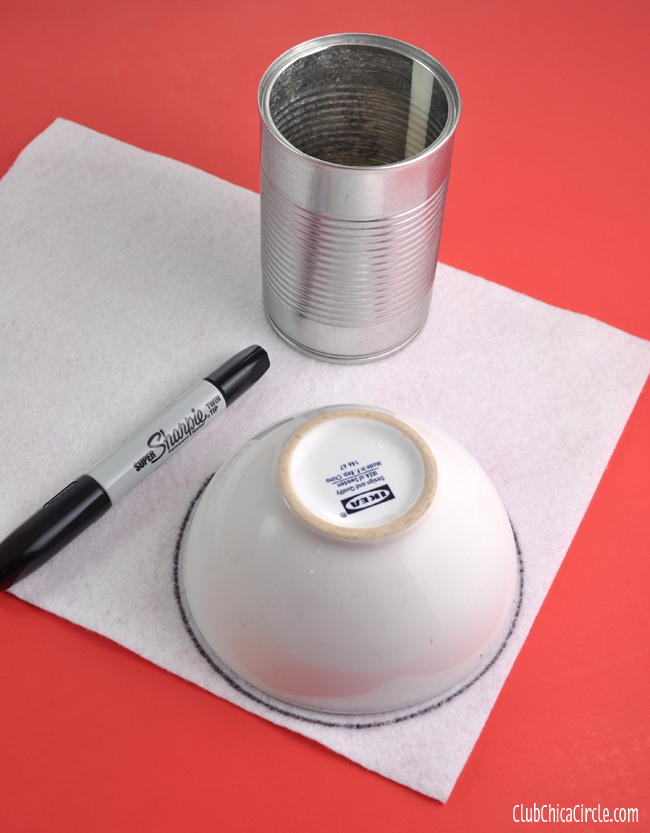
The final step is to add the white hat brim at the bottom. I cut a white circle out of felt and secured it to the bottom of the can with more glue.
To cut the circle, I used a bowl as a template that was about an 2″ wider in diameter than my can, so that my brim was about 1″ around the can.
Now, you can stop there and have the perfect Dr. Suess craft idea in honor of one of his most beloved characters.
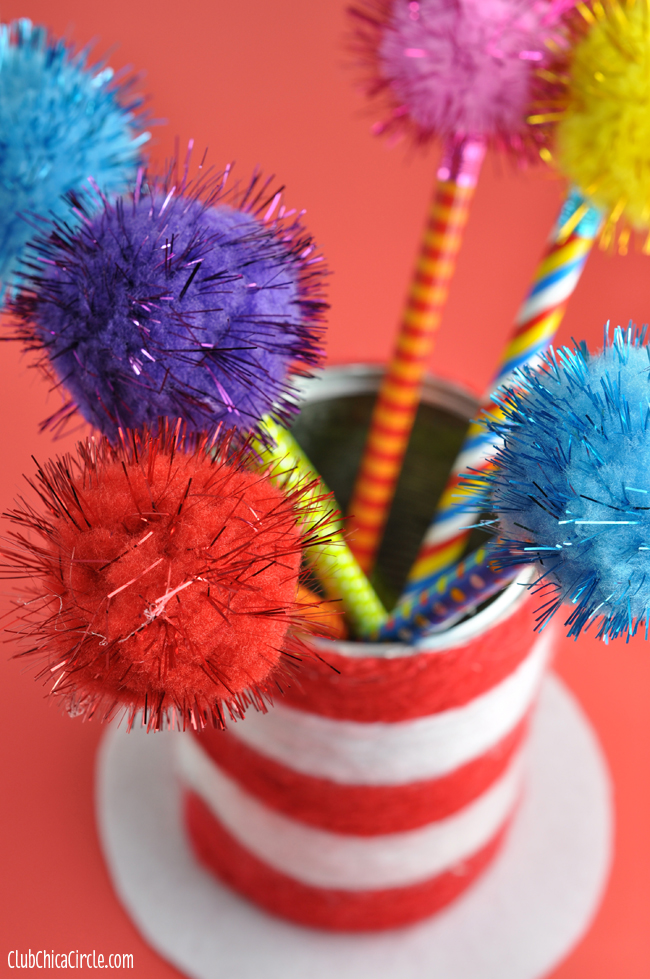
But I couldn’t resist making some Truffula tree pencils to inside. I found some fun patterned pencils in the Target dollar section, and used some fun large glittery pom poms from the craft section.
A little drop of glue from my glue gun to secure at the top, and voilá, Truffula trees disguised as pencils!
So cute!
This would make a great gift for a teacher, or just a fun craft to do with kids to celebrate Dr. Suess.
Happy Craft Lightning Crafting!

If you liked this post, and want more, you can subscribe to be on our mailing list here, and make sure to get your free Cupcake Toppers Printables for Every Occasion.
Feeling social? Follow ChicaCircle on Facebook or Twitter, and follow me on Pinterest or Instagram.



9 comments for “Dr. Suess Hat Pencil Cup Craft with Truffula Tree Pencils”