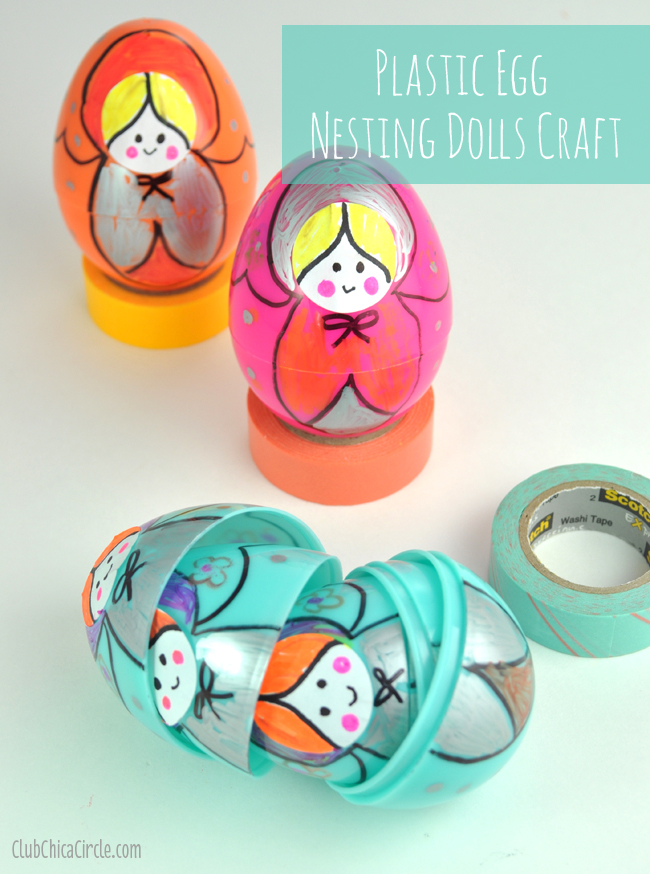
Yep, I am still crafting with plastic eggs. I know it is way past Easter, but I knew when I saw these “hide-n-seek” eggs in the stores I had to grab them up and craft with them.
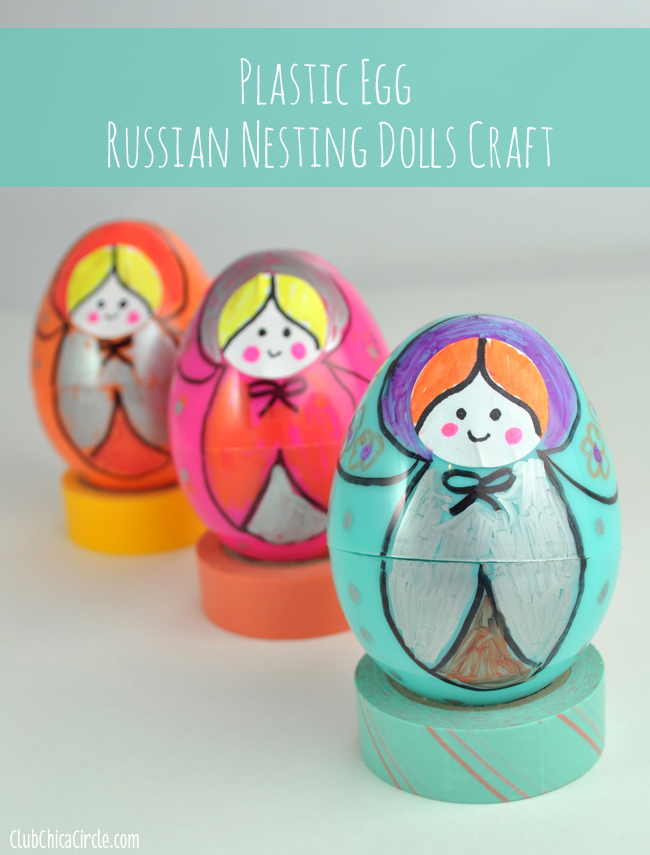
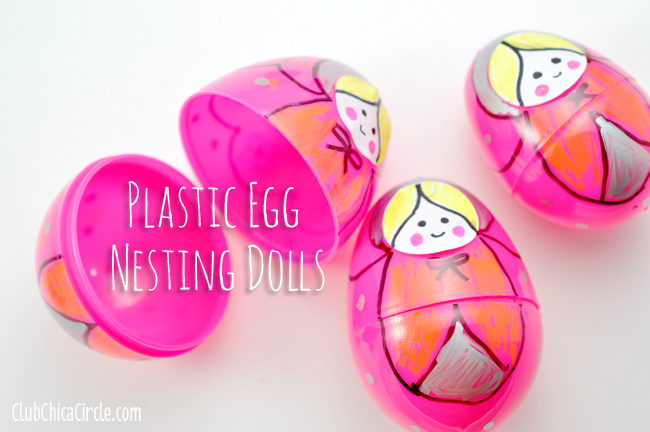
The set I bought have 3 nesting eggs inside each other – perfect to turn into cute Russian nesting dolls, right?
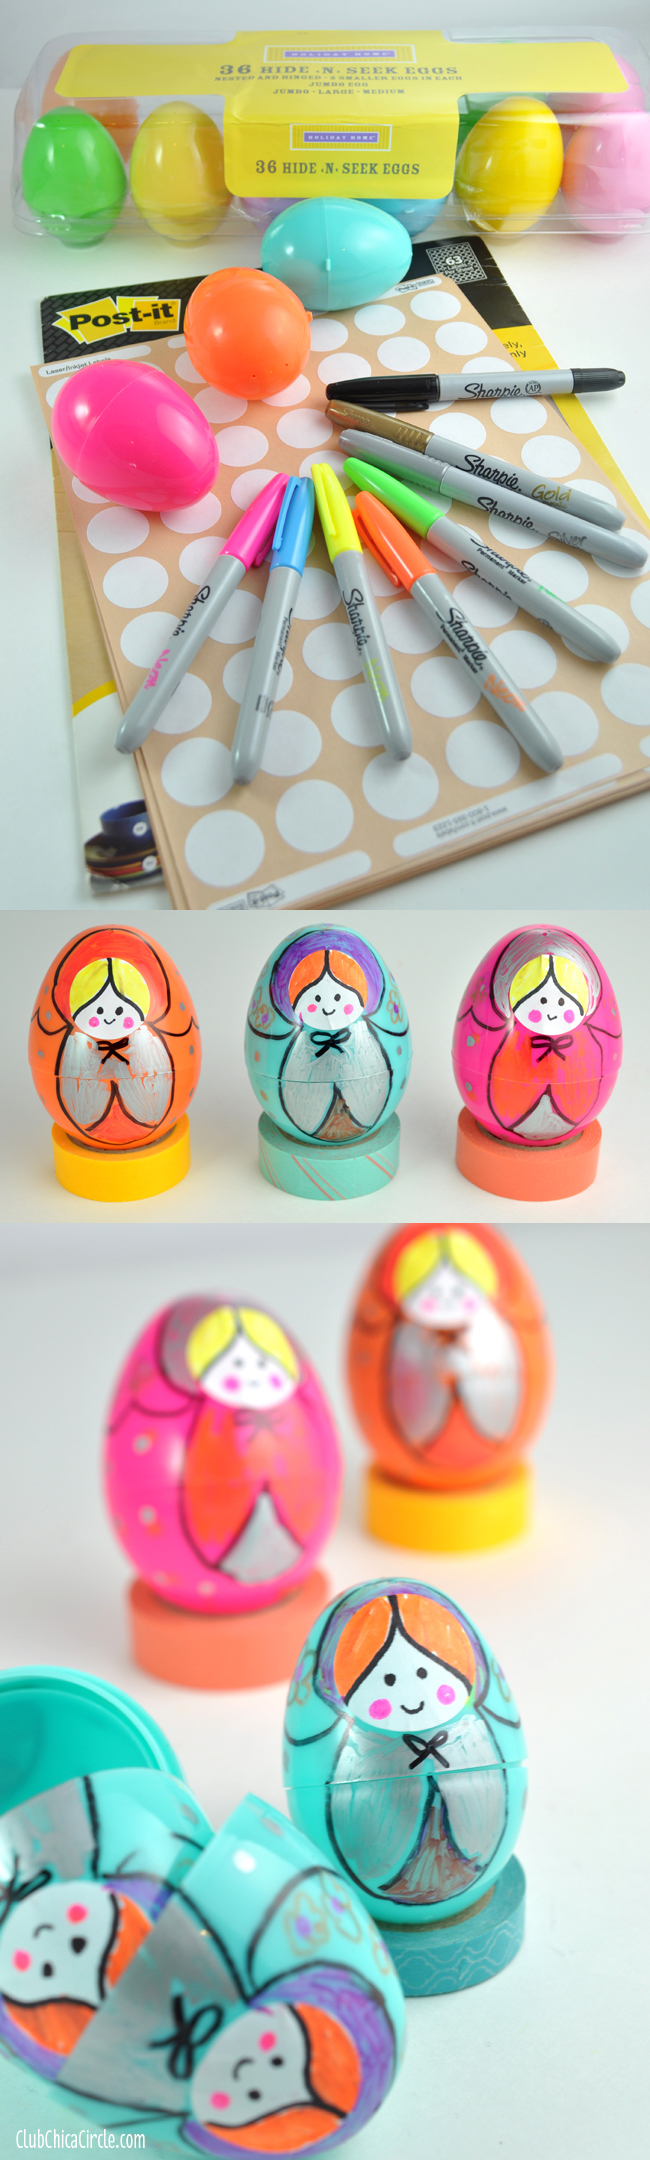
To make the nesting dolls I used:
- Plastic eggs (I used a set that came with 3 that fit together, but you may have leftover eggs of different sizes that may work as well)
- 1″ circle paper labels
- Sharpie markers in neon, metallic and black colors
- My imagination = )
My first step was to make the faces for each “doll”. Using my Sharpie markers I first drew the simple hairline, then two dots for the eyes, and a small smile with my black marker.
I added rosy cheeks with the neon pink Sharpie and colored in the hair with either neon orange or yellow.
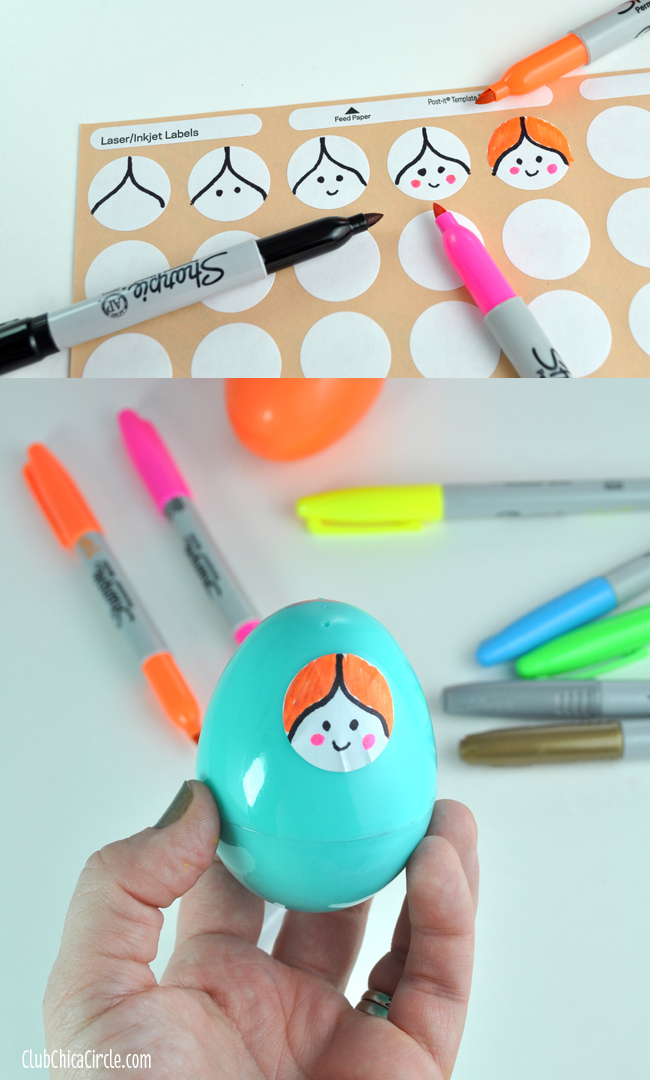
Then, it was a matter of placing the face sticker at the top of the eggs and finishing up my design by drawing right onto the eggs with the permanent markers.
I added a cute bow under the face, then gave her a body, added more dress and head details.
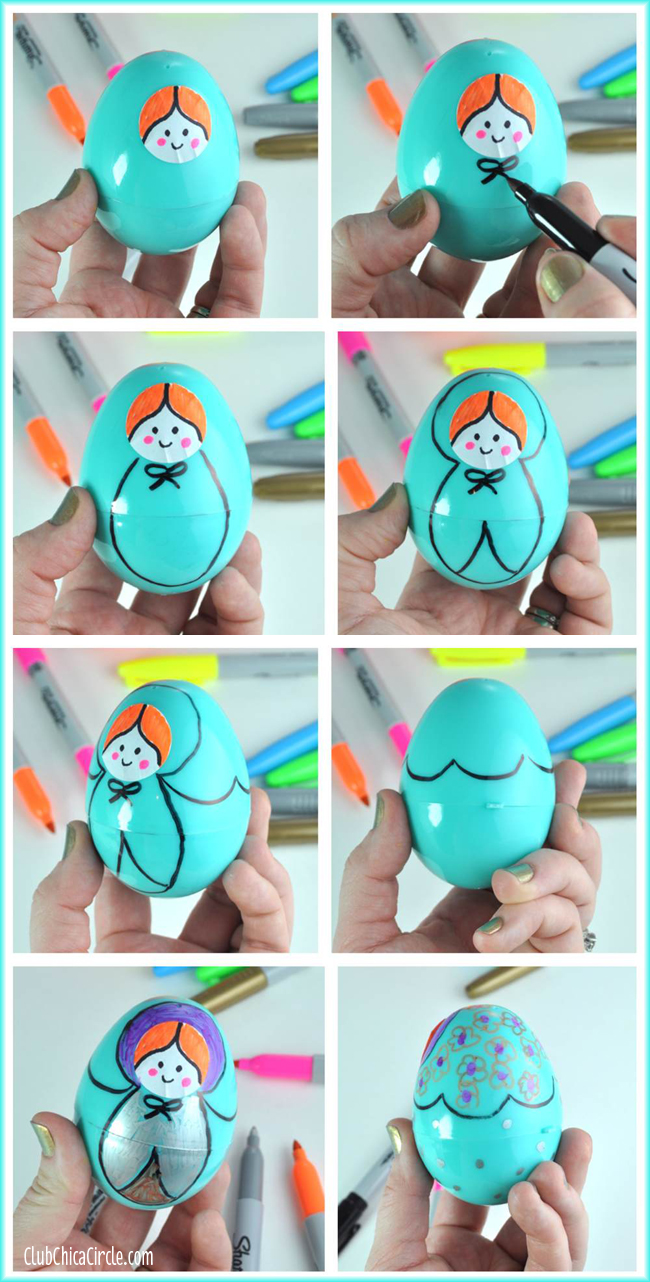
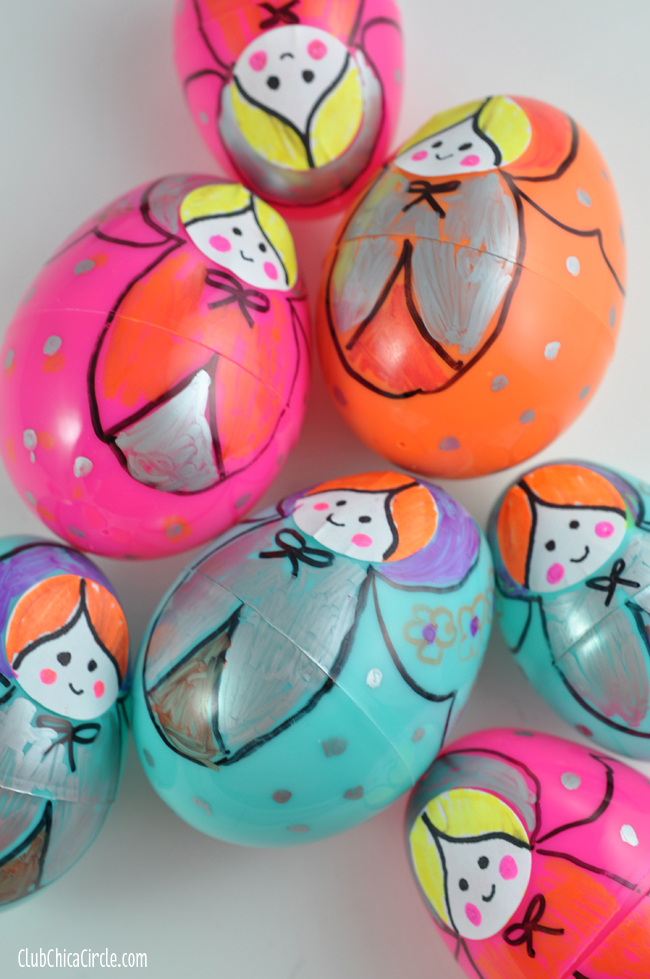
I colored in various areas with the Sharpies, keeping in mind that they way they look on the eggs depended on the color of the egg. For instance, the neon pink on the teal colored egg turned out to be purple.
The metallic colors were a bit more opaque. I added polka dot and flowers designs all around the back of the eggs.
Then, I repeated the design for all three of my nesting eggs.

Voila! Now you have super cute nesting dolls. You could slip a little treat in the middle of the center egg if you like.
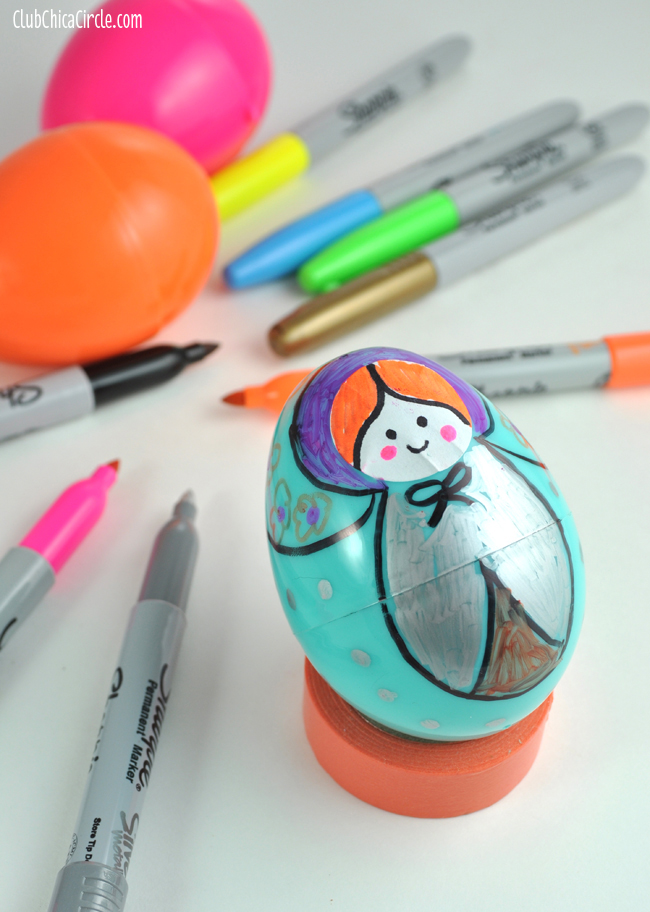
You can make multiple nesting dolls and display them on washi tape “thrones”.
Really, this is too cute not to try with your tween.
I love how they turned out! I know I had fun making them!
So fish out some of your leftover eggs and get crackin… or crafting. Or, next Spring keep an eye out for these cool eggs knowing they can turn into an afternoon of fun.
Enjoy!
If you liked this post, and want more, you can subscribe to be on our mailing list here, and make sure to get your free Cupcake Toppers Printables for Every Occasion.
Feeling social? Follow ChicaCircle on Facebook or Twitter, and follow me on Pinterest or Instagram.


10 comments for “Plastic Egg Russian Nesting Dolls Craft Idea”