As part of the Make It: Fun Team, this post is sponsored in part by FloraCraft. As always, ALL photographs, ideas, and opinions are my own.
Big News! I’m so excited to be a part of the Make It Fun Team, along with the super crafty crew!

This month, we were all given a crafty challenge: make something with foam heads.
Now, when my first box arrived with goodies to craft with, I have to say, this was one thing I have never thought of crafting with before! I’ve used plenty of foam products – like the time I made mason jar cupcake gift jars where I glued half of a foam ball on the top of a mason jar lid and squirted brown caulk on top to look like frosting, or when I made “chocolate cupcakes without the calories” where I carved and painted a foam ball to look like chocolate frosting.
And honestly, where did my first thought go?
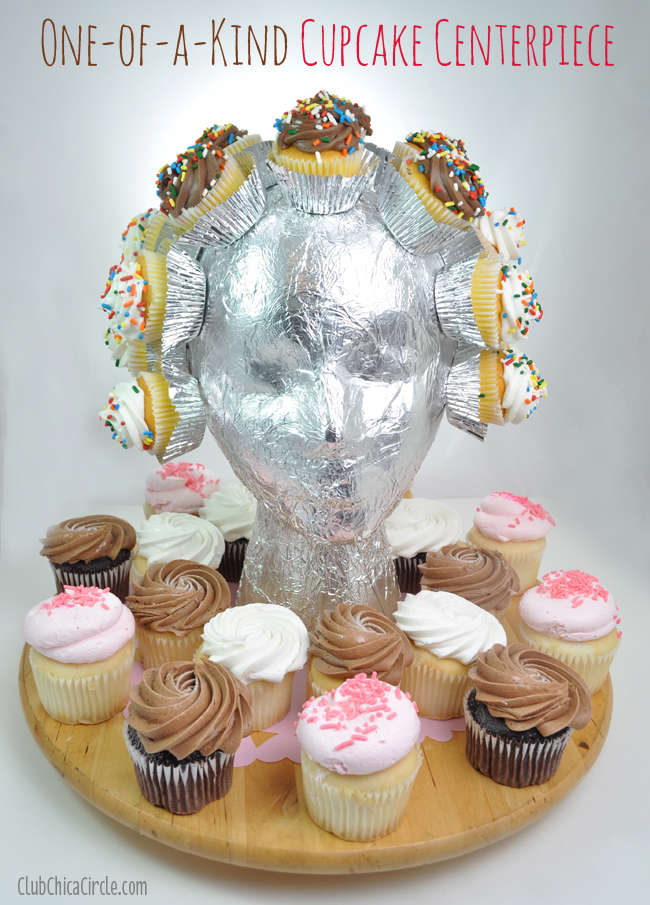
CUPCAKES!
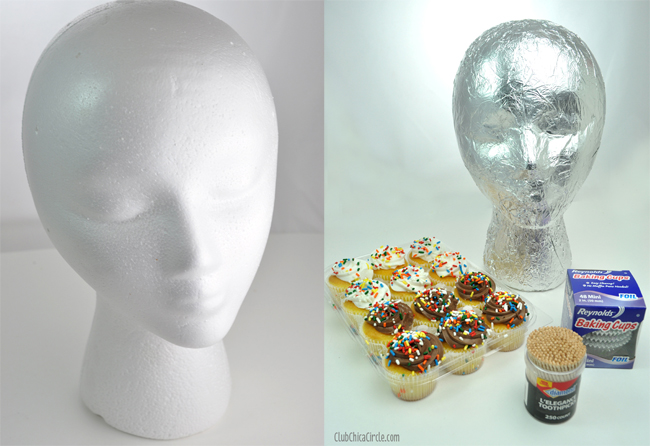
Here is what I used to make this one-of-a-kind Foam Head Cupcake Centerpiece:
- Aluminum foil
- Foil mini-cupcake baking cups
- Toothpicks
- Foam head
- Mini cupcakes (I bought these straight from my grocer’s bakery)
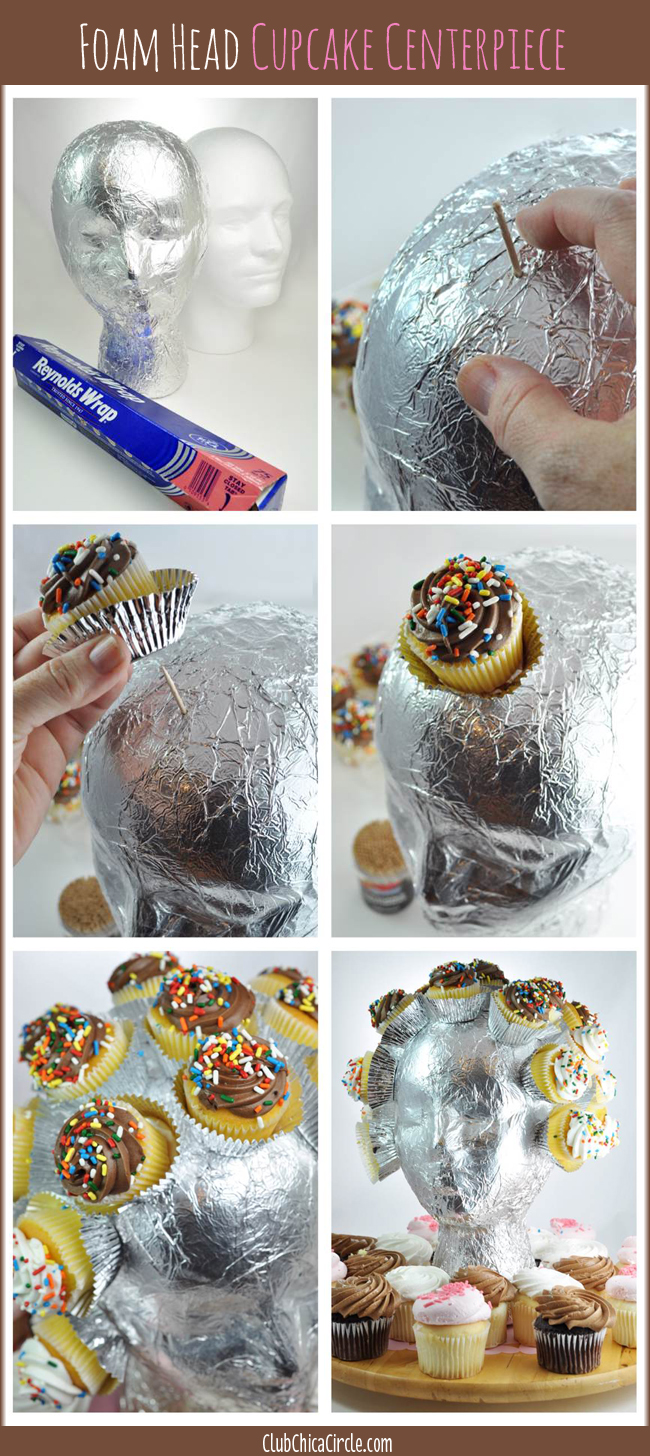
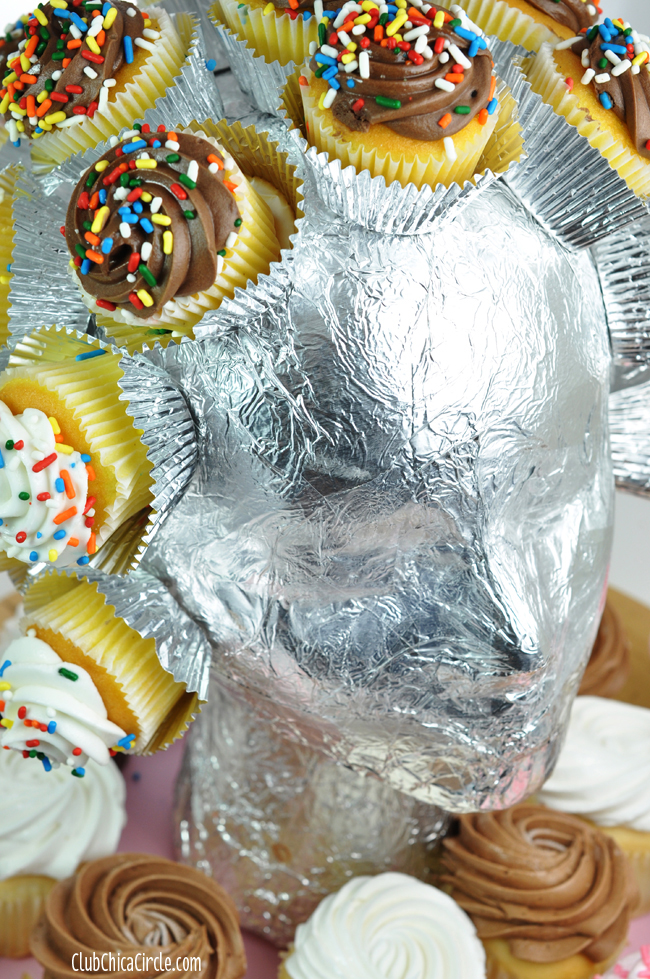
To make this cool cupcake centerpiece, first I wrapped my foam head with aluminum foil.
Then it was a matter of inserting my “cupcake toothpick spikes” all around the head. Because the foam is so compact and solid, I first inserted my toothpick directly in the foam head with the pointy end. Then I turned it around with the other end facing in and the pointy end sticking out.
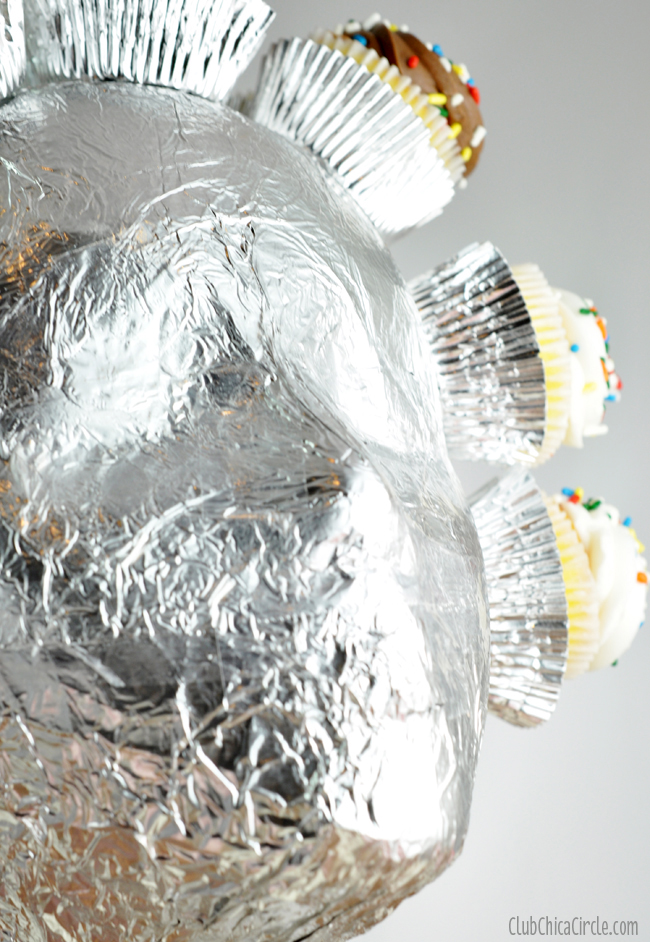
I wanted the foil to look like it was continuing around her head, like hair, so I used a foil cupcake liner around the outside of each cupcake and poked it straight on each toothpick.
One tip before I got started is that I put my frosted cupcakes in the freezer for a little bit. I know that might sound weird, but it really helped harden the frosting a little bit and made it easier to arrange the cupcakes all around my foam head.
Don’t worry, by the time you are done, and your cupcake masterpiece is ready, they will be defrosted and ready to eat.
I placed the toothpicks about 3″ apart from each other, but this all depends on how close you want the cupcakes to be.
Another tip to help keep the cupcakes in place all along the sides, I placed the toothpicks in at a little angle facing upward.
I finished my centerpiece by putting my foam head with cupcake hair in the center of a lazy susan tray that I found at IKEA.
Then I completed the centerpiece with more cupcakes all around my cool cupcake girl.
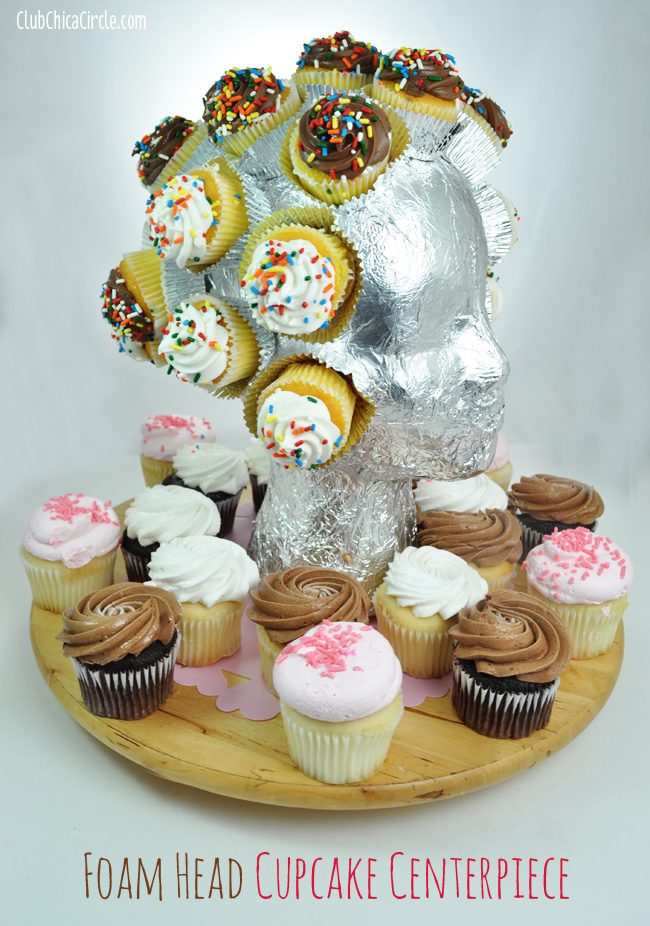
This would definitely make a super cool cupcake centerpiece for a birthday party or celebration. Am I right?
So, now the question is: Who wants a cupcake?
For more ideas, check out their Pinterest boards and Facebook page, and see when the rest of the team created with them.

As part of the Make It: Fun Team, this post is sponsored in part by FloraCraft. As always, ALL photographs, ideas, and opinions are my own.


9 comments for “One-of-a-Kind Foam Head Cupcake Centerpiece”