There are many things you can do with all of the Halloween candy that is inevitably in your house right now. I know number one thought is to eat it, right? I don’t know about you, I need to actually get it out of the house so I don’t eat it! I want to still be able to fit into my clothes for the holidays. = )
You can donate it. My tween’s dentist and her school are taking donations of Halloween candy to send to the troops overseas. I sent along a large bag of candy with my daughter to school this morning to do just that, but not before we pulled out a small bowl that I let her fill with her favorites to keep.
Another idea is to get crafty and gift some of it. Last year I made these crafty Owl Candy Jars and filled them with leftover Halloween candy. This year I put a little twist on the owl candy jar. One of my new favorite craft materials comes from your local hardware store. I used silicone sealant to make a Halloween wreath this year, and this time I’m crafting with caulk! Yep, I said caulk. I got the caulk gun out, loaded with white household caulk ready to make some cute candy jars to fill with some our favorite Halloween candy stash. These make perfect homemade gift ideas to give to a teacher, friend, neighbor, or yourself. = ) I just love the cute way the candy is packaged.
I tried two different candy jar ideas using caulk – an owl decorated jar for all you fellow owl-obsessed crafters…

…and a cute cupcake jar that looks pretty enough to eat.

For the owl candy jar, I used a pint sized mason jar. I used a pine cone for the feathers, big googly eyes, and some teardrop shaped jewels for the nose and feet, as well as the caulk for the body shape.

I laid the mason jar on its side so it was easier to work with. I broke off the pine cone pieces in a bowl and had them handy. First I squirted an oval shape for the owl body, then two smaller oval shapes on either side for the wings and finished off with two circle shapes on top for the eyes. When using the caulk gun I cut a larger hole in the tip than normal so the caulk came out nice and thick. I had a paper plate handy when I was done applying to the jar, since the caulk wanted to keep squirting out.
Then I pressed in the two large googly eyes, and started attaching the pine cone pieces on each side for the wing feathers. I also inserted two pine cone pieces just above and under each googly eye. I used a red teardrop shaped jewel for the nose, and two yellow teardrop jewels at the bottom for the feet. After I was satisfied with my owl design, I set it aside to dry. I let it dry overnight. Since the caulk is on so thick, it will take some time to fully dry.
My daughter’s favorite candy right now is the Kit Kat. I gathered a handful of Kit Kat’s and loaded the jar up with them. The color from the package was a great compliment to the owl design. To finish off the jar, I cut a small square of coordinating fabric along with some thin ribbon. I closed up the fabric in the lid and tied a bow with the ribbon. Voilá! The owl candy jar is complete and ready to gift away. This is a great Fall candy jar craft idea using the owl design and the pine cone “feathers”.
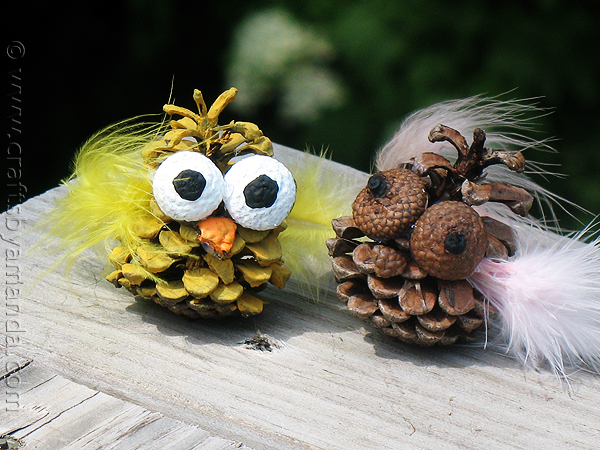
Looking for another crafty way to make an owl with a pinecone? Check out this cool craft idea from Crafts by Amanda. So cute!
For a festive cupcake candy jar design, I used a mini 4 oz mason jar, small tube and seed beads for sprinkles, and a glittery bell for a cherry. I also started by spray-painting the lid with white spray paint.

After the lid was dry from the white spray paint, I also used a hot glue gun to glue the top to the screw part of the lid so that it was one solid piece before I “caulked” the frosting on. This one is as easy as it looks. Using a caulk gun (with a wide hole cut on the gun so that it comes out pretty thick) I squirted the caulk in a spiral, much like if I was frosting a real cupcake. Then I sprinkled on beads for sprinkles, and pressed on a cute glittery bell. You could also use a round bead there too. Then the hardest part was just to let it dry. I let this one dry overnight as well, before filling it with candy. This time I took the small packages of M&M’s from our leftover Halloween candy, and opened them up to fill the jar. It took about 6 mini packages to fill the jar. Finish off with tying some coordinating ribbon around the lid and you are done! I couldn’t resist putting a cute cupcake liner around the jar too! This is like desk art and a sweet treat all in one. = )
What other ideas do you have to use some of your leftover Halloween candy? Will you eat it all? or donate it? or maybe get a little crafty and try making these cute candy jars filled with leftover Halloween candy?
Happy crafting!
If you liked this post, and want more, you can subscribe to be on our mailing list here.
*a little note about crafting with caulk: certain precautions should be taken when crafting with caulk. It can be quite harmful if ingested, or may cause skin irritations. Always remember to use in a very well ventilated area, use rubber gloves for extra safety, and take special care when crafting with children. Although, many of the crafts I have created look good enough to eat – they aren’t! Caulk can be very harmful if swallowed. If you make homemade gifts containing food items in them using caulk, please make sure caulk has completely dried in a well-ventilated area first and does not touch candy or food before introducing food item. For more information see here.


79 comments for “Got Candy? Try these Candy Jar with Caulk Ideas”